
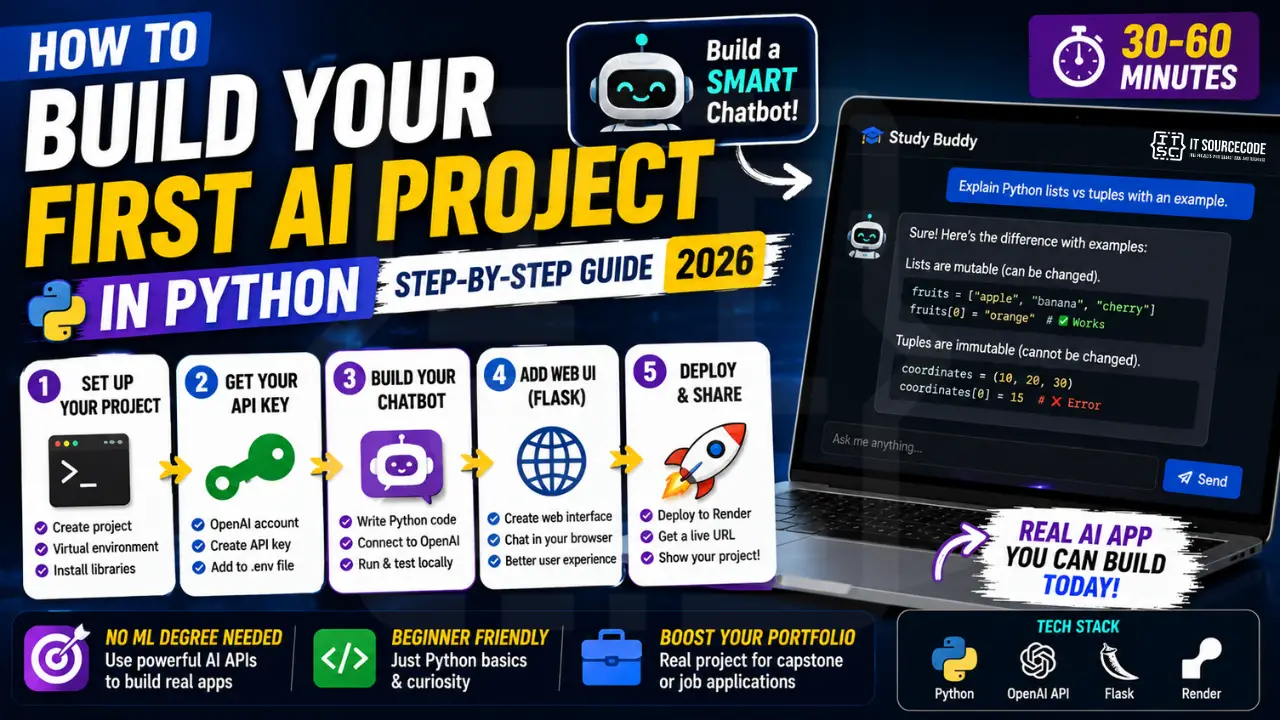
“Build an AI project” used to mean training a neural network from scratch, months of work, advanced math, expensive GPUs. In 2026, you can build a useful AI app in 30 minutes using existing APIs. This guide walks you through your FIRST real AI project: a domain-specific chatbot you can show your capstone panel or include in your portfolio.
📌 What you’ll build: A “Study Buddy” chatbot that answers questions about a topic you choose (Python, Philippine history, your capstone domain). Runs locally first, then deployable to the web. Total time: 30-60 minutes for the basic version.
Prerequisites
- Python 3.12 installed: download from python.org
- VS Code with Python extension: see our editor guide
- Basic Python knowledge: variables, functions, importing libraries. See our Python tutorial if needed.
- OpenAI account: $5 free credit on signup at platform.openai.com (no payment card needed for first $5)
- 30-60 minutes of focused time
Step 1: Set Up Your Project
Open your terminal and run:
mkdir study-buddy
cd study-buddy
python -m venv venv
venv\Scripts\activate    # Windows
# or: source venv/bin/activate    # Mac/Linux
pip install openai python-dotenv
This creates an isolated Python environment for your project. Always do this, never install AI libraries globally.
Step 2: Get Your OpenAI API Key
- Sign up at
platform.openai.com - Verify your email + phone number
- Click your profile → “View API keys”
- Click “Create new secret key”
- Name it “study-buddy”
- COPY the key immediately, you won’t see it again
Create a file in your project called .env (note the dot) with:
OPENAI_API_KEY=sk-proj-your-key-here
🔒 Security: NEVER commit .env to Git. Create a .gitignore file with the single line .env.
Step 3: Write the Basic Chatbot (Version 1)
Create study_buddy.py:
from openai import OpenAI
from dotenv import load_dotenv
import os

load_dotenv()
client = OpenAI(api_key=os.getenv("OPENAI_API_KEY"))

# Configure your bot's domain expertise here
SYSTEM_PROMPT = """You are Study Buddy, a friendly tutor
for BSIT students in the Philippines. Help them understand
programming concepts in clear, simple language with code
examples. If asked about non-programming topics, politely
redirect to programming.
"""

def chat(user_message, conversation_history):
    conversation_history.append({
        "role": "user",
        "content": user_message
    })

    response = client.chat.completions.create(
        model="gpt-4o-mini",
        messages=[
            {"role": "system", "content": SYSTEM_PROMPT},
            *conversation_history
        ],
        max_tokens=500
    )

    bot_reply = response.choices[0].message.content
    conversation_history.append({
        "role": "assistant",
        "content": bot_reply
    })

    return bot_reply

def main():
    print("Study Buddy is ready! Type 'quit' to exit.\n")
    history = []

    while True:
        user_input = input("You: ").strip()
        if user_input.lower() in ['quit', 'exit', 'bye']:
            print("Bye! Happy coding.")
            break
        if not user_input:
            continue

        reply = chat(user_input, history)
        print(f"\nStudy Buddy: {reply}\n")

if __name__ == "__main__":
    main()
Run it:
python study_buddy.py
Try: “Explain Python lists vs tuples with an example.” You should get a friendly, code-rich response. Congratulations, you just built an AI app.
Step 4: Understand What Just Happened
For each user message, your code:
- Added the message to conversation history (lets bot remember context)
- Sent the entire history + a system prompt (your “bot personality”) to OpenAI’s API
- Received the model’s response
- Appended the response to history for continuity
- Displayed it
The system prompt is critical, it defines your bot’s behavior. Change it to specialize the bot. See our prompt engineering guide.
Step 5: Add Streaming (Better UX)
Without streaming, users wait 3-10 seconds for the full response. With streaming, text appears word-by-word like ChatGPT. Replace the chat function with:
def chat(user_message, conversation_history):
    conversation_history.append({
        "role": "user",
        "content": user_message
    })

    stream = client.chat.completions.create(
        model="gpt-4o-mini",
        messages=[
            {"role": "system", "content": SYSTEM_PROMPT},
            *conversation_history
        ],
        max_tokens=500,
        stream=True  # Enable streaming
    )

    full_reply = ""
    print("\nStudy Buddy: ", end="", flush=True)

    for chunk in stream:
        if chunk.choices[0].delta.content:
            text = chunk.choices[0].delta.content
            print(text, end="", flush=True)
            full_reply += text

    print("\n")
    conversation_history.append({
        "role": "assistant",
        "content": full_reply
    })
    return full_reply
Update main() to remove the duplicate print statement (since streaming already prints).
Step 6: Add a Web UI with Flask
CLI is fine for testing, but a web UI lets others use it. Install Flask:
pip install flask
Create app.py:
from flask import Flask, request, jsonify, render_template
from openai import OpenAI
from dotenv import load_dotenv
import os

load_dotenv()
client = OpenAI(api_key=os.getenv("OPENAI_API_KEY"))
app = Flask(__name__)

SYSTEM_PROMPT = """You are Study Buddy, a friendly tutor
for BSIT students. Be concise, friendly, code-focused."""

@app.route("/")
def home():
    return render_template("index.html")

@app.route("/chat", methods=["POST"])
def chat():
    data = request.get_json()
    user_message = data.get("message", "")
    history = data.get("history", [])

    history.append({"role": "user", "content": user_message})

    response = client.chat.completions.create(
        model="gpt-4o-mini",
        messages=[
            {"role": "system", "content": SYSTEM_PROMPT},
            *history
        ],
        max_tokens=500
    )

    bot_reply = response.choices[0].message.content
    history.append({"role": "assistant", "content": bot_reply})

    return jsonify({"reply": bot_reply, "history": history})

if __name__ == "__main__":
    app.run(debug=True, port=5000)
Create templates/index.html with a simple chat UI (Tailwind CSS via CDN). Use Claude or GPT to generate the HTML/JS if you’re stuck, that’s a perfect AI-assisted task.
Run with: python app.py and open http://localhost:5000.
Step 7: Customize for Your Domain
Change the system prompt to specialize your bot:
- Philippine History tutor: “You are an expert in Philippine history from pre-colonial to present…”
- Capstone defense coach: “You are a defense panel simulator. Ask challenging questions about [project description]…”
- Code reviewer: “You are a senior developer. Review code submitted for: bugs, security, readability…”
- SQL helper: “You help BSIT students write MySQL queries. Always explain why your query works…”
Step 8: Deploy to the Web (Free)
To share with classmates or include in your portfolio, deploy to Render (free tier):
- Push your code to GitHub (don’t include
.env!) - Sign up at render.com
- “New” → “Web Service” → connect your GitHub repo
- Configure: Python environment, start command
python app.py, environment variable OPENAI_API_KEY - Deploy
Free tier sleeps after 15 min of inactivity, but wakes in 30 seconds. Fine for portfolio demos.
Cost Management
OpenAI’s gpt-4o-mini is cheap: ~$0.15 per million input tokens. For a study buddy used 50 times/day, expect $0.50-2/month. Set a hard spending limit in your OpenAI dashboard ($5-10/month) to prevent surprises.
Alternative: use Claude Haiku via Anthropic, similar pricing, often better quality for tutoring tasks. See our model comparison.
Where to Go Next
Now that you have a working AI app, extend it:
- Add memory: store conversations in SQLite so users can resume later
- Add document upload: let users upload PDFs/notes for context-aware answers (RAG)
- Add voice input: use OpenAI Whisper API for voice → text
- Add authentication: user accounts via Flask-Login
- Add usage analytics: track popular topics, common questions
For more advanced AI projects browse our Deep Learning Projects hub and Machine Learning Projects hub.
FAQ
How much does it cost to run this AI chatbot?
Can I use Claude instead of OpenAI?
anthropic package instead of openai, sign up at console.anthropic.com (similar free credit), and change the code to use Claude’s API. The structure is nearly identical. Many developers find Claude better for nuanced explanations.Can this be my BSIT capstone project?
Do I need to know machine learning to build this?
What if the AI gives wrong answers?
Can I run this without paying for an API?
Final Thoughts
You just built your first AI project. The “AI engineer” hype that surrounded this work 2 years ago is gone, it’s now a normal Python project that any BSIT student can complete in an afternoon. The barrier has dropped dramatically; what matters now is what you BUILD with these capabilities.
🎯 Next steps:
- Get the chatbot running locally (Steps 1-5)
- Customize the system prompt for YOUR domain (Step 7)
- Deploy it (Step 8) and share with 5 classmates for feedback
- Learn the next skill, Prompt Engineering
- Compare AI models, ChatGPT vs Claude vs Gemini

Angel Jude Suarez
Full-Stack Developer at PIES IT Solution
Focuses on Python development, machine learning, and AI integration. Has built production AI systems including OpenAI Whisper integration for medical transcription and GPT-4o-powered diagnosis assistance. Strong background in pandas, scikit-learn, and TensorFlow.
Expertise: Python · PHP · Java · VB.NET · ASP.NET · Machine Learning · AI Integration · OpenCV · Django · CodeIgniter · View all posts by Angel Jude Suarez →
Recommended AI and machine learning books
The links below are affiliate links. We may earn a commission at no extra cost to you when you sign up or buy. See our affiliate disclosure.