
WhatsApp Communities let you connect up to 100 group chats under one umbrella, with a single announcement channel that reaches every member. If you run a school, a church, a barangay, or a business team spread across multiple group chats, Communities replaces the mess of forwarding the same announcement 10 times.
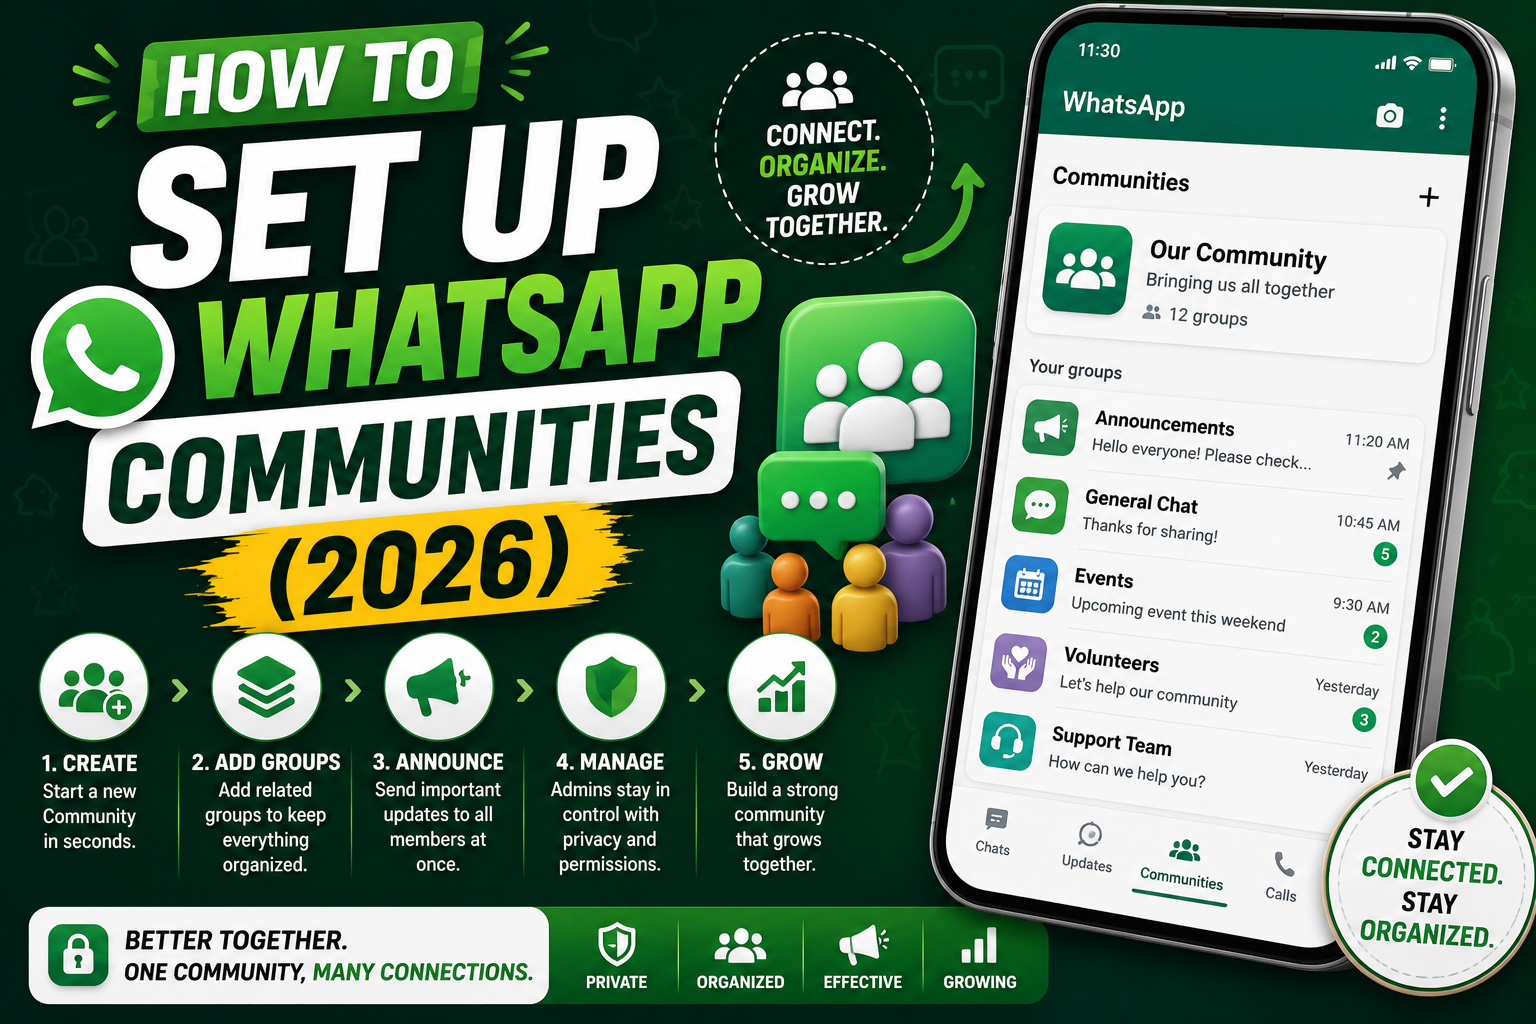
This guide covers setup from scratch, group linking, admin permissions, and the common mistakes people make in the first week.
What WhatsApp Communities give you
Three main features:
- An announcement group where only admins can post, visible to everyone in the community (up to 5,000 members total)
- Linked groups under one banner (up to 100 groups per community)
- Central member directory so admins can see who is in what group and remove problem members in one action
Regular group chats cap at 1,024 members. Communities extend the ceiling to 5,000 total across all linked groups, which is why churches, schools, and neighborhood associations moved to Communities as soon as WhatsApp launched them.
Before you start: what you need
- WhatsApp updated to 2024 or newer (Communities were rolled out in late 2022, but the interface stabilized in 2024)
- Admin rights on any group you plan to add to the community
- A community name (up to 24 characters) and a short description
- A profile photo for the community (optional but recommended: helps members recognize it at a glance)
Step 1: Open the Communities tab and start a new community
On Android:
- Open WhatsApp
- Tap the Communities tab at the top (next to Chats and Calls)
- Tap New community
- Tap Get started
On iPhone:
- Open WhatsApp
- Tap Communities at the bottom of the screen
- Tap New Community
- Tap Get Started
You will see a welcome screen explaining the feature. Tap continue to move forward.
Step 2: Set the community name, photo, and description
- Tap the camera icon at the top to add a community photo
- Enter a community name (up to 24 characters)
- Add a description (up to 500 characters) that tells members what the community is for
- Set the disappearing messages timer if you want messages to auto-delete after 24 hours, 7 days, or 90 days (or leave off)
- Tap the green arrow to proceed
Good community names are short and specific: “Barangay Sto Domingo Updates” beats “Community Chat”. Members will see this name in their WhatsApp Communities tab and in every group notification.
Step 3: Add existing groups or create new ones
WhatsApp asks you to either add existing groups or create fresh ones:
- Add existing groups: Tap this if you already have group chats you want to link. WhatsApp shows a list of groups you admin. Tap each one to select.
- Create new groups: Tap this to start fresh. Give each group a name (e.g., “Purok 1”, “Youth Ministry”, “Q3 Marketing”), add members, and tap create.
You can add up to 10 groups during initial setup, and up to 100 total over time. You do not need to fill them all right away. Most communities start with 2 to 5 groups and grow.
Step 4: Set up the announcement group
WhatsApp automatically creates an announcement group for your community. This is the most important part of the setup.
- Tap the announcement group name (usually “Announcements” by default)
- Tap the group name at the top to enter Group Info
- Rename it to something specific (e.g., “Official Announcements”, “Barangay Bulletin”)
- Confirm the setting Only admins can send messages is enabled
- Add any co-admins who should be able to post announcements
Members automatically join the announcement group when they join any linked community group. They cannot leave the announcement group without leaving the entire community.
Step 5: Invite members to the community
Two ways to invite:
- Invite via group link: Open Community Info, tap Invite via link, share the link via SMS, email, or Messenger. Anyone with the link can join.
- Add contacts directly: Open Community Info, tap Add members, select from your contacts. Best for smaller controlled communities.
New members join the announcement group first. From there they can browse other linked groups and join the ones relevant to them. Not all members need to be in all groups.
Step 6: Manage admin permissions
Communities have two levels of admins:
- Community admins: Can add or remove groups, change community settings, and post in the announcement group. You (the creator) are the first community admin.
- Group admins: Only manage their specific linked group. They cannot change community-wide settings.
To promote a community admin: open Community Info, tap Members, tap the member’s name, tap Make community admin. You can have unlimited community admins but for most small communities 2 to 3 is enough.
Common mistakes and how to avoid them
- Adding too many groups at once: Start with 2 to 3 groups. Add more as real subgroups form. Communities with 50+ empty groups look chaotic.
- Not renaming the default announcement group: “Announcements” is generic. Rename to something specific so it stands out in members’ chat lists.
- Turning off “Only admins can send messages” in the announcement group: This defeats the purpose. Keep it locked down.
- Making everyone an admin: Too many admins is worse than too few. Aim for 2 to 3 community admins max.
- Not adding a community description: New joiners land in the announcement group with no context. A clear description onboards them instantly.
Deleting or archiving a community
If a community outlives its purpose:
- Open Community Info
- Scroll to the bottom
- Tap Delete community
- Choose whether to also delete the linked groups or leave them as standalone groups
- Confirm deletion
Members receive a notification that the community was deleted. Any linked groups you keep will function as regular group chats afterward.
Quick step-by-step summary (click to expand)
- Open the Communities tab. Tap Communities (top on Android, bottom on iPhone), then New Community, then Get Started.
- Name and describe the community. Add photo, up to 24-character name, and a short description of the community purpose.
- Add existing groups or create new ones. Start with 2 to 5 linked groups. Max is 100.
- Set up the announcement group. Rename it, keep “Only admins can send messages” enabled, add co-admins.
- Invite members. Share via invite link (broad reach) or add contacts directly (controlled).
- Set admin permissions. Promote 2 to 3 community admins for governance. Group admins only manage their specific group.
Official WhatsApp documentation
Frequently asked questions
How many members can a WhatsApp Community have?
A single WhatsApp Community supports up to 5,000 total members spread across up to 100 linked groups. Each individual linked group still follows the standard 1,024-member cap. This is a big jump from regular group chats and is why churches, schools, and neighborhood associations moved to Communities.
Can members leave the announcement group without leaving the community?
No. The announcement group is bundled with the community. Members receive its messages as long as they are part of any linked group. If they want to stop receiving announcements, they have to leave the entire community, which removes them from all linked groups too.
Can I convert an existing group chat into a community?
Not directly. You have to create the community first, then add your existing group as a linked group under it. The existing group stays intact (members, history, media). You just gain the announcement group and the ability to link more groups later.
Are WhatsApp Communities end-to-end encrypted?
Yes. All messages in the announcement group and the linked group chats are end-to-end encrypted the same way regular WhatsApp chats are. WhatsApp servers cannot read the content. This makes Communities safe for sensitive contexts like church prayer groups or barangay incident reports.
What happens if I delete a linked group inside my community?
Members of that linked group are removed from the group but remain in the community (and in the announcement group) as long as they belong to at least one other linked group. If the deleted group was their only link, they are also removed from the community.
How do I remove a problem member from all groups at once?
Open Community Info, tap Members, tap the problem member’s name, then tap Remove from community. This removes them from every linked group at once, which is much faster than removing them from each group individually. Only community admins have this option.

Glay Eliver
Programmer & Technical Writer at PIES IT Solution
Glay Eliver is a programmer and writer at PIES IT Solution.
Expertise: JavaScript · MS Excel · MS Word · MS PowerPoint · Python · ImportError · TypeError · AttributeError · ModuleNotFoundError · JavaScript ReferenceError · Pygame · View all posts by Glay Eliver →