
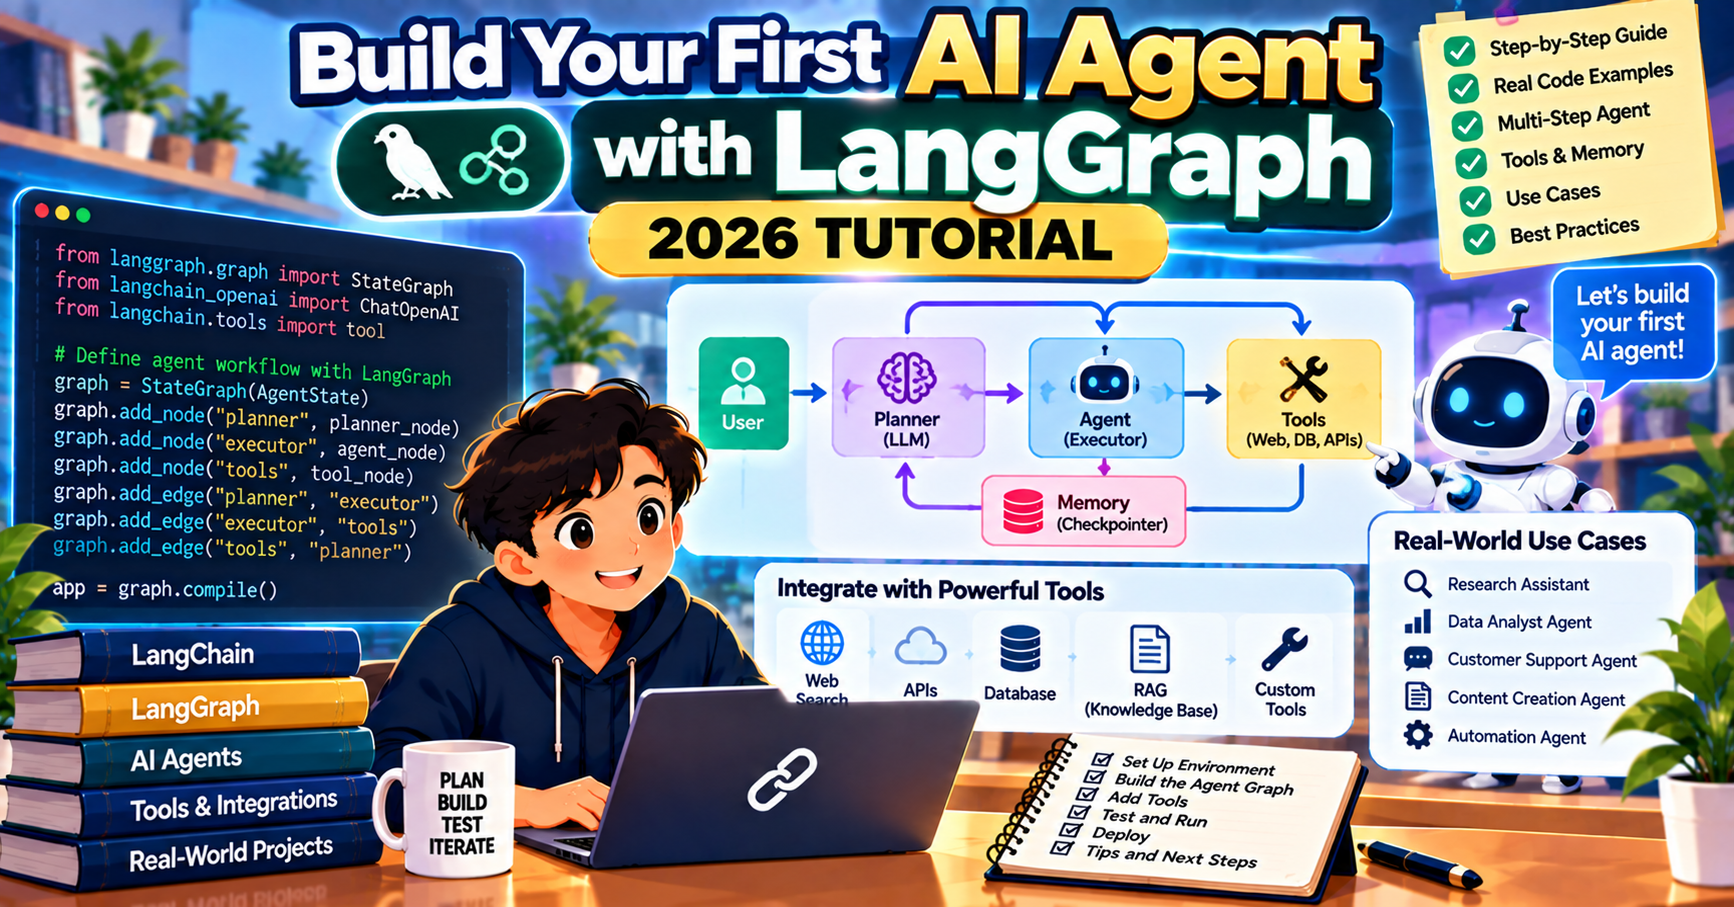
This tutorial walks you through building your first AI agent with LangGraph. By the end, you will have a Python program that takes a user question, decides whether it needs to search the web or do math, calls the right tool, and returns an answer. The whole thing runs in under 80 lines of code and about 30 minutes.
What is LangGraph and why use it
LangGraph models agents as state machines. Each node in the graph is a function (an LLM call, a tool invocation, or a decision point), and edges define what runs next. Compared to classic ReAct-style agent loops, LangGraph gives you explicit control over the flow: you can see every state transition, pause and resume runs, and debug exactly which step produced which output.
For a first agent this matters because debugging is a huge part of agent development. When your agent does something unexpected, you want to know whether the LLM made a bad decision, a tool returned junk, or your prompt was unclear. LangGraph’s graph structure makes that visible.
What you will build
A single-agent system with two tools: a web search tool and a calculator tool. The agent reads the user’s question, decides which tool fits, calls it, reads the result, and returns a final answer. If no tool is needed (small talk), the agent answers directly.
Stack:
- Python 3.10 or newer
- LangGraph 0.2 with the langchain-openai and langchain-community packages
- OpenAI API (GPT-4o)
- DuckDuckGo for free web search (no API key needed)
Step 1: Install and set up
mkdir langgraph-agent && cd langgraph-agent
python -m venv .venv
source .venv/bin/activate
pip install langgraph langchain-openai langchain-community duckduckgo-search python-dotenv
Create a .env file with your OpenAI key:
OPENAI_API_KEY=sk-...
Step 2: Define the tools
Tools are just Python functions. LangGraph will route to them when the LLM decides to call one.
from langchain_core.tools import tool
from langchain_community.tools import DuckDuckGoSearchRun

search = DuckDuckGoSearchRun()

@tool
def web_search(query: str) -> str:
    """Search the web for current information. Use this for anything that needs recent news or specific facts."""
    return search.invoke(query)

@tool
def calculator(expression: str) -> str:
    """Evaluate a Python math expression. Use for arithmetic and simple formulas."""
    try:
        return str(eval(expression, {"__builtins__": {}}, {}))
    except Exception as e:
        return f"Error: {e}"

tools = [web_search, calculator]
The docstrings matter. The LLM reads them to decide when to call each tool, so write them for clarity about when to use the tool, not just what it does.
Step 3: Define the state
State is what flows through the graph. For a simple agent, you need the conversation messages.
from typing import Annotated, TypedDict
from langgraph.graph.message import add_messages
from langchain_core.messages import AnyMessage

class AgentState(TypedDict):
    messages: Annotated[list[AnyMessage], add_messages]
The add_messages reducer handles appending new messages to the state without clobbering the conversation history. This is a built-in LangGraph pattern.
Step 4: Build the agent node
The agent node calls the LLM with the current messages and lets the LLM decide to either answer directly or call a tool.
from langchain_openai import ChatOpenAI
from dotenv import load_dotenv

load_dotenv()
llm = ChatOpenAI(model="gpt-4o", temperature=0)
llm_with_tools = llm.bind_tools(tools)

def agent_node(state: AgentState):
    response = llm_with_tools.invoke(state["messages"])
    return {"messages": [response]}
The bind_tools call tells the model which tools are available. GPT-4o returns a message with a tool call attached when it decides to use one.
Step 5: Build the tool node
When the agent decides to call a tool, you route to a tool node. LangGraph ships a prebuilt one that handles the common case.
from langgraph.prebuilt import ToolNode

tool_node = ToolNode(tools)
Step 6: Define the routing logic
After the agent runs, check whether the last message has a tool call. If yes, route to the tool node. If no, finish.
from langgraph.graph import StateGraph, END

def route(state: AgentState):
    last = state["messages"][-1]
    if hasattr(last, "tool_calls") and last.tool_calls:
        return "tools"
    return END
Step 7: Wire the graph
graph = StateGraph(AgentState)
graph.add_node("agent", agent_node)
graph.add_node("tools", tool_node)
graph.set_entry_point("agent")
graph.add_conditional_edges("agent", route)
graph.add_edge("tools", "agent")
app = graph.compile()
Note the edge from tools back to agent. After a tool runs, the agent gets another turn to read the result and decide whether to call another tool or finish.
Step 8: Run it
from langchain_core.messages import HumanMessage

questions = [
    "What is 157 times 83?",
    "What was the biggest tech acquisition announced this week?",
    "Hello, how are you?",
]
for q in questions:
    result = app.invoke({"messages": [HumanMessage(content=q)]})
    final = result["messages"][-1].content
    print(f"\nQ: {q}\nA: {final}")
Run python agent.py. The first question calls the calculator. The second triggers a web search. The third gets a direct answer with no tool call.
What to try next
- Add memory: use LangGraph’s checkpointer to persist conversation state across runs. One extra line.
- Stream outputs: wrap
app.streaminstead ofapp.invoketo get token-by-token output. - Trace with LangSmith: add two environment variables and your agent runs show up as traced spans in the dashboard.
- Add more tools: database queries, API calls, file operations. The pattern is the same: write a function, decorate with
@tool, append to the tools list. - Multi-agent: for team-of-agents scenarios, swap the single agent node for a supervisor pattern. LangGraph has a built-in template.
Frequently Asked Questions
How much does running a LangGraph agent cost?
Each agent turn is an LLM call. A typical interaction uses 2 to 5 turns depending on how many tools fire. With GPT-4o at $2.50 per million input tokens, expect under $0.01 per interaction for most assistant-style agents. Research-heavy agents that process long documents can hit $0.05 to $0.10 per run.
Can I use Claude or Gemini instead of OpenAI?
Yes. Swap the ChatOpenAI import for ChatAnthropic (from langchain-anthropic) or ChatGoogleGenerativeAI (from langchain-google-genai). The rest of the code is unchanged. All three providers support the tool-calling format LangGraph needs.
Why do I need LangGraph if I can just loop LLM calls myself?
You can, and for a simple agent that works. LangGraph pays off when you add state persistence, resumable runs, observability, or complex routing logic. The abstraction keeps the code readable as it grows. For a one-shot script with no production needs, a hand-rolled loop is fine.
How do I debug when my agent misbehaves?
Enable LangSmith tracing. Every LLM call, tool invocation, and state transition shows up as a span in the dashboard. You can see which message the LLM saw, which tool it chose, and what the tool returned. For local-only debugging, use app.get_state to inspect the state at any checkpoint.
Can I run LangGraph agents in production?
Yes. LangGraph has first-class support for persistent state (checkpointers), human-in-the-loop pauses, and streaming. Enterprise customers from Microsoft to Elastic ship LangGraph agents in regulated environments. Pair it with FastAPI or Next.js for the HTTP layer and LangSmith for observability.
How is LangGraph different from AutoGPT or CrewAI?
LangGraph gives you explicit control over the graph. AutoGPT is more autonomous (define a goal, let the LLM pick the steps). CrewAI uses role-based agents collaborating on a task. LangGraph trades more upfront code for more control and observability, which is why it dominates production use in 2026.