
Canva quietly became a real video editor in 2024 and 2025. It is not going to replace Adobe Premiere for a professional film editor, but for social media videos, YouTube shorts, Instagram reels, TikToks, and simple explainer videos, it holds up surprisingly well. The huge advantage: you already know the interface if you have used Canva for designs.
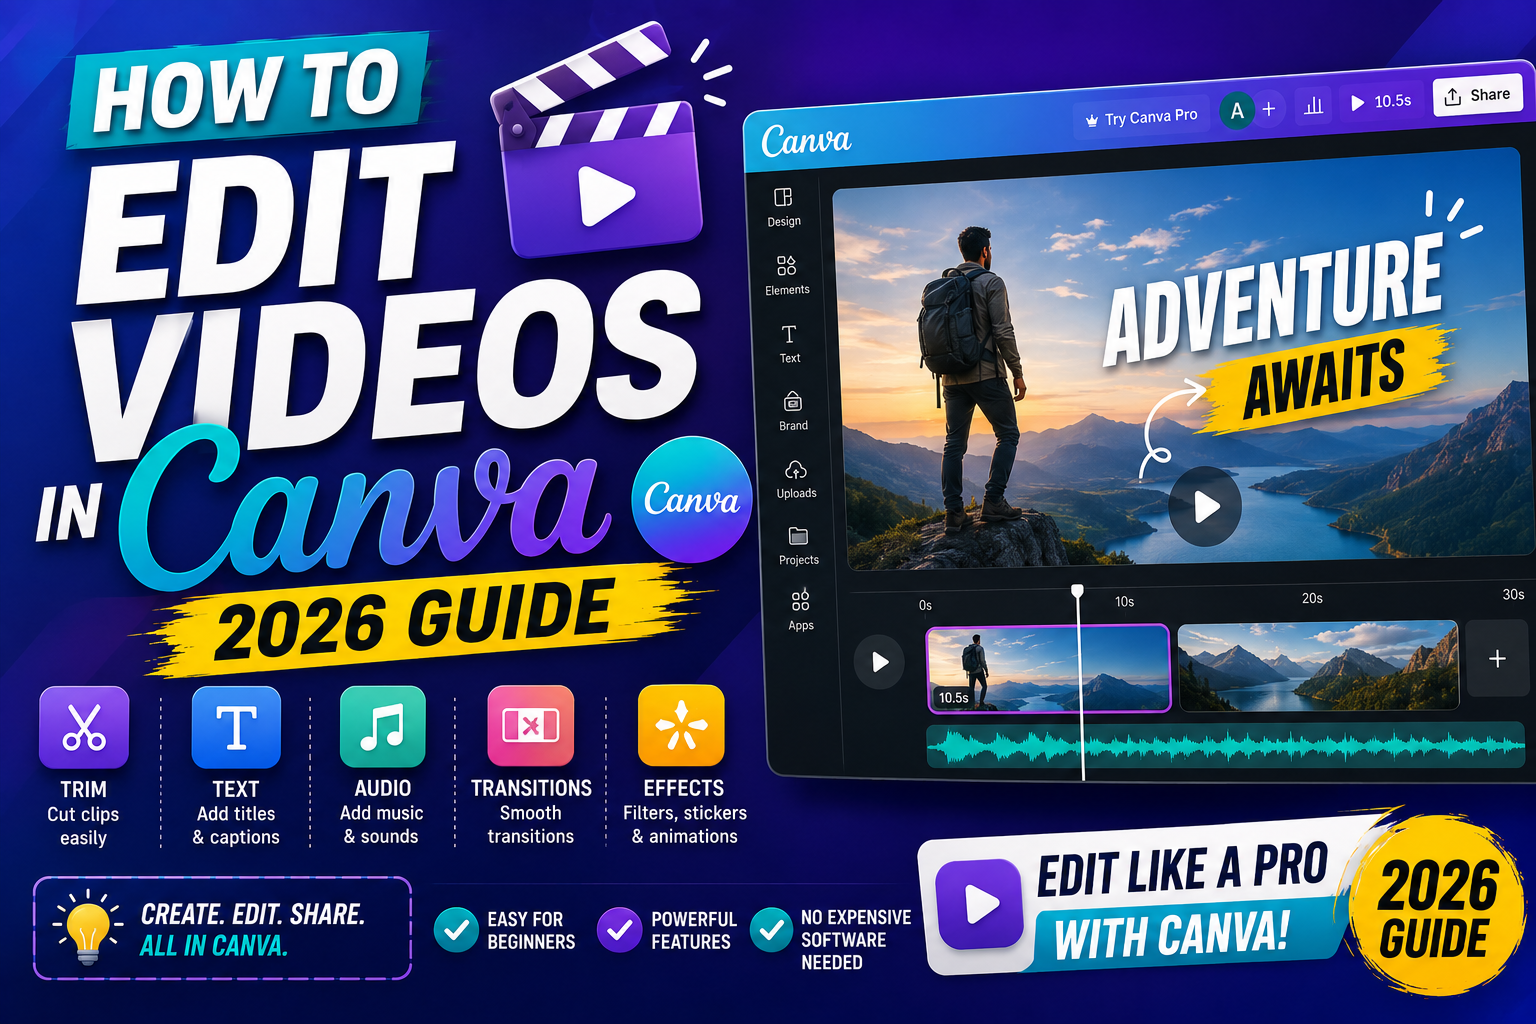
This guide walks through video editing in Canva from your first import to your final export, covering the features you actually use daily.
What Canva video editor can and cannot do
Can do well:
- Trim and split clips
- Add text overlays and animated titles
- Basic transitions between clips
- Add background music from Canva’s library
- Auto-generate subtitles (Pro feature)
- Export to MP4 in various aspect ratios (9:16 for reels, 16:9 for YouTube, 1:1 for square)
- Speed control (slow down or speed up clips)
Cannot do (or does poorly):
- Multi-camera editing with sync
- Advanced color grading (LUTs, curves)
- Keyframe animation of complex movements
- Audio ducking (auto-lowering music when someone speaks)
- Video effects beyond basic filters
- Long-form video editing (over 10 minutes gets sluggish)
If your video is under 3 minutes and mostly cuts, text, and simple transitions, Canva is enough. Anything more complex and you should use CapCut, DaVinci Resolve (free), or Premiere Pro.
Step 1: Create a video project
- Log in to canva.com
- Type “video” in the search bar at the top
- Pick the aspect ratio:
- Mobile Video (9:16) for TikTok, Instagram Reels, YouTube Shorts
- Video (16:9) for YouTube regular videos, Facebook, LinkedIn
- Square Video (1:1) for Instagram feed posts
- Click Create blank video or pick a template if you want a starting point
Pick the aspect ratio based on where you will post the video. Changing aspect ratio later requires re-cropping every clip.
Step 2: Upload your video clips
- Click Uploads on the left panel
- Click Upload files or drag and drop your video files into the browser window
- Wait for uploads to finish (each MP4 typically takes 5 to 30 seconds depending on size)
- Once uploaded, drag each clip into the timeline at the bottom in the order you want them to play
Supported formats: MP4, MOV, WEBM, GIF. Max file size on the free plan is 100MB per video (upgrade to Pro for 500MB per file).
Step 3: Trim and split clips
Almost every clip you import needs trimming. To trim:
- Click a clip on the timeline to select it
- Drag the left or right edge of the clip to shorten it
- Preview by clicking the play button (spacebar also works)
To split a clip in the middle:
- Click the clip on the timeline
- Move the playhead (the vertical line) to where you want to cut
- Click the scissor icon in the toolbar, or press S on your keyboard
- The clip splits into two, and you can now delete either half or add a transition between them
This is how you cut out umms, mistakes, and dead space, which makes even casual talking-head videos feel more professional.
Step 4: Add text overlays and titles
- Click Text on the left panel
- Pick a text style (Add heading, Add subheading, or one of the animated text templates)
- Drag the text box to where you want it on the video
- Type your text
- Adjust font, size, and color using the top toolbar
To animate the text (Text appears, moves, or fades in and out):
- Click the text box
- Click Animate in the top toolbar
- Pick an animation: Fade in, Rise, Pan, Typewriter
- Set the duration (usually 0.5 to 1.5 seconds looks natural)
For social media, use the Typewriter animation for the main hook text. It draws the eye and dramatically improves watch time on Reels and TikToks.
Step 5: Add background music and audio
- Click Audio on the left panel
- Browse Canva’s music library (all royalty-free, safe for monetized YouTube)
- Preview tracks by hovering over them
- Drag your chosen track onto the timeline
To adjust audio:
- Click the audio track on the timeline
- In the top toolbar, adjust volume with the volume slider
- Trim the audio to match your video length by dragging its edges
- Add fade in and fade out effects for a professional feel (also in the top toolbar)
To upload your own audio (voiceover recording, music you own): use the Uploads tab, upload the audio file, then drag onto the timeline the same way.
Step 6: Add transitions between clips
- Click the small icon between two clips on the timeline
- Pick a transition (Dissolve, Slide, Wipe, Circle, Line)
- Set the duration (typically 0.3 to 0.8 seconds)
For most social media content, Dissolve is the safest choice. Fancy transitions (Circle, Line) draw attention to the edit itself, which distracts from your content. Use them sparingly.
Step 7: Auto-generate subtitles (Pro feature)
If you have Canva Pro:
- Click a video clip with spoken content
- Click Subtitles in the top toolbar (or find it under the three-dot menu)
- Canva transcribes the audio in about 30 seconds
- Review the auto-generated subtitles for accuracy, edit any errors
- Adjust styling (font size, color, background) so subtitles stand out on the video
Auto-subtitles are 85 to 90 percent accurate for clear English. Filipino, mixed English-Tagalog, or Cebuano audio drops accuracy to 60 to 75 percent, so plan to review carefully.
Step 8: Export your video
- Click Share in the top right
- Click Download
- Choose file type MP4 Video
- Pick quality (Standard is fine for social media, HD for YouTube)
- Click Download
Export time depends on video length. A 60-second video exports in 20 to 40 seconds. A 5-minute video takes 2 to 5 minutes. Canva does the export server-side so your browser stays responsive.
Common problems while editing videos in Canva
- Video plays laggy in the editor: Your browser is struggling with a large clip. Try Chrome or Edge (Firefox handles video worse), close other tabs, or shorten the clip.
- Audio is out of sync after export: Restart the browser and re-export. If sync issues persist, try lowering the export quality or split the video into shorter segments.
- Text disappears on mobile playback: Text was placed too close to the edge. Keep text at least 10 percent of the video width from any edge (Instagram trims edges on some devices).
- Cannot upload a large video file: Free plan caps at 100MB per file. Compress with Handbrake before uploading, or upgrade to Canva Pro (500MB limit).
- Music copyright warning on YouTube: This should not happen with Canva’s music library since it is royalty-free. If it does, dispute the claim in YouTube Studio, referencing Canva as the music source.
Quick step-by-step summary (click to expand)
- Create a video project. Pick aspect ratio (9:16 mobile, 16:9 desktop, 1:1 square) based on where you post.
- Upload your clips. Drag MP4 or MOV files into Uploads tab. Max 100MB free, 500MB Pro.
- Trim and split. Drag clip edges to trim, press S to split at the playhead position.
- Add text overlays. Text tab, drag onto video, style with Animate (Typewriter works best for hooks).
- Add background music. Audio tab, browse royalty-free tracks, adjust volume and add fade in-out.
- Add transitions. Click between clips, pick Dissolve (safe default), set 0.3 to 0.8 second duration.
- Auto-subtitles (Pro). Click Subtitles, review the 85 to 90 percent accurate transcription, edit errors.
- Export as MP4. Share, Download, MP4 Video, Standard or HD quality.
Official Canva documentation
Frequently asked questions
Can I edit long videos in Canva?
Canva handles videos under 10 minutes well. Beyond that, the editor becomes sluggish because everything runs in the browser. For long videos (podcasts, webinars, YouTube long-form), use dedicated tools like CapCut, DaVinci Resolve (free), or Adobe Premiere. Canva shines for short-form: TikTok, Reels, Shorts, and simple explainers under 3 minutes.
Is Canva video editing free?
Yes, the core video editor is free. You get trim, split, text, transitions, and MP4 export on the free plan. What is Pro-only: auto-generated subtitles, video files larger than 100MB, brand kit, background remover, and unlimited stock video clips. For most beginner video editing, the free plan is enough.
Can I add my own music to a Canva video?
Yes. Upload your music file via the Uploads tab (MP3, WAV, and M4A are all supported), then drag it onto the timeline. Adjust volume and add fade in and fade out. Make sure you own the music rights or have a license, because Canva does not check ownership of files you upload.
Does Canva have auto-subtitles for Filipino or Tagalog?
Canva’s auto-subtitles are optimized for English. Filipino, Tagalog, and Cebuano audio typically get 60 to 75 percent accuracy compared to 85 to 90 percent for clear English. Plan to spend extra time reviewing and correcting Filipino-language subtitles. Alternatively, use Otter.ai or Descript for higher accuracy Filipino transcription, then upload the SRT file into Canva.
What video format does Canva export?
Canva exports MP4 video (H.264 codec, AAC audio) which is compatible with every social platform, YouTube, and video player. You can pick between Standard quality (720p) and HD (1080p). GIF export is also available for silent short clips. There is no 4K export option even on Canva Pro.
Can I edit videos in the Canva mobile app?
Yes, but it is more constrained than desktop. The mobile app supports trimming, splits, text overlays, and audio. Advanced features like keyframe animation and detailed audio editing are desktop-only. For creators who record on their phone and post directly, the mobile app is fast enough. For polished work, edit on desktop.

Caren Bautista
Technical Writer at PIES IT Solution
Responsible for crafting clear, beginner-friendly content across the platform.
Expertise: Technical Writing · Content Creation · Documentation · Editorial Writing · JavaScript · TypeScript · Python · Python Errors · HTTP Errors · MS Excel · View all posts by Caren Bautista →