
A Canva Brand Kit stores your logo, brand colors, and brand fonts in one place. Every new design starts with them ready. It is the single biggest time-saver in Canva Pro. Once set up, you never have to type in your brand HEX code or hunt for the right logo file again. This 2026 guide walks you through the complete setup in about 10 minutes.
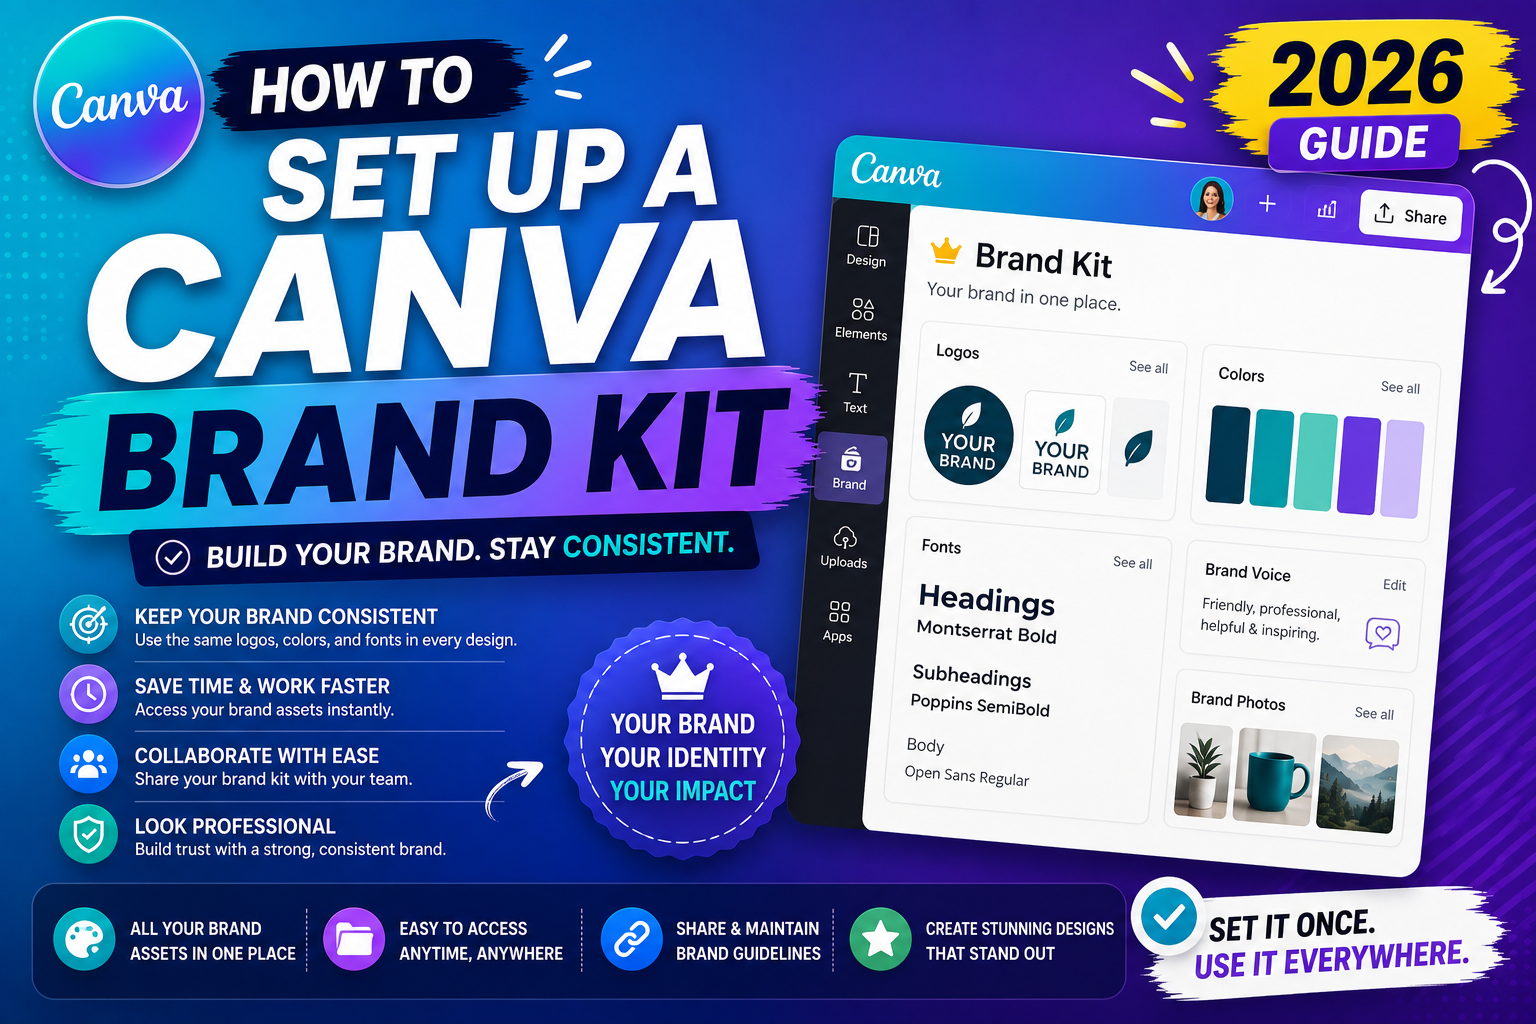
Quick step-by-step summary (click to expand)
- Open Canva. Sign in at canva.com (Brand Kit works best with Canva Pro).
- Click your account menu. Top-right corner, then click “Brand” or “Brand Kit”.
- Name your Brand Kit. Something clear like “Acme Inc” or “Personal Brand 2026”.
- Upload your logo. Drop PNG, JPG, or SVG files into the Logos section.
- Add brand colors. Paste HEX codes or use the color picker on your logo.
- Add brand fonts. Choose from Canva’s library or upload custom fonts (Pro only).
- Save and apply. Your Brand Kit is now available in every new design’s left sidebar.
Do I need Canva Pro to use Brand Kit?
Free Canva users get 1 basic Brand Kit with limited features: 3 color slots, 2 fonts, 2 logos. Enough for personal brands but not for freelancers or small businesses managing multiple brands.
Canva Pro (USD 14.99/month) gives you unlimited Brand Kits, each with unlimited colors, fonts, logos, and photos. Also unlocks custom font uploads (essential if your brand uses a non-Google font).
If you design for more than one brand, Pro pays for itself in Brand Kit time savings alone.
Step 1: Access the Brand Kit editor
- Open Canva at canva.com or the desktop app.
- Click your profile picture in the top-right corner.
- Select “Brand” from the dropdown menu. (In some versions it says “Brand Hub” or “Brand Kit”.)
- The Brand editor opens showing sections for Logos, Colors, Fonts, Photos, Icons, Templates, and Guidelines.
Step 2: Name your Brand Kit
If you have Pro, you can create multiple Brand Kits. Name each one clearly:
- “Client Name – 2026” for freelance work
- “Personal Brand” for your own brand
- “[Company Name] – Main” for your business’s primary brand
- “[Company Name] – Sub-brand Y” for product-specific brands
To rename: click the gear icon next to the Brand Kit name at the top. To create a new Kit: click the “+” or “Add new” button in the Brand Kit selector.
Step 3: Upload your logo files
In the Logos section, upload your logo variants:
- Click “Add new” or drag files directly into the Logos box.
- Upload each logo variant separately: full color, black, white, icon-only, wordmark.
- Preferred file formats: PNG (transparent background), SVG (scales to any size), JPG (fallback if no transparent version).
- Ideal size: 500-1000px wide, transparent background PNGs work best.
Recommended variants to include:
- Primary logo (main version you use most)
- Secondary/simplified version (for small spaces like favicons or watermarks)
- All-white version (for dark backgrounds)
- All-black version (for grayscale prints)
- Icon-only version (just the mark without wordmark)
Step 4: Set up your brand colors
Colors are the fastest thing to set and the biggest time-saver. Every new design will show your palette in the left sidebar under “Brand”.
- Click “Add new” under Colors.
- Type or paste the HEX code (e.g., #1F3A5F).
- Or click the color square and use the picker to sample from an uploaded image.
- Label each color: “Primary Blue”, “Accent Gold”, “Neutral Gray”, etc.
- Add color groups (Pro only) to organize: Brand Primary, Brand Secondary, Neutrals, Semantic (success green, warning red).
Recommended color count: 5-10 total. More than 15 gets unwieldy. Keep primary brand colors (2-3) plus secondary (2-3) plus neutrals (2-3).
Step 5: Add brand fonts
Under Fonts, set your typography hierarchy:
- Heading font: for H1/H2/H3.
- Subheading font: sometimes same as heading, sometimes different.
- Body font: for paragraph text. Almost always different from heading.
Add fonts from Canva’s library (thousands of Google Fonts) or upload custom fonts (Pro only) if your brand uses a non-Google font. Custom font upload accepts .ttf, .otf, and .woff.
Step 6: Add brand photos and icons (Pro)
Beyond logo/colors/fonts, add brand assets you use repeatedly:
- Product photos on transparent backgrounds
- Team member headshots
- Location photos of your office or venue
- Brand illustrations or custom icons
- Recurring background textures or patterns
These appear in the “Brand” panel of any new design, so you can drag them in without searching your files.
Step 7: Set brand templates
Save designs as reusable templates. New designs based on templates start with your brand fully applied:
- Design a template design (like a social post, story, or newsletter header).
- Click File > “Publish as brand template”.
- Choose which Brand Kit to save it to.
- The template appears in the Templates section of your Brand Kit.
Common template shapes to save: Instagram post, Instagram Story, YouTube thumbnail, Facebook cover, presentation title slide, business card, letterhead.
Step 8: Optional, Brand Voice and Guidelines
Canva 2026 added Brand Voice (part of Magic Studio) that trains AI to write copy in your brand style:
- In the Brand editor, scroll to Brand Voice.
- Upload 3-5 pieces of writing that represent your brand (blog posts, newsletters, ads).
- Canva analyzes tone, common phrases, and typical structure.
- Future Magic Write output uses your voice automatically.
Also add Guidelines: written notes for team members about when to use which logo variant, spacing rules, no-no’s (e.g., “never stretch the logo horizontally”). This is essential if you have collaborators using your Brand Kit.
Use your Brand Kit in a new design
- Start a new design from the Canva home page.
- In the editor, look at the left sidebar.
- Click “Brand” (or the star icon).
- You see all your Brand Kit assets: logos, colors, fonts, photos.
- Drag any asset into your design.
- Text automatically defaults to your brand fonts.
- Color picker shows your brand palette at the top.
Share Brand Kit with teammates
Canva Teams and Pro Team plans allow sharing Brand Kits with team members:
- In the Brand editor, click “Share” or the team icon.
- Enter teammates’ emails.
- Set permission: can view, can edit, or admin (can rename/delete the Kit).
- Team members see the shared Brand Kit in their own Canva accounts.
Great for agencies with multiple clients or growing startups with multiple brand touchpoints.
Common mistakes when setting up a Brand Kit
- Uploading a JPG logo with white background instead of PNG with transparency. The white square shows on colored backgrounds. Always use transparent PNG or SVG.
- Adding 20+ colors “just in case”. Cluttered picker slows you down. Cap at 10-12.
- Skipping the black/white logo variants. You will need them the first time you design for a dark background.
- Not naming colors. Unnamed HEX codes are confusing later. Always add labels like “Primary Blue” not just #1F3A5F.
- Uploading tiny logo files. A 200px logo pixelates on presentations. Upload at 500-1000px minimum.
- Forgetting to publish templates as brand templates. If you design and save regular designs, they do not appear in the Brand Kit. Use File > Publish as brand template.
Official documentation
Frequently asked questions
Can I use Canva Brand Kit for free?
Free Canva includes a basic Brand Kit: 3 colors, 2 fonts, 2 logos, 1 Kit total. Enough for personal use. Pro (USD 14.99/mo) unlocks unlimited Kits, unlimited assets per Kit, and custom font uploads. Essential for freelancers or businesses managing multiple brands.
How many Brand Kits can I have on Canva Pro?
Up to 100 Brand Kits on Pro. Each Kit can have unlimited colors, fonts, logos, photos, and templates. Beyond 100 you would need Canva Enterprise. Most freelancers use 5-15 Kits (one per active client) which is well within the limit.
Can I upload custom fonts to Canva?
Yes on Pro. Accepted formats: .ttf, .otf, .woff, .woff2. Upload via Brand Kit > Fonts > Upload font. You need to own the font’s license (either the font is free-for-commercial-use, or you purchased a license). Do not upload pirated fonts.
How do I share a Brand Kit with my team?
On Canva Teams or Pro Team plans, open the Brand editor and click Share. Enter teammates’ emails and set permission (view/edit/admin). Team members see the shared Kit in their own Canva accounts. Guest access (external clients) requires the higher-tier Team plan.
Why should I use SVG logos over PNG?
SVG (vector) scales to any size without pixelation. Great for large presentations, billboards, or unpredictable design sizes. PNG works fine for social media and web, but pixelates when scaled beyond its original size. Upload both when possible: SVG as primary, PNG as fallback.
Does Canva Brand Kit work on mobile app?
Yes on iOS and Android. Brand Kit assets appear in the mobile design editor’s Brand tab, same as desktop. You cannot create or edit a Brand Kit on mobile (only desktop web supports that) but you can USE all Brand Kit assets when designing on mobile.

Glay Eliver
Programmer & Technical Writer at PIES IT Solution
Glay Eliver is a programmer and writer at PIES IT Solution, author of over 600 tutorials at itsourcecode.com. Specializes in JavaScript tutorials, Microsoft Office how-tos (Excel, Word, PowerPoint), and Python error debugging.
Expertise: JavaScript · MS Excel · MS Word · MS PowerPoint · Python · Python ImportError · Python TypeError · Python AttributeError · ModuleNotFoundError · JavaScript ReferenceError · Pygame · View all posts by Glay Eliver →