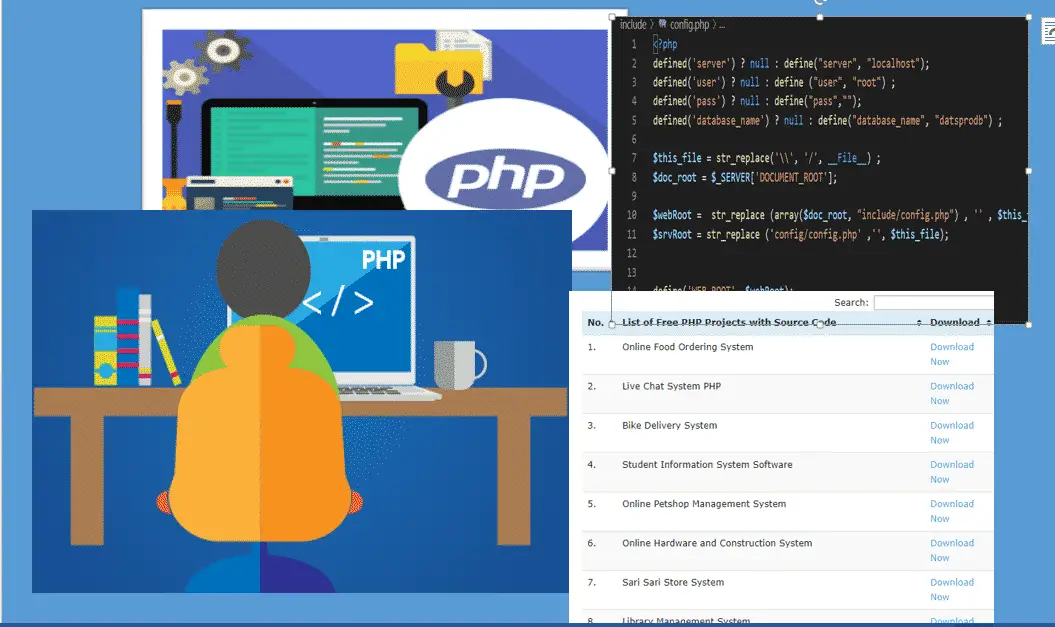
If you are a BSIT or BSCS student hunting for a PHP project with source code free download for your capstone, midterm, or thesis defense, this list is built for you. We compiled 25 of the most-downloaded PHP projects on itsourcecode.com, all with full source code, MySQL database dumps, README files, and screenshots, and ranked each one by capstone suitability, difficulty, and how much customization it needs before your panel sees it.
PHP still runs roughly 75% of all websites on the public internet in 2026, and the LAMP stack (Linux + Apache + MySQL + PHP) is still the default in most Philippine and Indian university IT programs. That means the projects in this guide are not just easy to download, they are easy to defend. Your panel knows PHP. Your professor knows XAMPP. Your hosting will cost you ₱150-300/month on a Philippine shared host, not ₱2,000/month on a cloud VPS.
Every project below links to its full source code page. We have grouped them by category, Management Systems, E-commerce/POS, Records & Tracking, Education, Reservation/Booking, and Healthcare, so you can jump straight to the kind of capstone your adviser approved.
Last updated: June 2026, by PIES Information Technology Solutions. Tested on XAMPP 8.2 (PHP 8.2 + MariaDB 10.6) on Windows 11 and Ubuntu 24.04.
📌 Quick answer, Top 3 picks for capstone defense: 1) School Management System (universal use-case, panels love it, easy to extend) · 2) Online Restaurant Management System (covers ordering, billing, reports, fits any food-related capstone) · 3) Hospital / Clinic Management System (deep enough to support a thesis, generic enough to localize for any barangay clinic). All three are PHP + MySQL with XAMPP setup under 10 minutes.
Why PHP for Capstone in 2026?
A lot of “PHP is dead” tweets float around, and almost none of them apply to a capstone project. Here is why PHP is still our top recommendation for BSIT/BSCS thesis work in 2026:
1. PHP 8.x is genuinely fast. PHP 8.2 with JIT and OPcache runs typical CRUD-heavy capstone apps faster than the Python/Django equivalent on the same hardware. Your panel will not see lag during the live demo.
2. The Laravel + CodeIgniter ecosystem is mature. Laravel 11 ships with Eloquent ORM, Blade templating, queue workers, and Sanctum authentication out of the box. CodeIgniter 4 stays the lightweight pick when you want fewer moving parts in your defense slides. Both are taught in most universities, your adviser already knows them.
3. XAMPP is the universal setup. Every university computer lab in the Philippines and India runs XAMPP or Laragon. You do not have to fight Docker, virtualenvs, or npm install hell during a 15-minute panel window. Unzip, paste in htdocs/, import the SQL, demo.
4. Cheap hosting that survives your defense. A Philippine shared host with cPanel and LiteSpeed costs ₱150-300/month and runs every project in this list with zero config. Your professor can visit the live URL the night before the panel. Compare that to a Node/Python deploy on a cloud VPS, many more places to misconfigure.
5. Stack Overflow, GitHub, and AI know PHP cold. When something breaks at 2 AM the night before your defense, Google has a fix. Modern AI coding assistants (Copilot, Cursor, Claude) all generate excellent PHP. You will not be stuck.
For a full breakdown of how PHP compares to Python and JavaScript stacks for capstone work, see our 150 best capstone project ideas for IT students (2026 edition).
What to Expect from Each Project
Every PHP project linked below ships with the same baseline package, so you know exactly what you are downloading before you click:
- Full source code: PHP files, CSS, JS, and image assets, ready to drop into
xampp/htdocs/. - SQL database dump: a
.sqlfile you import via phpMyAdmin to create all tables and seed sample data. - README / setup instructions: step-by-step XAMPP install, database name, default admin login.
- Screenshots of admin and user dashboards: useful for your defense slides so you do not have to take fresh ones.
- Permission to customize: these are educational releases. Re-brand, add features, rewrite modules, and present as your own capstone, exactly what they are for.
A few projects ship with extra goodies (DFDs, ER diagrams, or PDF documentation). Those are noted in each card below.
25 PHP Projects Ranked by Capstone Suitability
Category 1: Management Systems (8 projects)
Management systems are the safest capstone choice, broad enough to fit almost any institution (school, library, hospital, gym, etc.), deep enough to score well on your panel’s rubric for modules, roles, and reports.
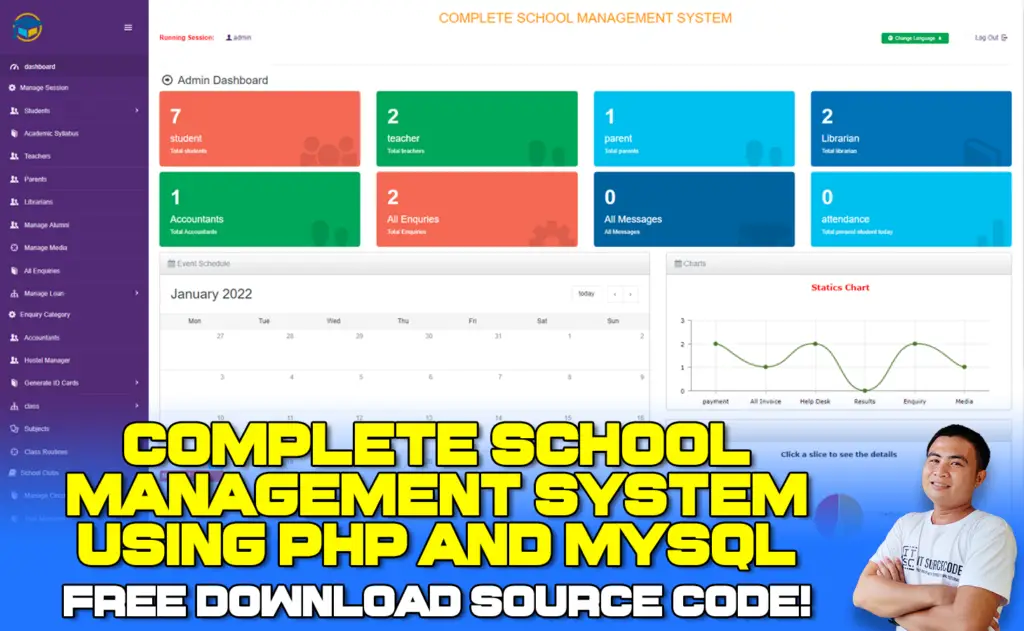
1. School Management System in PHP
Stack: PHP 8 · MySQL · Bootstrap · jQuery · Difficulty: Intermediate · Capstone fit: ⭐⭐⭐⭐⭐ The universal capstone. Handles students, teachers, sections, attendance, grades, and report generation. Easy to localize for any senior high or college department. Pair it with our DFD library for documentation.
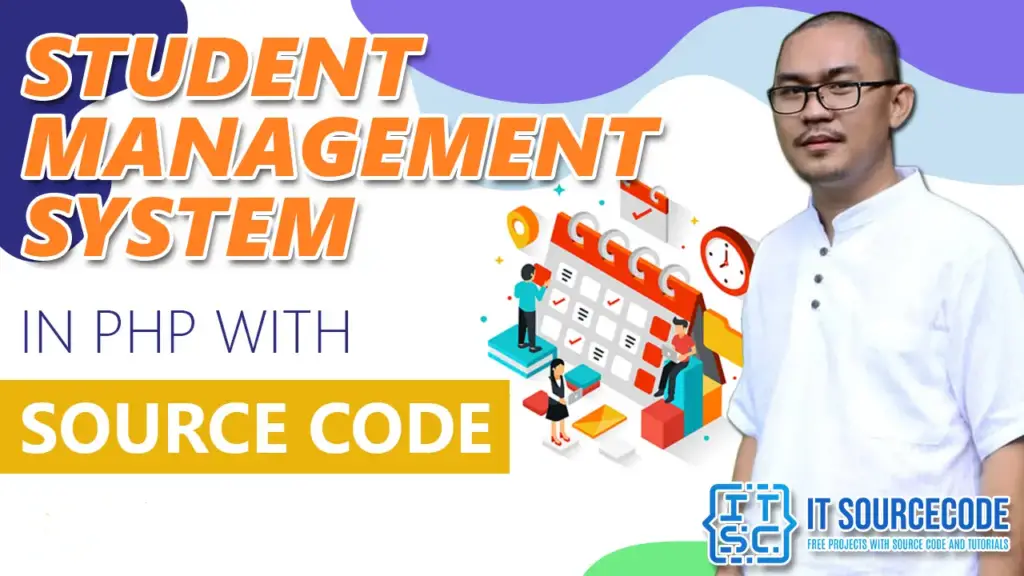
2. Student Management System in PHP
Stack: Vanilla PHP · MySQL · Bootstrap · Difficulty: Beginner · Capstone fit: ⭐⭐⭐⭐ A lighter sibling of the School Management System, focused on grade entry per subject per grading period. Great first PHP capstone for solo defenders.
3. Online Library Management System in PHP
Stack: PHP · MySQL · Bootstrap · Difficulty: Beginner-Intermediate · Capstone fit: ⭐⭐⭐⭐⭐ Books, authors, categories, issuing, returning, fines. Universal, every school has a library. Pairs beautifully with the matching DFD documentation.
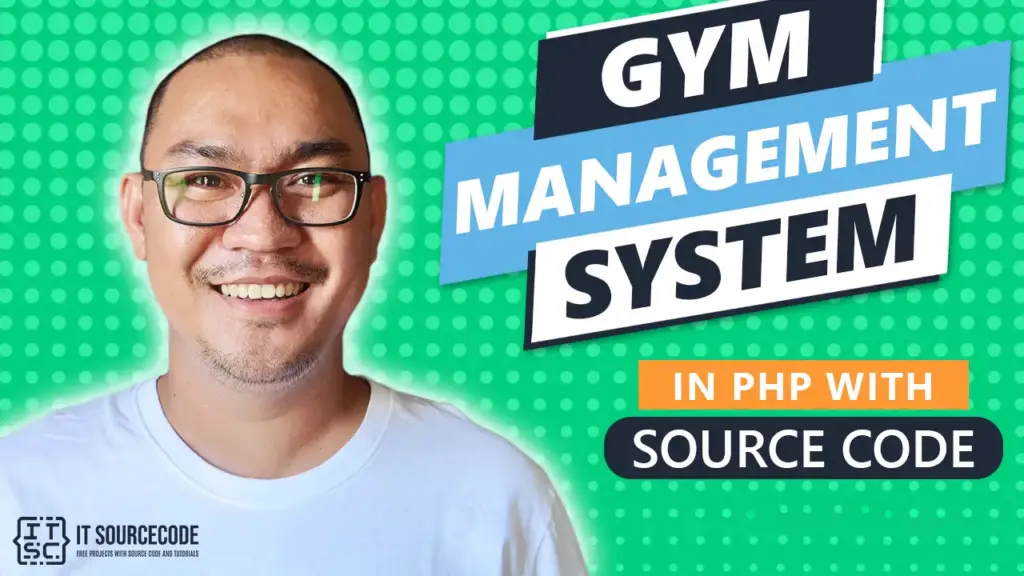
4. Gym Management System in PHP
Stack: PHP · MySQL · Bootstrap · Difficulty: Intermediate · Capstone fit: ⭐⭐⭐⭐ Tracks memberships, payments, trainers, and attendance. Niche enough to feel original but generic enough to defend in front of any panel.
5. Loan Management System in PHP
Stack: PHP · MySQL · Bootstrap · jQuery · Difficulty: Intermediate · Capstone fit: ⭐⭐⭐⭐ Manages borrowers, loan types, plans, interest, and payment schedules. Strong fit for cooperative- or microfinance-themed capstones common in the Philippines.

6. Payroll Management System in PHP
Stack: PHP · MySQL · Bootstrap · jQuery · AJAX · Difficulty: Intermediate-Advanced · Capstone fit: ⭐⭐⭐⭐⭐ Employee records, salary computation, deductions (SSS/PhilHealth/Pag-IBIG), payslips. Real-world utility makes panels rate it higher.
7. Leave Management System in PHP
Stack: PHP · MySQL · Difficulty: Beginner-Intermediate · Capstone fit: ⭐⭐⭐ Multi-department leave requests with approval workflow. Great as a sub-module inside a bigger HRIS or as a standalone for a smaller capstone.
8. Laravel Human Resource Management System
Stack: Laravel · MySQL · Blade · Bootstrap · Difficulty: Advanced · Capstone fit: ⭐⭐⭐⭐⭐ The most ambitious project on this list, full HRIS in Laravel with departments, employees, attendance, leaves, and reports. Defend this and you graduate.

Category 2: E-commerce & POS (6 projects)
If your capstone has a “selling” or “transaction” angle, a barangay store, an online food shop, a campus canteen, these are your starting points.
Stack: PHP · MySQL · Bootstrap · JavaScript · Difficulty: Intermediate · Capstone fit: ⭐⭐⭐⭐⭐ Full storefront with categories, product listing, cart, and checkout. Add a payment-gateway sandbox (GCash, PayMongo) for extra panel points.
10. Online Book Store Project in PHP
Stack: PHP · MySQL · Bootstrap · jQuery · AJAX · Difficulty: Intermediate · Capstone fit: ⭐⭐⭐⭐ Niche e-commerce focused on book SKUs, authors, categories. Lighter scope than a general store, easier to finish before the deadline.

Stack: PHP · MySQL · Bootstrap · AJAX · Difficulty: Beginner-Intermediate · Capstone fit: ⭐⭐⭐⭐ Invoice generation, customer management, payment tracking. Doubles as a POS backend if you bolt on a checkout UI.
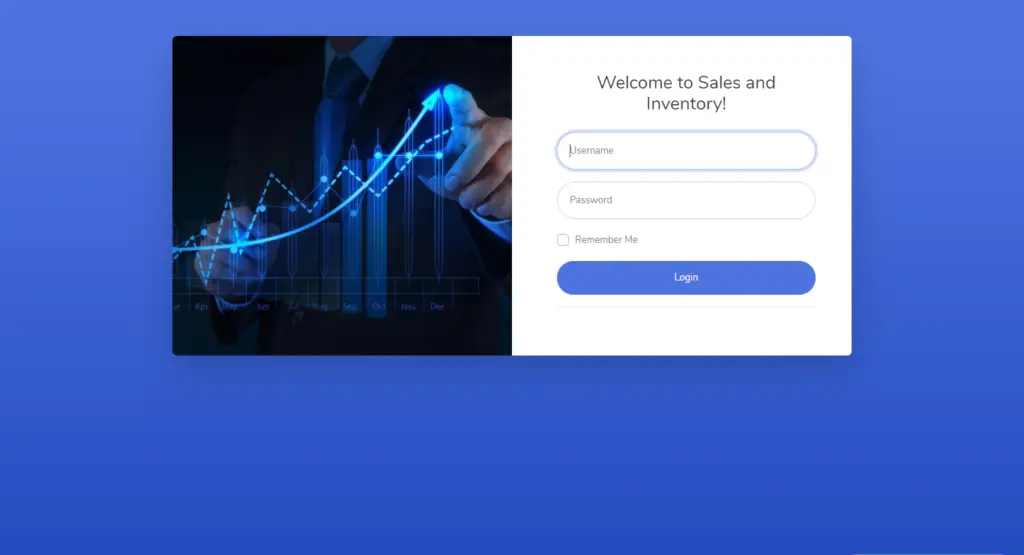
12. Sales and Inventory System in PHP
Stack: PHP · MySQL · Difficulty: Intermediate · Capstone fit: ⭐⭐⭐⭐⭐ The retail-store capstone classic. Products in/out, stock levels, sales reports, a panel can run through every module in 10 minutes. Always rates well.
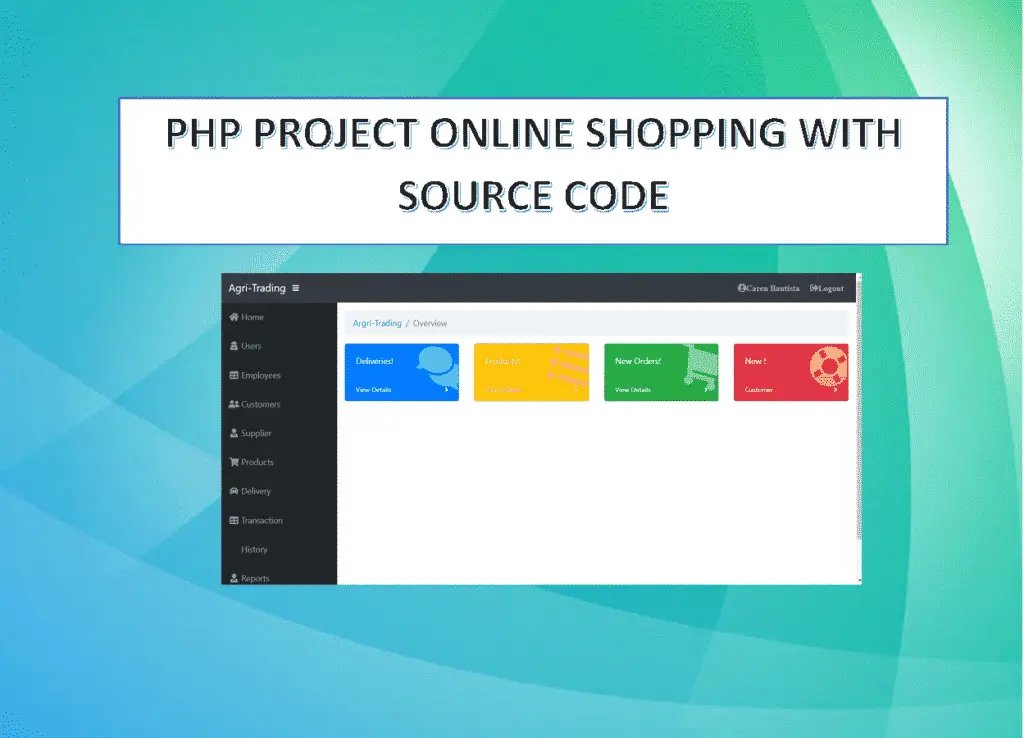
13. Agri-Trading Online Shopping System in PHP
Stack: PHP · MySQL · Bootstrap · Difficulty: Intermediate · Capstone fit: ⭐⭐⭐⭐ Agricultural products marketplace, buyers, suppliers, products, delivery tracking. Very strong fit for capstones tied to local farming co-ops in Negros or Iloilo.
14. Idea PHP Project Bundle (POS variants)
Stack: PHP · MySQL · Difficulty: Beginner-Intermediate · Capstone fit: ⭐⭐⭐ A collection of smaller PHP project ideas, useful when you want to pick a niche POS or sales variant and grow it into a full capstone.
Category 3: Records & Tracking (4 projects)
Pure data-management capstones, light on UI, heavy on schemas and reporting. Panels reward clean ER diagrams here.
15. Attendance Management System in PHP
Stack: PHP · MySQL · Bootstrap · Difficulty: Beginner · Capstone fit: ⭐⭐⭐⭐ Students, units, courses, attendance records. Drop in a barcode/QR scanner and it becomes a much stronger thesis.

16. Document Management (CodeIgniter)
Stack: CodeIgniter 4 · MySQL · Bootstrap · Difficulty: Intermediate · Capstone fit: ⭐⭐⭐⭐ File upload, storage, and retrieval from a database, backbone of any document-management capstone for a barangay or HR office.
17. News Portal Project in PHP
Stack: PHP · MySQL · Bootstrap · Difficulty: Beginner-Intermediate · Capstone fit: ⭐⭐⭐ Article CRUD, categories, comments, admin panel. Strong fit for student-press capstones or campus-news capstones.
18. Job Portal in PHP (Asset/Tracking Style)
Stack: PHP · MySQL · Bootstrap · Difficulty: Intermediate · Capstone fit: ⭐⭐⭐⭐ Employers, candidates, job postings, applications, extends naturally into an alumni-tracking or career-services capstone.

Category 4: Education (3 projects)
Quiz, grading, and result-management systems. Always relevant, every school needs them, every panel understands them.
19. Online Voting System in PHP
Stack: PHP · MySQL · Bootstrap · jQuery · AJAX · Difficulty: Intermediate · Capstone fit: ⭐⭐⭐⭐⭐ Student council and SSG elections capstone gold. Add OTP login and you have a defendable thesis on election security.

20. Online Grading System (Student Mgmt extension)
Stack: PHP · MySQL · Bootstrap · Difficulty: Beginner-Intermediate · Capstone fit: ⭐⭐⭐⭐ Use the Student Management System base and bolt on subject-weighting, GPA calculation, and PDF report cards. Two weeks of work for a clean defense.
21. CodeIgniter Projects Bundle (Quiz / LMS variants)
Stack: CodeIgniter 4 · MySQL · Difficulty: Intermediate · Capstone fit: ⭐⭐⭐⭐ Collection of CodeIgniter starter projects, pick a quiz module or simple LMS template and build out from there.
Category 5: Reservation & Booking (4 projects)
Anything with a calendar, slot, or “book this time” workflow. Common capstone briefs from local hotels, salons, and clinics.
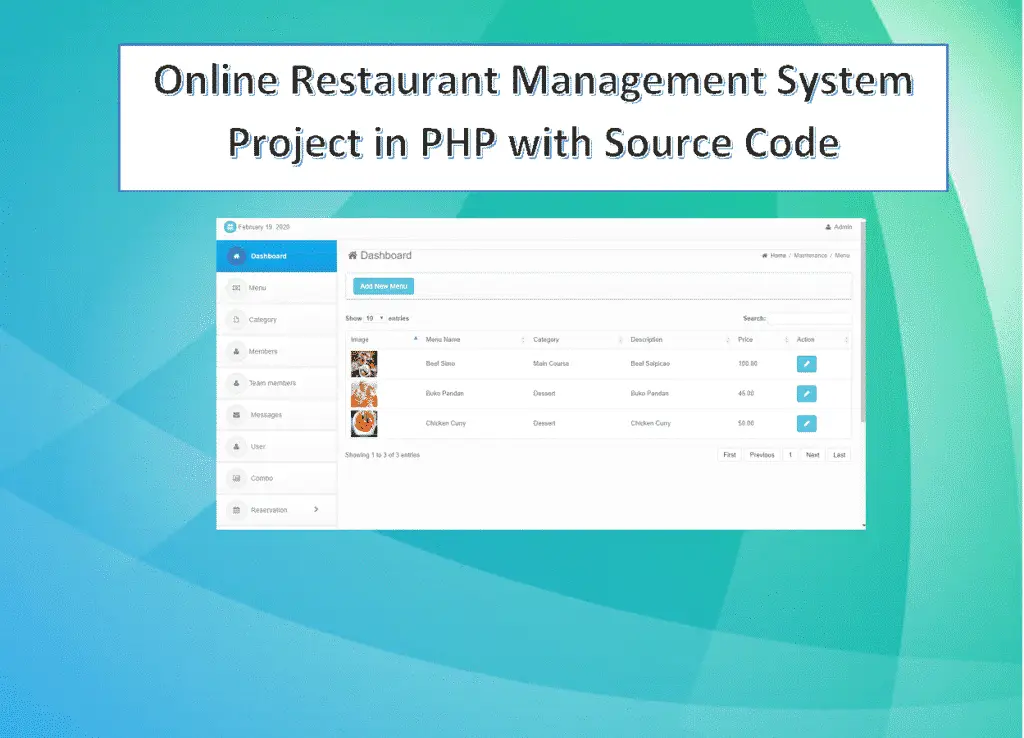
22. Online Restaurant Management System in PHP
Stack: PHP · MySQL · JavaScript · CSS · Difficulty: Intermediate · Capstone fit: ⭐⭐⭐⭐⭐ Menu, ordering, reservations, billing, reports, covers four panel rubric categories at once. Easy to localize for any neighborhood eatery.
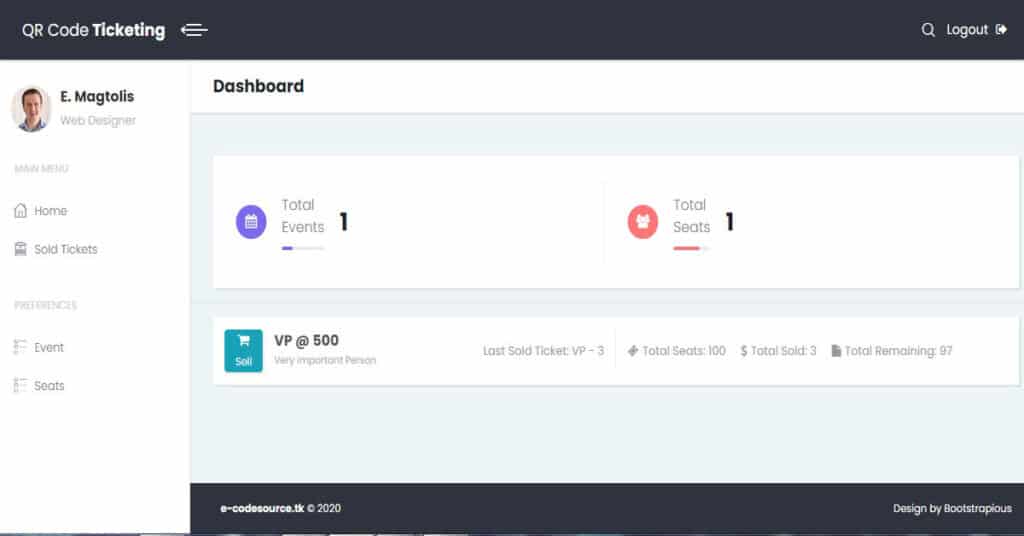
23. Ticket Reservation System in PHP (with QR Code)
Stack: PHP · MySQL · Bootstrap · QR library · Difficulty: Intermediate-Advanced · Capstone fit: ⭐⭐⭐⭐⭐ Tour operator / event ticketing capstone with QR-code verification. The QR feature alone bumps panel scores.
24. Hotel Booking / Room Reservation in PHP
Stack: PHP · MySQL · Bootstrap · Difficulty: Intermediate · Capstone fit: ⭐⭐⭐⭐ Rooms, availability calendar, customer accounts, billing. Common capstone partner for local hospitality businesses.
Category 6: Healthcare (5 projects)
Capstones tied to real clinics, hospitals, or barangay health centers. Always defendable, always sponsor-able by a local LGU partner.
26. Hospital Management System in PHP
Stack: PHP · MySQL · Bootstrap · Difficulty: Advanced · Capstone fit: ⭐⭐⭐⭐⭐ Patients, doctors, appointments, billing, prescriptions, inventory. The single most defendable healthcare capstone, strong rubric coverage across every module.
📌 Looking for more PHP ideas? Our companion roundup, PHP Projects Ideas & Topics, covers another 60+ titles by domain. For a specific high-rated capstone walkthrough, see our Event Management System in PHP and MySQL deep dive.
How to Run These Projects (2026 Setup)
Every project on this page uses the standard PHP + MySQL stack. If you have run any one of them, you can run all 30. Here is the 2026 baseline setup that works on Windows, macOS, and Linux:
Step 1, Install XAMPP or Laragon. Download XAMPP 8.2 (PHP 8.2 + MariaDB 10.6) from apachefriends.org, or Laragon (Windows only, lighter) from laragon.org. Install with defaults. Start the Apache and MySQL modules from the control panel.
Step 2, Drop the project into htdocs/. Unzip the downloaded ZIP. Copy the project folder (e.g., school_mgmt) into C:\xampp\htdocs\ on Windows or /Applications/XAMPP/htdocs/ on macOS.
Step 3, Create the database. Open http://localhost/phpmyadmin in your browser. Click “New”, name the database exactly as written in the project README (case matters), click “Create”. Open the new database, click the “Import” tab, browse to the project’s .sql file, click “Go”.
Step 4, Configure the database connection. Most projects keep DB credentials in a single file, usually config.php, db.php, connect.php, or application/config/database.php for CodeIgniter, or .env for Laravel. Open it and confirm:
// Typical vanilla PHP connection block
$host = "localhost";
$user = "root";
$pass = "";           // XAMPP default is empty
$db   = "school_mgmt"; // must match the database you created
$conn = mysqli_connect($host, $user, $pass, $db);
Step 5, Open the project in a browser. Visit http://localhost/school_mgmt/ (replace with your project folder name). Use the admin credentials from the README, typically admin / admin or admin / admin123. Change the password before you demo to a panel.
For Laravel projects only: after dropping the folder in htdocs/, open a terminal in that folder and run composer install, then cp .env.example .env, then php artisan key:generate, then php artisan migrate --seed, then php artisan serve (visit http://localhost:8000).
Common PHP Project Setup Issues
If the project does not run on first try, and 70% of the time it will not, the issue is almost always one of these four:
1. Database connection error. Symptoms: white page, “could not connect”, or “Access denied for user ‘root’@’localhost’”. Fix: confirm MySQL is running in XAMPP control panel, confirm the database name in config.php matches exactly what you created in phpMyAdmin (case-sensitive on Linux/macOS), confirm the user is root with an empty password (XAMPP default).
2. Missing PHP extension. Symptoms: “Call to undefined function mysqli_connect()”, “Class GD not found”, “Fatal error: ZipArchive not found”. Fix: open C:\xampp\php\php.ini, find the line for the missing extension (e.g., ;extension=gd), remove the leading semicolon, save, restart Apache. The most commonly needed extensions in 2026: mysqli, gd, mbstring, zip, curl, fileinfo.
3. .htaccess or rewrite issues. Symptoms: home page works but every other link returns 404. Fix: open C:\xampp\apache\conf\httpd.conf, find #LoadModule rewrite_module modules/mod_rewrite.so, remove the leading #, save, restart Apache. CodeIgniter and Laravel projects depend on this.
4. Port 80 or 3306 already in use. Symptoms: Apache or MySQL refuses to start in XAMPP. Skype, IIS, or another MySQL install often grabs these ports. Fix: in XAMPP control panel, click Config → Apache (httpd.conf) and change Listen 80 to Listen 8080; for MySQL, edit my.ini and change port=3306 to port=3307. Your project URL becomes http://localhost:8080/your_project/.
If you are still stuck after these four checks, copy the exact error message into Google with the project name attached, most issues have been answered on Stack Overflow already.
Customizing for Your Capstone Defense
Downloading a project is the easy part. Defending it as your capstone, without your panel calling it out as a stock template, is where most students lose points. Here is the four-step polish pass we recommend before any defense:
1. Re-brand the UI completely. Replace the logo, change the primary color (CSS variables or the main stylesheet), update the login page background, change the dashboard title from “Admin Panel” to your client’s name (e.g., “Brgy. Sta. Cruz Health Center System”). Panel chairs notice generic Bootstrap immediately, original branding signals real customization work.
2. Add one unique feature your panel asked for. SMS notification (use Semaphore or PhilSMS), QR-code login, PDF report export with your client’s letterhead, two-factor auth, or a data-visualization dashboard (Chart.js). Even one solid feature beyond the stock module list signals “this student understood the requirements, not just downloaded code.”
3. Security review before defense. Most stock PHP projects use raw SQL queries (mysqli_query). Replace at least the login and any user-input forms with prepared statements (mysqli_prepare), this is the single most common follow-up question from PHP-savvy panel members. Also: hash passwords with password_hash() instead of MD5, sanitize all $_POST with htmlspecialchars(), and validate file uploads against an allow-list.
4. Documentation matches the demo. Update the README, take fresh screenshots after your re-branding, redraw the DFD and ER diagram to match your final schema (use draw.io, free), and write a one-page deployment guide for your client. Panels weight documentation surprisingly high, and the work takes a single weekend.
For deeper guidance, see our 150 best capstone project ideas for IT students (2026 edition), it covers panel-question patterns and defense rubrics in detail.
Frequently Asked Questions
Technology stack and requirements
To run this PHP project, you need these tools on your development machine:
- XAMPP or WAMP server. Bundles Apache, MySQL, and PHP so you can run PHP on Windows without individual installs. Free from apachefriends.org.
- PHP 8.0 or higher. Included with XAMPP. Older versions (5.x, 7.x) may work but modern PHP features improve security and performance.
- MySQL or MariaDB. Comes with XAMPP. phpMyAdmin manages the database through a browser UI.
- VS Code or PhpStorm. Free code editor with PHP syntax highlighting, IntelliSense, and debugging support.
- Web browser. Chrome, Firefox, or Edge for testing the running app.
Installing the source code
- Download the archive. Get the ZIP file from the download link on this page and extract it.
- Move to htdocs. Place the extracted folder inside C:\xampp\htdocs\ so Apache can serve it.
- Import the database. Open http://localhost/phpmyadmin, click Import, and select the .sql file included in the archive.
- Update database credentials. Open the config.php or connection.php file and set the correct database name, username, and password (default XAMPP: root / empty password).
- Run the project. Start Apache + MySQL in XAMPP, then visit http://localhost/your-project-folder/ in a browser.
Using this project for your BSIT capstone
This PHP project maps cleanly to standard BSIT capstone documentation. Suggested chapter alignment:
- Chapter 1 (Introduction). Discuss the problem the system solves in real-world context. Cite Philippine business or academic use cases where a manual process could be replaced.
- Chapter 2 (Review of Related Literature). Compare this system’s features against 5-10 similar published projects. Cite journals like IJERT or IEEE Access for academic-standard sources.
- Chapter 3 (Methodology). Include Use Case Diagram, Data Flow Diagram, Entity Relationship Diagram, and Activity Diagram covering all major workflows.
- Chapter 4 (Results and Discussion). Screenshot each module of the running system with a caption explaining what data it processes and which user role interacts with it.
- Chapter 5 (Conclusion and Recommendations). Identify features that could be added in a Version 2, such as mobile app, REST API export, or AI-powered analytics.
Modules typical of 25 PHP Projects
- Master data. CRUD forms for the primary entities with search and filter.
- Transaction processing. Data entry forms for day-to-day operations the system automates.
- Reports. Formatted printable output summarizing activity per day, user, or category.
- User management. Login with role-based permissions (Admin, Encoder, Viewer).
- Backup and restore. Export database to a .sql file and restore when needed.
Common enhancements for capstone review
- Modernize the UI. Add Bootstrap 5 or Tailwind CSS for a polished appearance.
- Add printable receipts. Use TCPDF or FPDF to generate PDF reports.
- Multi-user concurrency. Ensure database handles simultaneous writes without lost-update errors.
- Rewrite in Laravel. Migrate to Laravel for maintainability and modern development patterns.
Official documentation
Featured guides worth reading next
Level up your PHP capstone with these resources
The links below are affiliate links. We may earn a commission at no extra cost to you when you buy or sign up. See our affiliate disclosure.
Where can I download PHP projects with source code for free in 2026?
.sql database dump, a README with XAMPP setup steps, and screenshots. They are released for educational use, perfect for BSIT and BSCS capstone, midterm, and thesis projects.Which is the best PHP project for capstone in 2026?
Is PHP still good for capstone projects in 2026?
How do I run a downloaded PHP project on XAMPP?
C:\xampp\htdocs\, open http://localhost/phpmyadmin, create a database with the exact name from the README, import the .sql file, then open http://localhost/project-folder/ in your browser. Default login is usually admin / admin, change it before any demo. See the full “How to Run These Projects” section above for screenshots and edge cases.What is the difference between Laravel and CodeIgniter projects?
Can I use these PHP projects for my thesis or capstone?
Do these PHP projects work with PHP 8 and MySQL 8?
error_reporting(E_ALL & ~E_DEPRECATED & ~E_NOTICE); at the top of your config.php. For full PHP 8 compatibility long-term, the Laravel and CodeIgniter 4 projects are the safest picks.Why does my PHP project show “could not connect to database”?
config.php does not match what you created in phpMyAdmin (case-sensitive on Linux and macOS); (3) you are using a non-default MySQL password, XAMPP defaults to user root with an empty password, so leave the $pass field as "" unless you changed it. See the “Common PHP Project Setup Issues” section above for the full troubleshooting list.Where can I host my PHP capstone project online cheaply?
config.php to use the production database, and your live URL is ready for your defense night. For the full list of options and provider recommendations, see our best free web hosting for capstone projects (Philippines, 2026).What laptop do I need to run XAMPP and PHP projects smoothly?
composer install and php artisan serve, 16GB is more comfortable but not required. See our best laptops for programming students in the Philippines (2026) for hardware picks under ₱35K.Final Recommendation
If you are starting today and need to decide in the next five minutes, here is our 2026 shortlist:
- Solo capstone, tight deadline: Student Management System or Attendance Management System, both are Beginner-Intermediate difficulty and can be re-branded and defended in 4 weeks.
- Group capstone (3-4 students), full semester: Hospital Management System or Laravel HRIS, Advanced difficulty but rubric-friendly and sponsor-friendly.
- You have a real local sponsor (clinic, store, restaurant): match the project to the sponsor, Restaurant Management System for an eatery, Clinic Management for a barangay health center, E-Commerce for a sari-sari or online seller. Real clients always score higher than fictional ones.
- You want a unique angle: Ticket Reservation with QR Code, Online Voting with OTP, or Veterinary Clinic Management, niche enough that no one else in your batch picks the same project.
🏆 Our 2026 pick for BSIT students: Start with the School Management System in PHP as your base, drop in a unique module your client cares about (SMS notification, QR attendance, or PDF report export), and you have a defendable capstone in 6 weeks. Total cost: ₱0 (source code free) + ₱300/month (hosting after defense).
- Pick one project from the 30 above that matches your sponsor or use-case
- Download, install on XAMPP, and confirm it runs locally, that is your “baseline” milestone
- Need more ideas? Browse PHP Project Ideas & Topics for 60+ more titles
- Need a deeper capstone walkthrough? See our Event Management System in PHP and MySQL
- Comparing PHP to other stacks? Read our 150 best capstone project ideas (2026)
- Need a host for defense night? See our best free web hosting for capstone (Philippines, 2026)
- Brushing up on PHP syntax? Our free PHP tutorial series covers the basics
- Need a laptop that runs XAMPP smoothly? See the 2026 laptop guide for programming students
Stuck on a specific project setup, or want a recommendation tailored to your sponsor’s industry? Drop the project name and your panel’s requirements in the comments, we read every one and answer the practical ones.

Joken E. Villanueva
Founder & Lead Developer at PIES IT Solution
Founder of PIES Information Technology Solutions, a software company building production-grade applications for institutions across the Philippines. Over 8 years of hands-on full-stack development experience, currently leading the development of ClinicAI, an AI-powered clinic management platform.
Expertise: PHP · MySQL · JavaScript · AI Integration · SaaS Architecture · VB.NET · Database Design · Capstone Documentation · Java
· View all posts by Joken E. Villanueva →
sir, do you have a real state or housing management system?
online case management is it available
yes it is available to me.. Do u want to purchase
i would like to ask if you have project for online voting system
Job portal
Sir which is the front end software for PHP ? Version
Staff medical management system
Sir please upload php matrimonial site
I would like to ask if you have a source code of parking system with navigation mapping .. web based app
Sir, membership management system
ok I will try to find time make one for you.
I am have issue on test running the code it is showing that the problem is from initialize.php
Do you have an material request system for ordering supplies??
I have yet to find a system that just clocks registered users in and out just something simple without all of the extras but that keeps track of users time and shows there times in there profile and and admin account that shows all users registered times and has the option to delete accounts and logs and also no limits on how many times a user can clock in and out for the day timezone doesnt work anymore and is no longer updated I also do not like it timeclock is also outdated and doesnt work
I too looking for online voting system
Sir I need exam hall seating arrangement project
I would like to ask if you have a source code of parking system with navigation mapping .. web based app
plss i need a source code for displaying user earnings and multiplying it by 2 on daily login
Course managment system
Boss.. I require a PHP Mysql project on placement management system of college placement. The college is offering PGDM course.
thanks for the excellent work!!
vijay
thank you boss.
I need a daily report generator for a IT workshop which deals with repairs and has several technicians. The system should give the details of the equipment for repair and its owner and the technician handling it,whether the problem is solved and also give the recommendations
hi bro, even am looking for the same project. if u have found it, please do help me.
I need a daily report generator for a IT workshop which deals with repairs and has several technicians. The system should give the details of the equipment for repair and its owner and the technician handling it,whether the problem is solved and also give the recommendations
I appreciate your efforts. really nice article !Php projects with source codeOnline examination system in phpStudent management system in phpPhp projects for studentsFree source code for academicAcademic projects provider in nashikAcademic project free download
i want social media downloder like a instagram image/ video download , facebook image/video download, pintrest image/video download, youtube video download .. please help me
Do you have fleet tracking system project in php or vehicle tracking system
Please reply
I’d like to ask if you have an Online Clearance System for students
I’d like to ask if you have an Online Clearance System for students?
please send or post online cost sharing system project
I want a project on document similarity framework. Please help me
That is quite informative. I like this article very much. The content was good. If any of the engineering students are looking for a projects for php mini projects, I found this site and they are providing the best service to the engineering students regarding the projects php mini projects
can i get online ice cream website with php
For now we don’t have that project.
Am really thankful for providing these source code we get helped thanks
I need to have a full online loan application form containing all details of our borrower’s