This chapter describes how to set a watermark in MS Word. It also works in MS word 2013, 2016 and higher version. A watermark is a faint image that appears behind the text in a Word document.
Draft documents can be watermarked with the Draft Copy stamp, while duplicate documents can be watermarked with the Duplicate stamp. You can add a watermark to a Microsoft Word document by following the steps in this chapter.
Table of contents
What is Watermark in Word?
A watermark is a faint image in the background of a document that shows up behind the text. You can use them to show the status of a document (confidential, draft, etc.), add a subtle company logo, or even add some artistic flair.
The use of watermarks in Microsoft Word creates an image or text that shows up behind the main text of a document. It is usually lighter than the text, so the document is easy to read. Text watermarks are often used to classify or explain the purpose of a document.
Types of watermark in MS Word
Word has six basic pale-gray watermarks:
- Confidential.
- Do Not Copy.
- Draft.
- Sample.
- ASAP.
- Urgent.
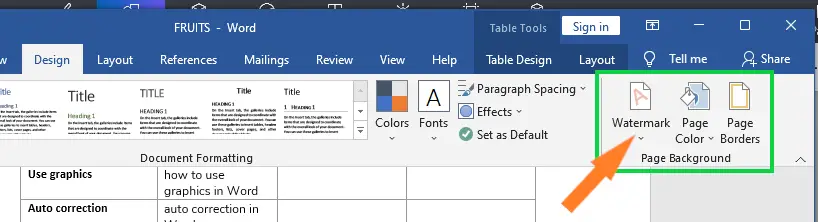
These watermarks can be placed in two different ways: horizontally or diagonally. These are good enough for most papers. To add a pre-made watermark, go to the Design tab and click on the Page Background group.
How To Set Watermark In MS Word
Time needed: 1 minute
Here’s how to add watermarks to your Word document and change them.
- With your document open, switch over to the “Design” tab.

- In the Page Background group on that tab, select “Watermark” button.

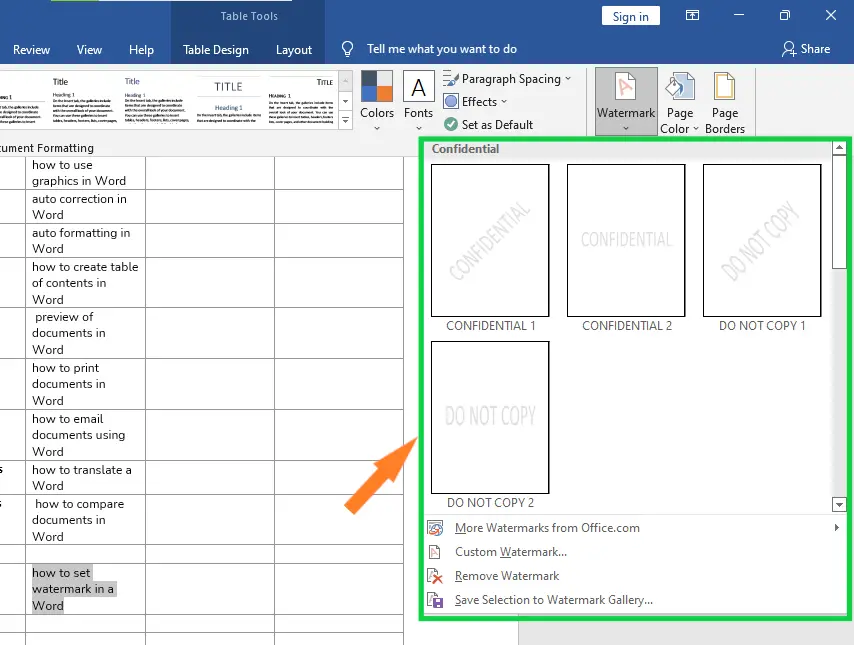
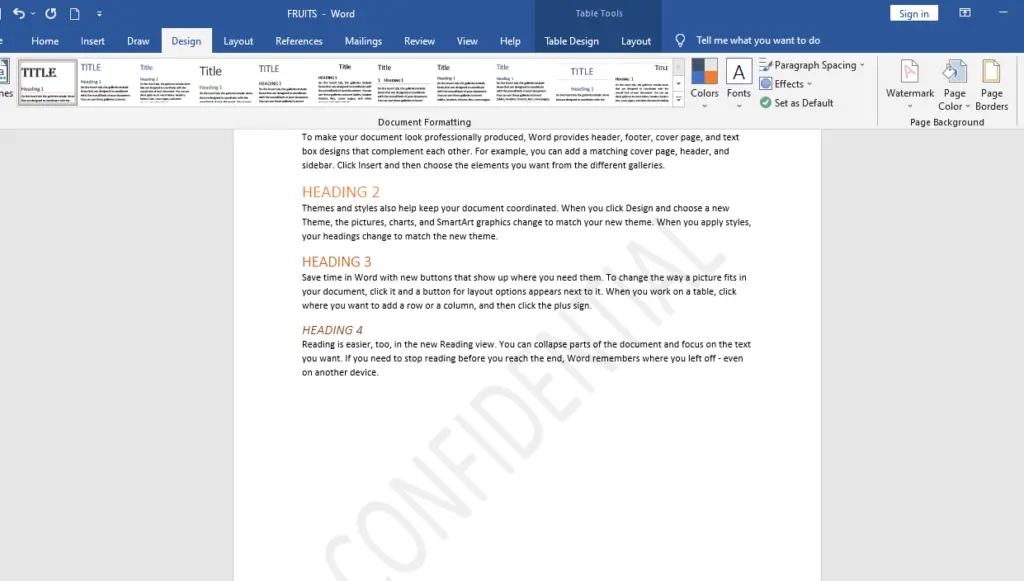
- On the drop-down menu, click any of the built-in watermarks to insert it into your document.

- Word places the watermark behind the text.


How to Insert a Custom Watermark
A custom watermark is one that lets you change the text, as well as its font, size, and color, among other things. You can also use text or images to make your own watermarks. Follow these steps to add a custom watermark to a Word document.
To do this, go to the “Watermark” drop-down menu and choose “Custom Watermark.”
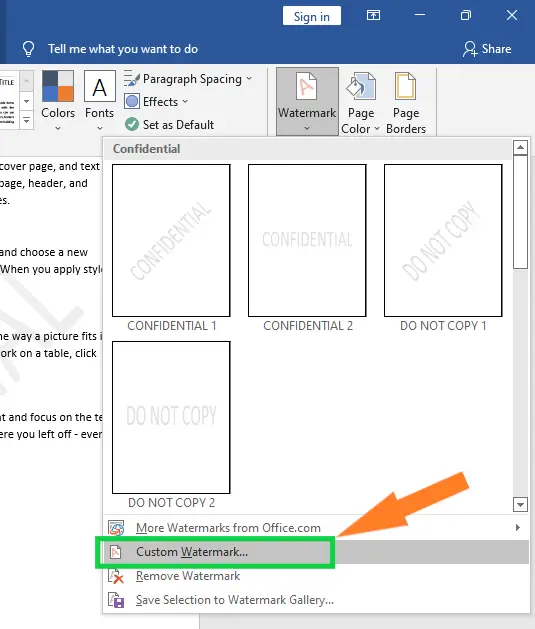
In the window that opens called “Printed Watermark,” choose “Text Watermark.” Type the text you want to use into the Text box, and then choose the language, font, size, color, and orientation. When you’re done, click “OK.”
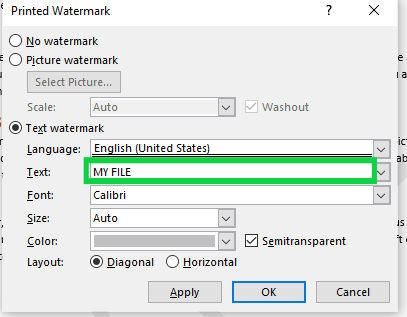
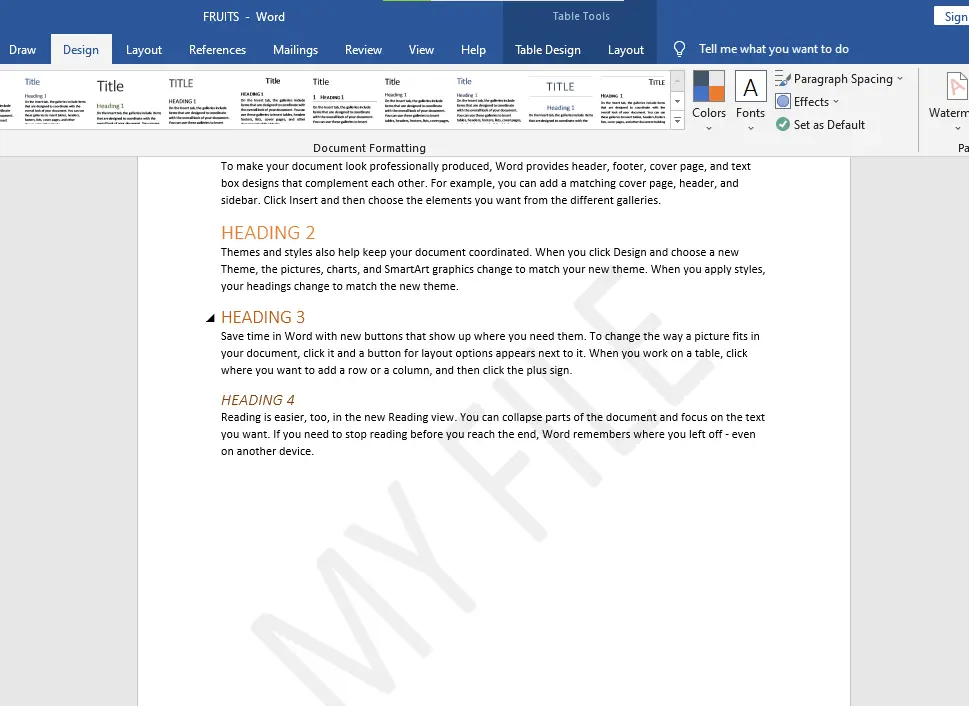
Word puts a watermark with your custom text behind the text.
How to Make Custom Picture Watermarks
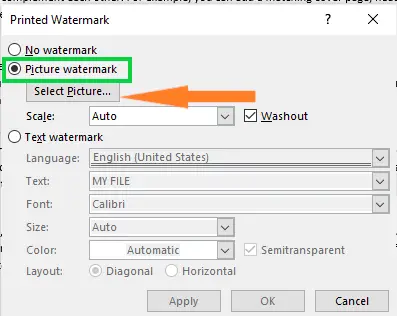
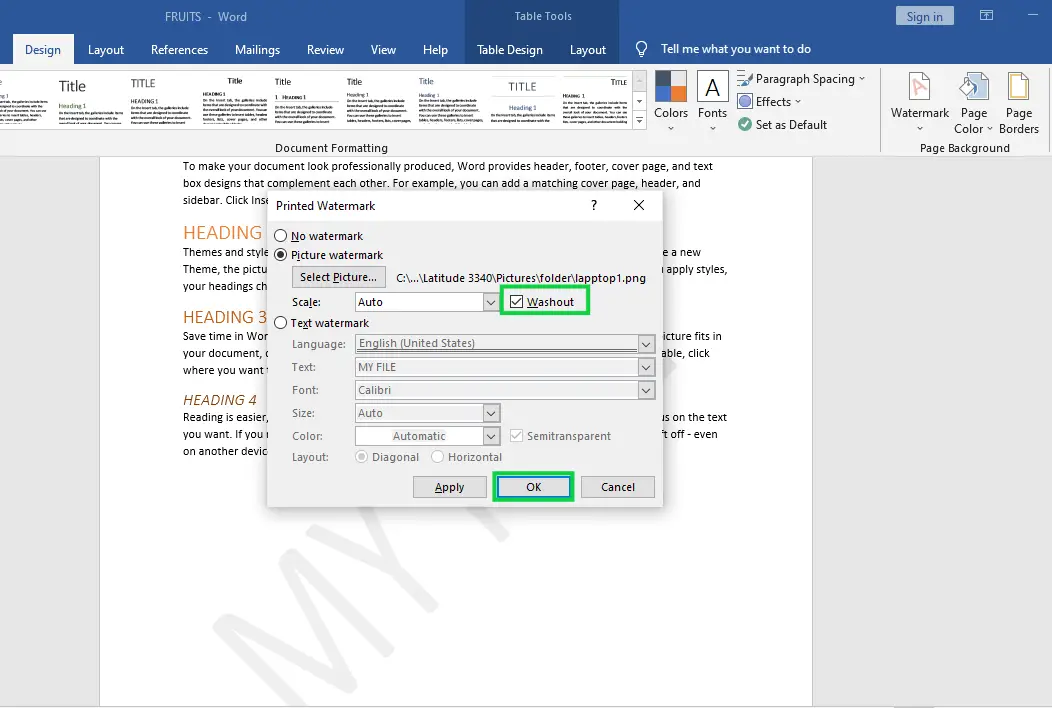
- Choose “Picture Watermark” and then click Select Picture if you want to use a picture as a watermark,

- You can use a picture file on your computer, search for an image on Bing, or choose an image from your OneDrive storage. Click the “Insert” button and then choose an image from the list. We are using a picture that is on our computer.

- You can adjust your photo’s appearance in the Printed Watermark window. “Scale” is set to “auto” by default, but you can modify it. “Washout” adds a light-colored watermark on the image. Click “OK” when you’re done.

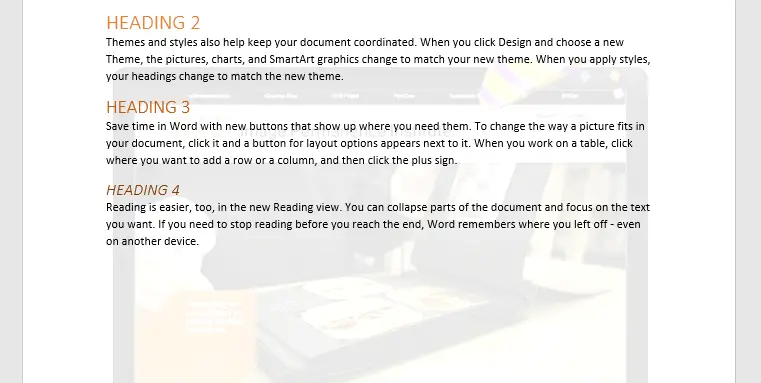
- Word inserts the image behind the text in your document.


How to Remove a Watermark
You can get rid of a watermark in two ways.
- The first way is to open the Header/Footer area, select the image, and press the Delete key. This is the same method we talked about in the last section.
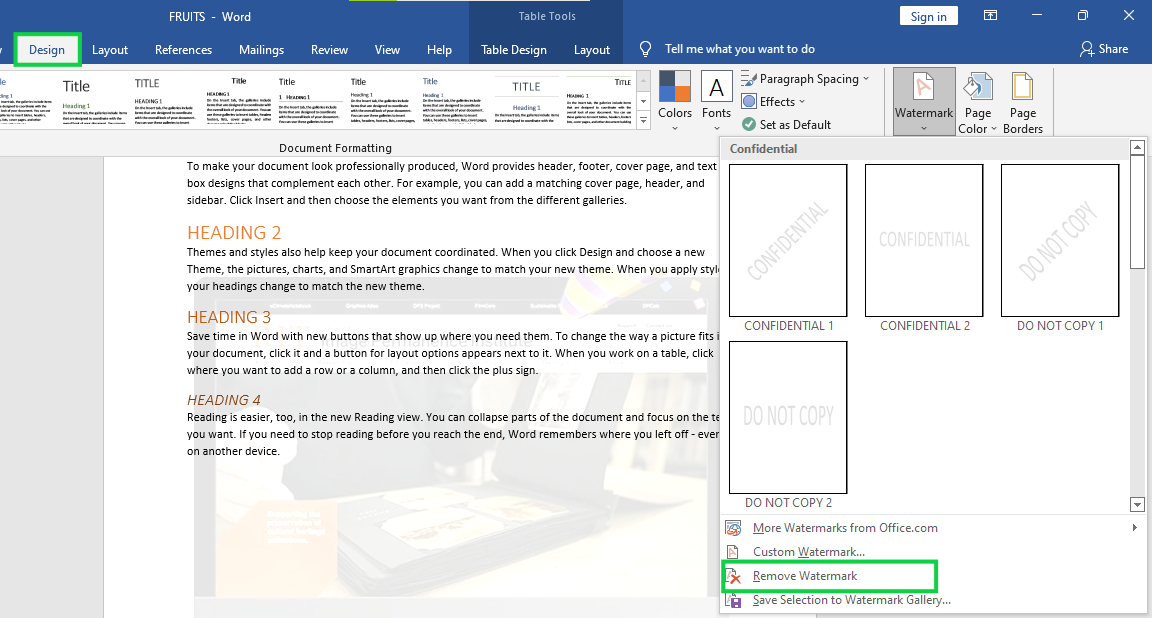
- You can also go to the “Design” tab, click the “Watermark” button, and then choose the “Remove Watermark” command. It works fine either way.

And just like with moving or resizing a watermark, deleting one removes it from every page of your document.
Summary
In the end, we’ve learned how to set watermark in Word and what those terms mean. We also know that there are different ways to make and customize watermarks, which we can use in our documents to make them look more professional and presentable.
Meanwhile, if you want to learn more about working on tables, see the previous tutorial on how to resize tables and how to merge and split table in Microsoft Word. You can browse those guides if you are having a hard time working with your tables in a document
We hope this tutorial helps you as you format your documents in MS Word.
PREVIOUS

Glay Eliver
Programmer & Technical Writer at PIES IT Solution
Glay Eliver is a programmer and writer at PIES IT Solution, author of over 600 tutorials at itsourcecode.com. Specializes in JavaScript tutorials, Microsoft Office how-tos (Excel, Word, PowerPoint), and Python error debugging covering ImportError, TypeError, AttributeError, ModuleNotFoundError, and JavaScript ReferenceError. Authored several of the site’s highest-traffic Excel and MS Office reference articles.
Expertise: JavaScript · MS Excel · MS Word · MS PowerPoint · Python · Python ImportError · Python TypeError · Python AttributeError · ModuleNotFoundError · JavaScript ReferenceError · Pygame · View all posts by Glay Eliver →