
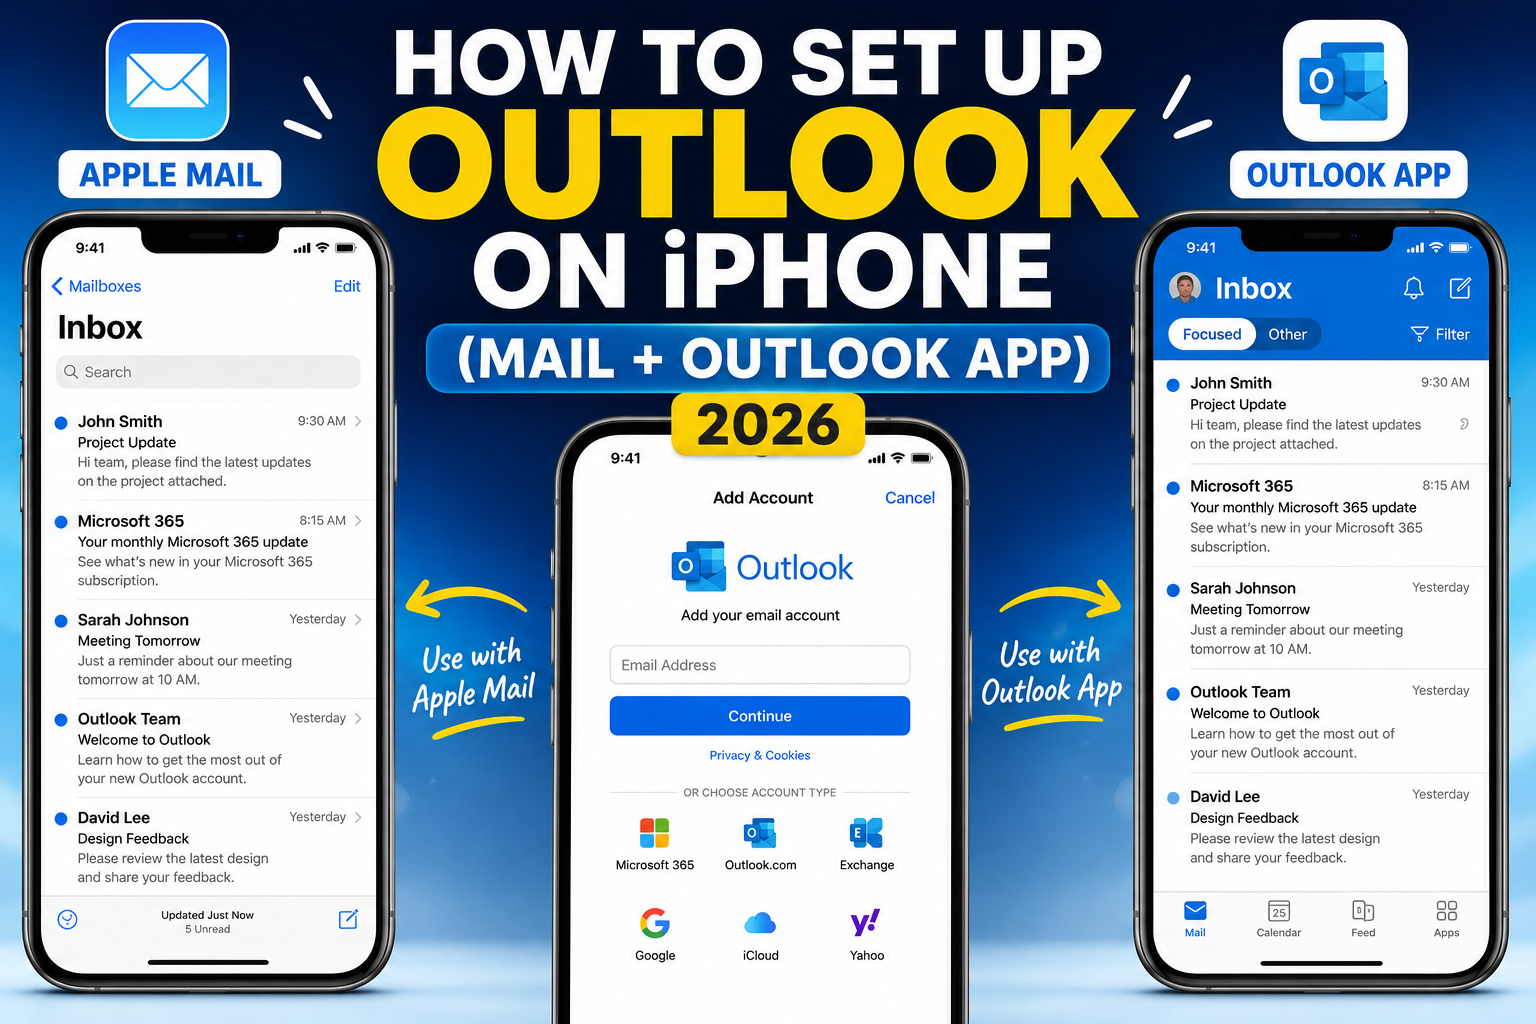
Adding your Outlook account to iPhone gives you email everywhere. Two options: use Apple’s built-in Mail app or install the dedicated Microsoft Outlook app. Both work well but differ in features. The Outlook app has better calendar integration, Focused Inbox, and Microsoft Teams support. The native Mail app integrates with iOS spotlight search and unified inbox. Here is how to set up both in 2026 with troubleshooting for common issues.
Method 1: Install and set up the Microsoft Outlook app (recommended)
- Open the App Store on your iPhone.
- Search for “Microsoft Outlook” and install the official app.
- Open Outlook.
- Tap Add Account.
- Enter your Outlook, Microsoft 365, or Exchange email address.
- Tap Continue.
- Enter your password (or use Microsoft Authenticator if 2FA is enabled).
- Choose whether to add another account or skip.
- Allow notifications when prompted.
Outlook syncs your emails, calendar, and contacts automatically.
Method 2: Add Outlook to iPhone’s native Mail app
- Open Settings on your iPhone.
- Scroll down and tap Mail.
- Tap Accounts.
- Tap Add Account.
- Choose Outlook.com (for personal accounts) or Microsoft Exchange (for work accounts).
- Enter your email and tap Next.
- Enter password and complete 2FA if prompted.
- Choose what to sync: Mail, Contacts, Calendars, Reminders, Notes.
- Tap Save.
Outlook app vs Mail app: which to use
| Feature | Native Mail app | Outlook app |
|---|---|---|
| Unified inbox with other accounts | ✅ Yes | ✅ Yes (all accounts) |
| Focused Inbox | ❌ No | ✅ Yes |
| Calendar integration | Via Apple Calendar | ✅ Built-in |
| Snooze / Schedule Send | ✅ (iOS 16+) | ✅ Yes |
| Microsoft Teams integration | ❌ No | ✅ Yes |
| Cross-platform experience with Windows Outlook | Limited | ✅ Consistent |
| Best for | Multi-account setup | Business Outlook user |
Add multiple Outlook accounts to iPhone
- In Outlook app: tap the account icon in the top-left → Add mail account → repeat for each. Switch by tapping the account icon.
- In Mail app: Settings → Mail → Accounts → Add Account. Each becomes its own inbox in Mail.
Change default email app on iPhone to Outlook
- Open Settings.
- Search for “Outlook” or scroll to find it.
- Tap Default Mail App.
- Select Outlook.
All future mailto links (like “Contact us” on websites) open in the Outlook app. Requires iOS 14 or newer.
Enable notifications for Outlook on iPhone
- Open Settings → Notifications → Outlook.
- Toggle Allow Notifications ON.
- Choose alert style: Lock Screen, Notification Center, Banners.
- In the Outlook app, tap account icon → gear → Notifications.
- Choose whether to notify for Focused Inbox only, All email, or None.
- Optional: enable per-VIP notifications for specific senders.
Common Outlook iPhone setup problems
- Cannot verify account credentials: check password. If 2FA is on, complete Microsoft Authenticator prompts. For app passwords (rare on Outlook), generate at account.microsoft.com/security.
- Emails not syncing: pull down to refresh. Or Settings → Outlook → Force close and reopen. Or delete and re-add the account.
- Calendar not showing: in Outlook app, tap Calendar tab. If empty, check that “Calendar” is enabled in Settings → Outlook → Sync settings.
- Push notifications not arriving: check Settings → Notifications → Outlook is enabled. And in Outlook app settings, notifications are configured.
- Corporate account rejected: some organizations require MDM enrollment on the device before allowing email. Contact IT.
- Signature not showing on replies: enable per-account signature in Outlook app Settings → Signature.
Common Outlook mistakes to avoid
- Not using folders and rules. An Outlook inbox with 5,000 unread emails is unmanageable. Set up folders per project and rules to auto-file routine mail.
- Forgetting the Signature preview before sending. Signatures render differently across clients. Send yourself a test to catch layout issues before external recipients see them.
- Ignoring Focus Inbox. Outlook’s Focus Inbox auto-filters non-priority mail. Not perfect but a huge time saver once trained.
- Overusing Reply All. The workplace curse. Reply only to the sender unless everyone truly needs the response.
- Not linking Outlook to Teams/OneNote. Microsoft 365 integrations turn Outlook into a hub. Enable calendar-to-Teams and email-to-OneNote linking.
Power-user tips for Outlook
- Use Quick Steps. One-click multi-action shortcuts. Common Quick Step: “File to Project X + mark as read + reply with template”.
- Master search operators. from:name, subject:keyword, hasattachments:yes, received:this-week. Combine for laser-focused inbox search.
- Delay all sends by 60 seconds. File > Options > Mail > Delivery. Prevents accidental sends. Set to 1 minute; retract by editing outgoing.
- Set up conditional formatting for VIPs. Emails from your boss appear in red. Instant priority visibility.
- Use categories, not folders, for tagging. Categories work across folders. A “Follow-up” category surfaces across your entire mailbox.
Outlook desktop vs web vs mobile
Outlook desktop (Windows/Mac) has the most features: full rules engine, advanced search, offline access. Best for heavy email users.
Outlook Web App (OWA) works from any browser. Rules and rules editor slightly limited compared to desktop. Search is fast because it hits the server directly.
Outlook mobile (iOS/Android) is streamlined for on-the-go. Swipe gestures customizable. Good for triage; not ideal for composing long emails.
For most professionals, desktop for morning triage, mobile for meetings, web for occasional access from unfamiliar computers. Sync happens instantly across all three.
Best practices summary
- Zero-inbox mindset. Every email gets a decision: reply, defer, delegate, or delete. No email stays “read but not decided”.
- Rules for routine mail. Newsletter to Reading folder. Reports to Reports folder. Approvals to Approvals folder. Never manually file the same type twice.
- Categorize actively. Follow-up, waiting-for, this-week. Categories cross folder boundaries.
- Schedule email review windows. Not constant checking. Two focused sessions per day beat 40 distracted glances.
- Archive, do not delete. Storage is cheap. Full-text search is powerful. Archive lets you find anything years later.
Official documentation
Recommended iPhone + Outlook resources
The links below are affiliate links. We may earn a commission at no extra cost to you when you buy or sign up. See our affiliate disclosure.
Quick step-by-step summary (click to expand)
- Install Outlook from the App Store. Open the App Store on your iPhone, search Microsoft Outlook, and tap Get to install.
- Open Outlook and tap Add Account. Launch Outlook. If this is your first time, tap Add Account. Otherwise, go to Settings then Add Mail Account.
- Enter your email address. Type in your work, school, Outlook.com, Gmail, or IMAP email address, then tap Add Account.
- Enter your password. Enter the account password when prompted. If your organization uses two-factor auth, complete the verification prompt.
- Allow notifications and permissions. Tap Allow when Outlook asks to send notifications and access contacts (optional but recommended).
- Verify inbox syncs. Check that your inbox loads and messages appear. Pull down to refresh if the first sync seems slow.
Frequently Asked Questions
Do I need Microsoft 365 subscription to use Outlook on iPhone?
No. The Outlook iOS app is free from the App Store. Works with free Outlook.com accounts, Microsoft 365 accounts, Exchange accounts, and even Gmail/Yahoo accounts.
Which app is faster on iPhone?
Native Mail app is slightly faster to launch and more integrated with iOS features. Outlook app has more features but similar performance on modern iPhones (12 and newer).
Can I use both Mail app and Outlook app?
Yes. Both work independently. You may get duplicate notifications for the same email. Disable notifications in one app to avoid this.
Does Outlook on iPhone support Microsoft Exchange?
Yes. Both native Mail (choose “Microsoft Exchange” during setup) and the Outlook app support Exchange and Exchange Online. Recommended app for Exchange is the Outlook app for full feature parity.
How to remove Outlook account from iPhone?
Outlook app: tap account icon → gear → your account → Delete Account. Native Mail: Settings → Mail → Accounts → tap Outlook → Delete Account. Emails stay on Microsoft servers.

Caren Bautista
Technical Writer at PIES IT Solution
Responsible for crafting clear, well-structured, and beginner-friendly content across the platform. Handles the writing, proofreading, and editorial review of tutorials, guides, and documentation to ensure every article is accurate, readable, and easy to follow.
Expertise: Technical Writing · Content Creation · Documentation · Editorial Writing · JavaScript · TypeScript · Python · Python Errors · HTTP Errors · MS Excel · View all posts by Caren Bautista →
What is new for Outlook iOS in 2026
The Aug 2026 Outlook iOS update introduced Face ID quick access. Configure in Outlook, Settings, Privacy, and the app auto-locks when backgrounded. Face ID unlocks it in under a second. Fingerprint fallback via Touch ID on older iPhones (SE, 8, XR).
Also new: Focused Inbox 2.0 uses on-device machine learning (not sent to cloud) to categorize incoming email. The classifier now runs 30 percent more accurately than the 2025 version, with fewer false-positive priority categorizations. Turn on via Settings, Focused Inbox toggle.
Common iPhone setup pitfalls
- Gmail OAuth fails on setup. Sign into Safari with your Google Account first (Safari, google.com, sign in), then retry adding Gmail in Outlook. The OAuth handoff needs an active Safari Google session.
- Push notifications not working. iPhone Settings, Notifications, Outlook, ensure Allow Notifications is on + Immediate Delivery is selected (not Scheduled). Also check Outlook internal settings: Settings, Notifications, Focused and Other or Focused Only.
- Battery drain from Outlook. Push notifications keep the app in background. If battery matters more than instant notifications, switch to Manual sync (iPhone Settings, Mail, Fetch New Data, tap Outlook, Manual). You will get email only when you open the app.
- iCloud email not adding. Outlook requires an iCloud App Password (not your Apple ID password) for iCloud email accounts. Generate at appleid.apple.com, Sign-In and Security, App-Specific Passwords.
Sync frequency + battery trade-off
Push notifications are instant but cost 10-15 percent daily battery on iPhone. If you get 100+ emails per day and check them often anyway, switching to Fetch every 15 minutes actually preserves battery without meaningful notification lag. Configure at iPhone Settings, Mail, Fetch New Data, select Every 15 Minutes for Outlook.
For work accounts where OOO is active or you need instant meeting invites, keep push ON. For personal Gmail routed through Outlook, 15-minute fetch is often the sweet spot.
Official documentation
Quick step-by-step summary (click to expand)
- Download Outlook from App Store Open App Store on iPhone, search Microsoft Outlook, tap Get. App is free.
- Open Outlook and sign in Launch Outlook. Tap Add Account. Enter your email address and tap Add Account.
- Enter your password For Microsoft 365 / Outlook.com: enter password. For Gmail: authorize via Google OAuth. For Yahoo: use App Password.
- Approve permissions Grant Outlook the necessary permissions (calendar, contacts, notifications). You can adjust these later in iPhone Settings.
- Enable Face ID quick access In Outlook: tap avatar (top left), Settings gear, Privacy, toggle on Require Face ID. Now the app locks unless your face matches, giving quick access without app-store password prompts.
Frequently Asked Questions
How do I add my Gmail to Outlook on iPhone?
Open Outlook, tap Add Account, enter Gmail address, tap Add Account. Sign in via Google OAuth. Grant permissions when prompted.
Does Outlook iOS support Face ID?
Yes as of the Aug 2026 update. Enable in Outlook, Settings, Privacy, toggle Require Face ID.
Can I get push notifications from Outlook on iPhone?
Yes. iPhone Settings, Notifications, Outlook, ensure Allow Notifications is on. Also check Outlook Settings, Notifications for Focused only or Focused and Other.
Why is my Outlook draining iPhone battery?
Push notifications keep the app in background. Switch to iPhone Settings, Mail, Fetch New Data, Every 15 Minutes for Outlook to save 10-15 percent daily battery.
How do I add iCloud email to Outlook iOS?
Requires an iCloud App-Specific Password. Generate at appleid.apple.com, Sign-In and Security, App-Specific Passwords. Enter that (not your Apple ID password) when Outlook prompts.
What is Focused Inbox 2.0?
A 2026 update that uses on-device machine learning to categorize incoming email into Focused vs Other. Runs 30 percent more accurately than the 2025 version. Enable via Outlook Settings, Focused Inbox.