
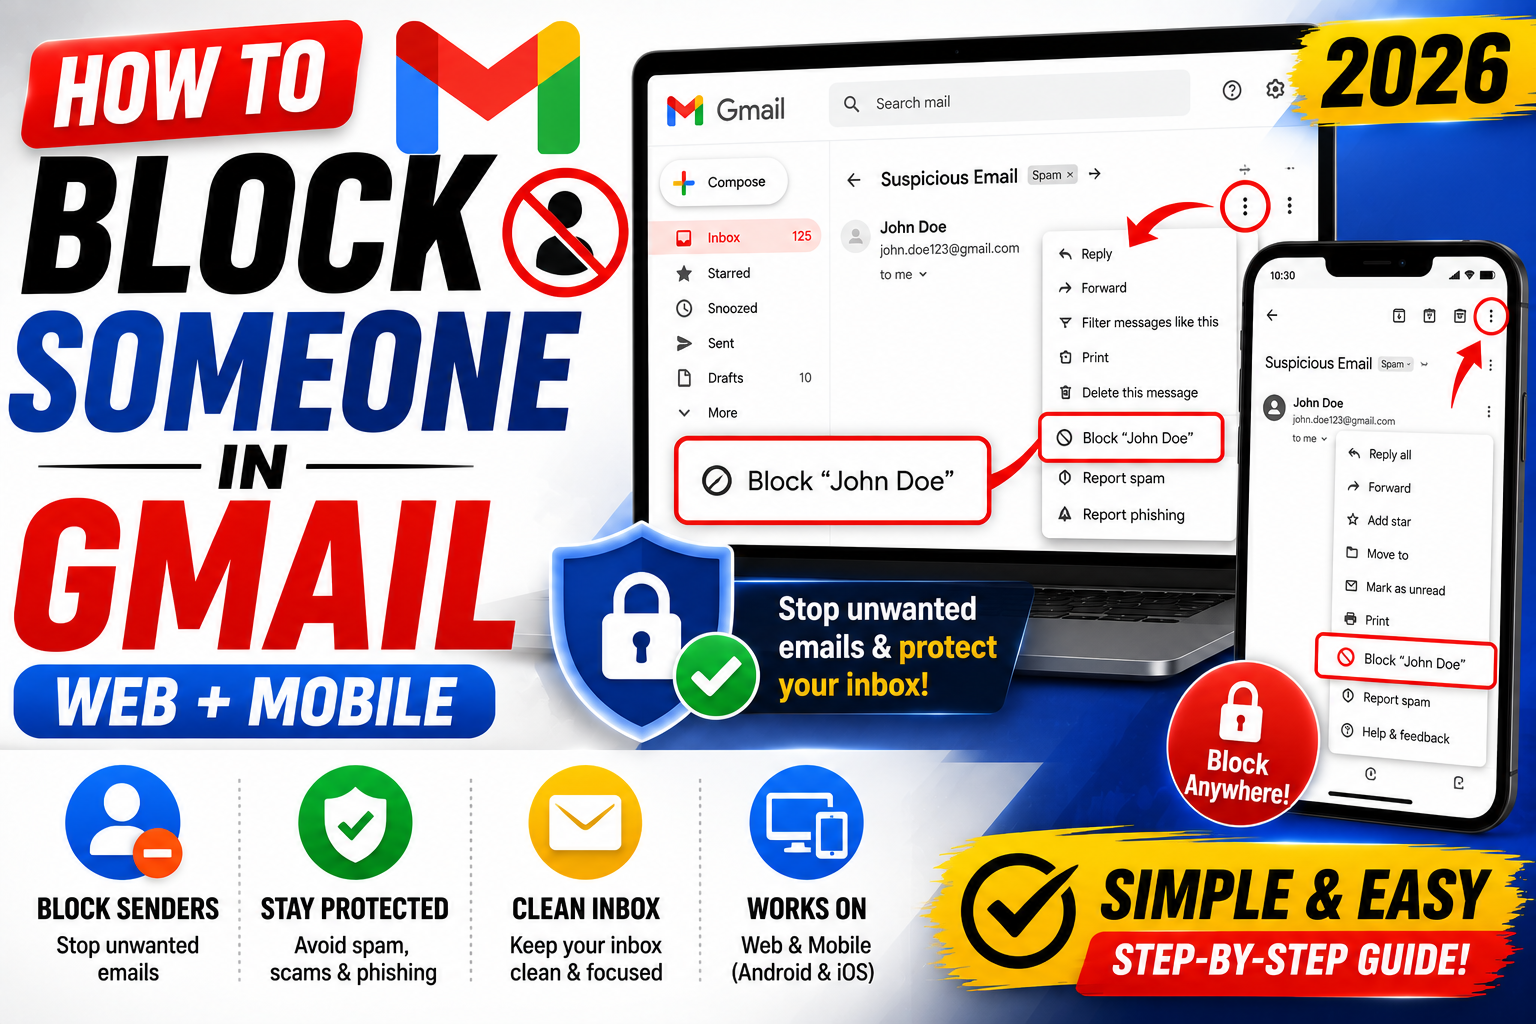
Blocking someone in Gmail stops their emails from reaching your inbox. Future messages go straight to Spam and never trigger a notification. This works for both personal contacts you no longer want to hear from and marketing senders that keep bypassing the unsubscribe. Here is how to block someone in Gmail on desktop, Android, and iPhone in 2026.
Block someone in Gmail on desktop (web browser)
- Open Gmail at
mail.google.com. - Open any email from the sender you want to block.
- Click the three vertical dots (More menu) in the top-right corner of the message.
- Select Block [sender name] from the menu.
- Confirm by clicking Block in the popup.
All future emails from this sender will land in your Spam folder automatically. Existing messages already in your inbox stay put unless you delete them.
Block someone in Gmail on Android
- Open the Gmail app on your Android phone.
- Tap the email from the sender you want to block.
- Tap the three dots in the top-right corner.
- Tap Block “sender name”.
The same block applies across all your devices signed into that Google account, including desktop and iOS.
Block someone in Gmail on iPhone or iPad
- Open the Gmail app on your iPhone or iPad.
- Tap an email from the person you want to block.
- Tap the three dots at the top-right of the email header.
- Tap Block sender.
iOS handles the block identically to Android. The block syncs to your Google account within seconds.
Unblock a sender in Gmail
If you change your mind, unblocking is easy:
- Open Gmail on desktop and click the gear icon in the top-right.
- Click See all settings.
- Go to the Filters and Blocked Addresses tab.
- Scroll to the “The following email addresses are blocked” section.
- Find the sender in the list and click unblock.
Their future emails will resume landing in your regular inbox.
Block vs Report as Spam vs Unsubscribe
Gmail gives you three different tools for unwanted emails. Pick the right one:
- Block: use when you know the sender and want their emails routed to Spam. Personal use case.
- Report as Spam: use for unknown senders that look suspicious or phishing. Trains Google’s spam filter across all users.
- Unsubscribe: use for legitimate marketing emails you signed up for. Uses the email’s built-in unsubscribe link and removes you from their list at the source.
Create a Gmail filter to auto-delete blocked-adjacent emails
Blocking only works per exact email address. If a sender switches to a different address, you have to block that one too. A filter is more powerful because it can target any pattern.
- Open Gmail on desktop. Click the search bar at the top.
- Click the Show search options icon on the right side of the search bar.
- Enter the sender email, subject keyword, or domain in the appropriate field.
- Click Create filter at the bottom of the search box.
- Choose “Delete it” or “Skip the Inbox” to auto-remove matching emails.
- Click Create filter.
What happens when you block someone in Gmail
- Their emails still get sent to your address, but land in Spam instead of Inbox.
- Spam auto-deletes after 30 days, so you never see them again.
- You do NOT get a “delivery failed” bounce back to them. They do not know they were blocked.
- Blocking does NOT block them from seeing your Gmail-linked profile, calendar sharing, or Meet invites.
- If you need to block calendar invites too, remove them from Google Contacts and revoke calendar sharing separately.
Common Google Meet mistakes to avoid
- Not testing camera and mic before the meeting. Meet has a preview page at meet.google.com/hangouts/preview where you can test devices before joining any meeting.
- Joining from mobile when you need to share screen. Screen sharing works on mobile but is limited. Use desktop when you need to share content in detail.
- Forgetting to mute when not speaking. Background noise disrupts everyone. Press Ctrl+D (Cmd+D on Mac) to toggle mute.
- Assuming recordings are automatic. Meet only records when the host clicks Record. Enable at the start; you cannot recover an unrecorded meeting.
- Ignoring the noise cancellation feature. Workspace tiers include background noise cancellation. Enable in Settings > Audio.
Power-user tips for Google Meet
- Use keyboard shortcuts. Ctrl+D to mute, Ctrl+E for camera, Ctrl+Alt+H to raise hand, Ctrl+Alt+M for the chat panel. All work on Windows and Mac (swap Ctrl for Cmd on Mac).
- Add captions. Turn on live captions at the bottom-right menu. Useful for accessibility and noisy environments.
- Enable Q&A for large meetings. Attendees can submit written questions without interrupting. Available on Workspace tiers.
- Use polls to gather feedback. Quick pulse checks during long meetings keep attention.
- Share a specific tab, not the whole desktop. Prevents accidentally sharing notifications or personal information.
When to use Meet vs alternatives
Meet works best when your organization is already on Google Workspace, calls are 3-10 participants, and simplicity matters more than advanced features. It integrates seamlessly with Calendar and Gmail, which is unbeatable for Google-first teams.
For large webinars (100+ attendees), Zoom or Webex offer better host controls. For persistent team chat with video, Slack Huddles or Microsoft Teams work better. For high-quality recorded content, tools like Riverside or Descript produce cleaner output.
For BSIT capstone defenses and student meetings, Meet is the right choice on any campus with Google Workspace for Education. Free tier supports up to 100 participants for 60 minutes.
Best practices summary
- Test devices 5 minutes before start. Camera, mic, network. Nothing worse than the “can you hear me?” opening.
- Share agenda in Calendar description. Attendees arrive knowing what to discuss.
- Assign a note-taker at start. Distributes cognitive load and produces action items.
- End on time or early. Respect people’s calendars. Reschedule if content overflows.
- Follow up with meeting notes within 24 hours. Consolidates decisions and prevents forgotten action items.
Official documentation
Recommended email productivity resources
The links below are affiliate links. We may earn a commission at no extra cost to you when you buy or sign up. See our affiliate disclosure.
Quick step-by-step summary (click to expand)
- Open the email from that sender. In Gmail web or app.
- Click the 3-dot menu. Top-right of the message.
- Select Block “sender name”. Confirmation dialog appears.
- Confirm block. All future emails from that sender go to Spam.
- To unblock. Settings > Filters and Blocked Addresses > find sender > Unblock.
Frequently Asked Questions
Does the blocked person know you blocked them?
No. Gmail does not notify the sender when you block them. Their emails still deliver to your account but land in Spam. They see the message as sent normally.
Can I block an entire domain in Gmail?
Not directly with the Block button. Use a filter instead. Search for from:@example.com then create a filter to delete or archive all matching emails.
How many senders can I block in Gmail?
Google does not publish a hard limit but the practical limit is thousands. If you find yourself blocking a large number of senders, use domain-level filters instead for cleaner management.
Does blocking work if they send from a different address?
No. Blocking is per-email-address. If a sender switches to another Gmail address or personal domain, you need to block that one too or set up a domain-level filter.
Will blocking delete emails already in my inbox?
No. Existing emails stay in your inbox. Only future emails get routed to Spam. To also delete old emails, search for from:sender@example.com and delete the results.

Caren Bautista
Technical Writer at PIES IT Solution
Responsible for crafting clear, well-structured, and beginner-friendly content across the platform.
Expertise: Technical Writing · Content Creation · Documentation · Editorial Writing · JavaScript · TypeScript · View all posts by Caren Bautista →