
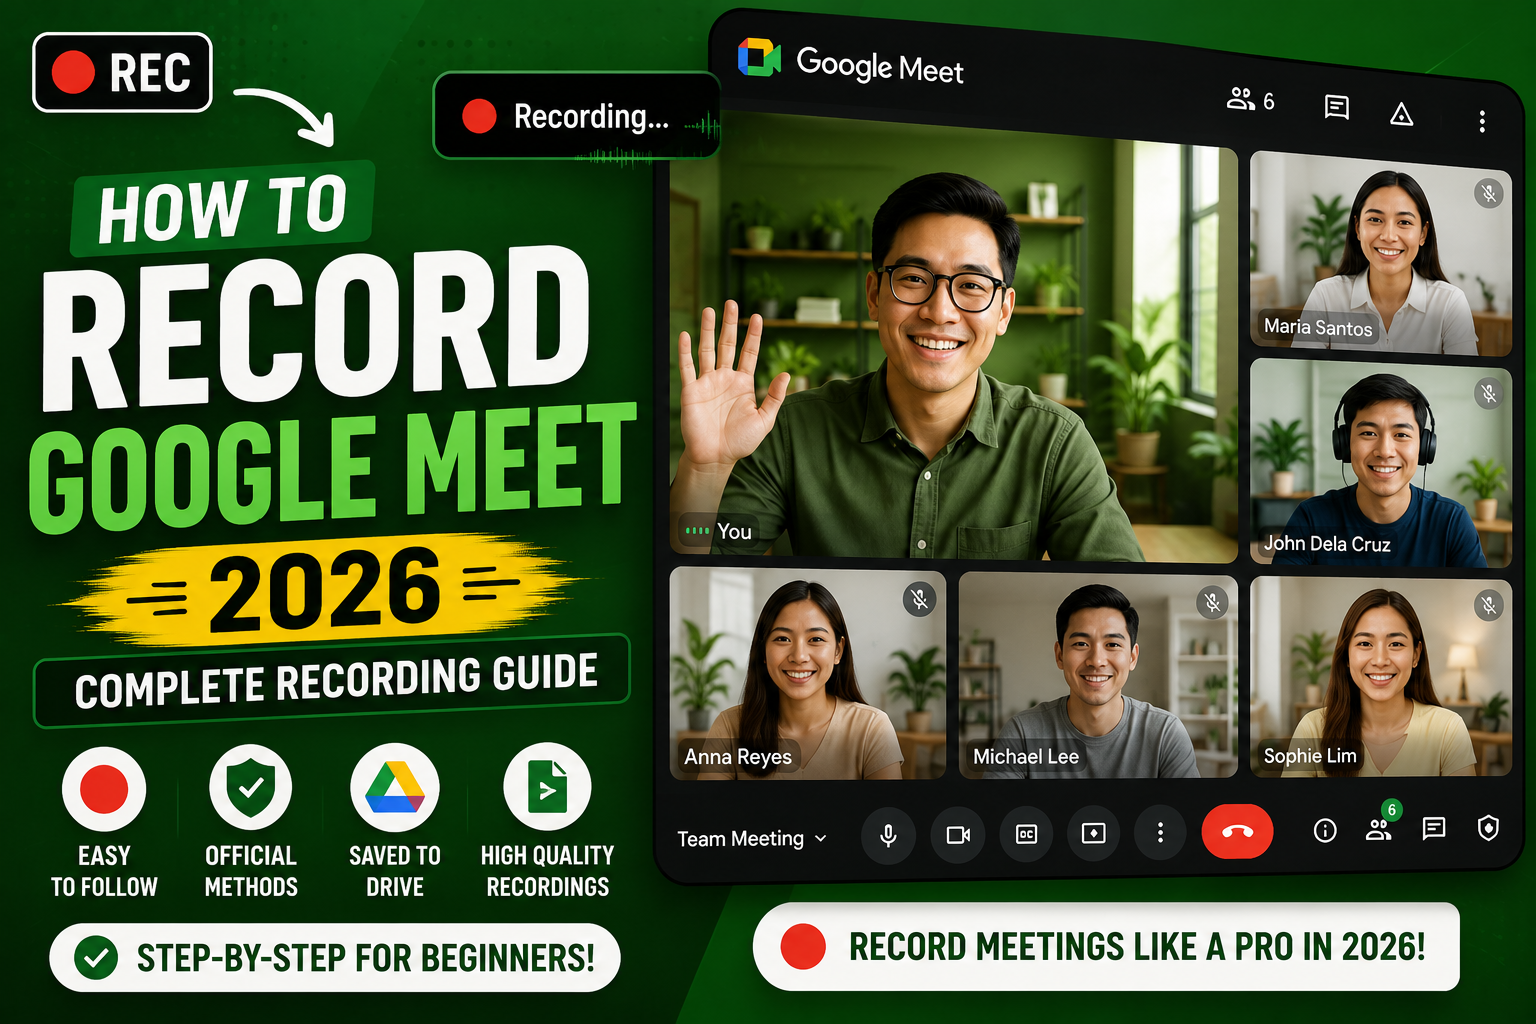
Recording a Google Meet captures video, audio, and shared screens to a file you can review later, share with absent attendees, or archive for compliance. Meet recording requires Google Workspace (Business Standard or higher), free personal accounts cannot record natively. This 2026 tutorial covers everything from starting a recording to sharing the file.
Recording eligibility
| Account type | Can record? |
|---|---|
| Free personal @gmail.com | No |
| Workspace Business Starter | No |
| Workspace Business Standard | Yes |
| Workspace Business Plus | Yes |
| Workspace Enterprise | Yes |
| Google Workspace Individual | Yes |
Start recording a Meet
- Join the Meet.
- Click the Activities icon (bottom-right, looks like triangles).
- Click Recording.
- Click Start recording.
- Confirm: all participants will be notified.
- Recording begins. Red REC indicator appears for all.
Who can start recording?
- Meeting host (organizer).
- Any co-host (Workspace can designate).
- Any participant IF they’re on a Workspace plan that includes recording.
- External guests (non-org) usually cannot record.
Stop recording
- Click Activities > Recording > Stop recording.
- Or: end the meeting entirely.
- Recording processes for a few minutes.
- File saves to the recording host’s Google Drive.
Where recording is saved
- Location: recording host’s Drive > Meet Recordings folder (auto-created).
- Filename: Meeting Title – Date & Time.
- File format: .mp4 (video with audio).
- Also: link to the recording is emailed to the host and meeting organizer.
- Chat log saved as separate .txt file.
Share the recording
- Open Drive > Meet Recordings folder.
- Right-click the recording > Share.
- Add emails, pick permission (View / Comment / Edit).
- Or generate “Anyone with the link” URL.
- Send.
Download the recording locally
- Drive > Meet Recordings folder.
- Right-click file > Download.
- .mp4 downloads to your computer.
- Optionally re-upload to YouTube, Vimeo, or other hosting for public sharing.
Recording best practices
- Announce recording verbally when starting: “Let me start the recording now.”
- Ask for consent if legally required in your jurisdiction (varies by state/country).
- Test recording quality before critical meetings.
- Rename the file after recording to something searchable (“Q3-Planning-2026-07-04”).
- Auto-generated recordings are unlisted but accessible to anyone with the Drive share link.
Recording legality
- One-party consent states/countries: recording OK if you’re a participant (US federal, most US states).
- Two-party consent: all parties must consent (CA, FL, IL, MD, MA, MT, NH, PA, WA in US).
- EU (GDPR): explicit consent required for recording.
- Meet’s built-in “notify all participants” indicator helps satisfy consent requirements.
Alternative: screen recording (free workaround)
If you don’t have a paid plan and need to record:
- Windows: press Win+G to open Xbox Game Bar > Record.
- Mac: press Cmd+Shift+5 > Record entire screen or selected area.
- Third-party tools: OBS Studio (free), Loom, ScreenPal, Screencastify.
- Records your screen + system audio.
- Legally: still need consent from participants (same as Meet’s native recording).
Recording length limits
- No time limit per recording (as long as meeting doesn’t exceed plan’s max duration).
- File size grows with meeting length: ~200 MB per hour on average.
- Recording counts against Drive storage, clean up old ones if space is tight.
Common recording issues
- “Recording option missing”: your account doesn’t have a plan that supports recording. Upgrade to Business Standard or higher.
- Recording processes slowly: normal for long meetings. May take up to 24 hours for very long recordings.
- Chat messages not in recording: video-only. Chat log is separate .txt file.
- Screen shares not captured: they should be. If missing, recording may have been paused during share.
- Cannot access recording after meeting: check your Drive > Meet Recordings folder. Also check Trash if accidentally deleted.
- Recording file too large to share: use Drive link instead of email attachment.
Common Google Meet mistakes to avoid
- Not testing camera and mic before the meeting. Meet has a preview page at meet.google.com/hangouts/preview where you can test devices before joining any meeting.
- Joining from mobile when you need to share screen. Screen sharing works on mobile but is limited. Use desktop when you need to share content in detail.
- Forgetting to mute when not speaking. Background noise disrupts everyone. Press Ctrl+D (Cmd+D on Mac) to toggle mute.
- Assuming recordings are automatic. Meet only records when the host clicks Record. Enable at the start; you cannot recover an unrecorded meeting.
- Ignoring the noise cancellation feature. Workspace tiers include background noise cancellation. Enable in Settings > Audio.
Power-user tips for Google Meet
- Use keyboard shortcuts. Ctrl+D to mute, Ctrl+E for camera, Ctrl+Alt+H to raise hand, Ctrl+Alt+M for the chat panel. All work on Windows and Mac (swap Ctrl for Cmd on Mac).
- Add captions. Turn on live captions at the bottom-right menu. Useful for accessibility and noisy environments.
- Enable Q&A for large meetings. Attendees can submit written questions without interrupting. Available on Workspace tiers.
- Use polls to gather feedback. Quick pulse checks during long meetings keep attention.
- Share a specific tab, not the whole desktop. Prevents accidentally sharing notifications or personal information.
When to use Meet vs alternatives
Meet works best when your organization is already on Google Workspace, calls are 3-10 participants, and simplicity matters more than advanced features. It integrates seamlessly with Calendar and Gmail, which is unbeatable for Google-first teams.
For large webinars (100+ attendees), Zoom or Webex offer better host controls. For persistent team chat with video, Slack Huddles or Microsoft Teams work better. For high-quality recorded content, tools like Riverside or Descript produce cleaner output.
For BSIT capstone defenses and student meetings, Meet is the right choice on any campus with Google Workspace for Education. Free tier supports up to 100 participants for 60 minutes.
Best practices summary
- Test devices 5 minutes before start. Camera, mic, network. Nothing worse than the “can you hear me?” opening.
- Share agenda in Calendar description. Attendees arrive knowing what to discuss.
- Assign a note-taker at start. Distributes cognitive load and produces action items.
- End on time or early. Respect people’s calendars. Reschedule if content overflows.
- Follow up with meeting notes within 24 hours. Consolidates decisions and prevents forgotten action items.
Official documentation
Recommended video recording gear
The links below are affiliate links. We may earn a commission at no extra cost to you when you buy or sign up. See our affiliate disclosure.
Quick step-by-step summary (click to expand)
- Confirm you have Google Workspace. Recording requires a paid Workspace plan (Business Standard or higher). Personal Google accounts cannot record.
- Start or join your Google Meet. Open meet.google.com or the meeting invite link and join the call.
- Click the Activities icon. In the bottom-right of the meeting, click the Activities icon (three dots or musical notes).
- Select Recording then Start recording. Choose Recording, then Start recording. All participants get notified that recording began.
- Stop recording when done. Click the Activities icon again then Stop recording. The recording auto-saves to the organizer Google Drive.
Frequently Asked Questions
Can I record on Meet’s free tier?
No. Native recording requires Workspace Business Standard or higher. Free workaround: use OS screen recorder (Xbox Game Bar on Windows, Cmd+Shift+5 on Mac) or Loom.
Do all participants get the recording?
No. Only the recorder gets it in their Drive. Recorder can then share the file with participants via Drive share link or email.
Is recording legal without consent?
Depends on jurisdiction. Some states/countries require one-party consent (you can record if you’re on the call). Others require all-party. Verbally announce recording to be safe.
Can I edit the recording?
Google doesn’t provide editing tools. Download the .mp4 and edit in DaVinci Resolve (free), Adobe Premiere, iMovie, or Final Cut Pro.
Do all participants see the recording indicator?
Yes. When recording is active, a red REC badge appears on everyone’s screen. Meet also announces verbally when recording starts.

Caren Bautista
Technical Writer at PIES IT Solution
Responsible for crafting clear, well-structured, and beginner-friendly content across the platform. Handles the writing, proofreading, and editorial review of tutorials, guides, and documentation to ensure every article is accurate, readable, and easy to follow.
Expertise: Technical Writing · Content Creation · Documentation · Editorial Writing · JavaScript · TypeScript · Python · Python Errors · HTTP Errors · MS Excel · View all posts by Caren Bautista →