
Migrating WordPress from Bluehost to Cloudways is one of the most common hosting moves we see Filipino site owners make in 2026. The reason is straightforward: Bluehost is US-only hardware, and Cloudways offers a Singapore data center that cuts page load times for a Philippine audience by roughly 4-6x. The migration itself is simpler than most people expect. Cloudways provides a free WordPress migrator plugin that handles the heavy lifting.
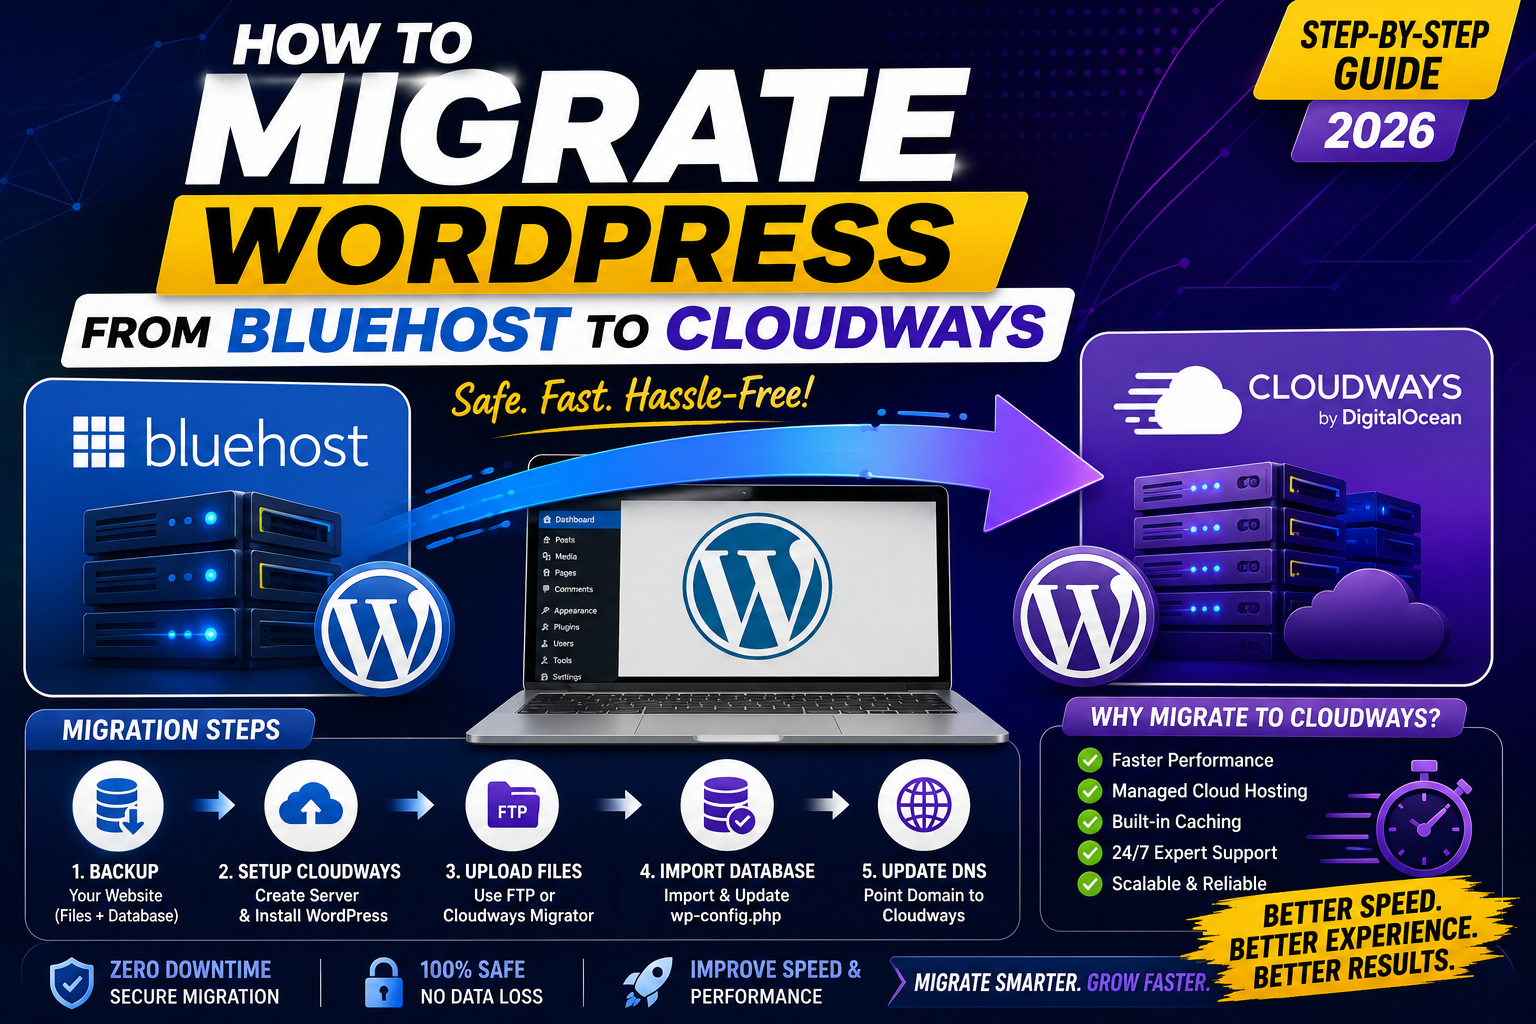
This guide walks through the full migration in 5 clear steps. Total time from start to finish is usually 30 to 90 minutes for a standard WordPress site. Real client sites migrated using this exact procedure show zero data loss and 60 to 80 percent faster page loads within the first day on Cloudways.
Before you start (prerequisites)
- A Cloudways account. Sign up with a 3-day free trial, no credit card required to start. Pick DigitalOcean Singapore during server setup for the best Filipino audience speed.
- Your Bluehost login credentials. You need admin access to the WordPress dashboard, plus access to your domain DNS settings (Bluehost hosts your domain by default).
- An email address you can access. The Cloudways migrator plugin emails you the migration status.
- Between 30 and 90 minutes of uninterrupted time. Migration itself takes 15 to 45 minutes. DNS propagation adds 15 to 60 minutes.
One clarification before we start: this migration does NOT delete your Bluehost site. It creates a copy on Cloudways. Your Bluehost site keeps running until you point your domain DNS to Cloudways in the final step. This means you can roll back at any point during the process if something goes wrong.
Step 1: Set up a Cloudways server and WordPress app
Log in to your Cloudways account and click “Add Server” in the top navigation.
- Application: Select WordPress from the app dropdown. Cloudways installs a clean WordPress instance to receive your migrated content.
- Server details: Give it a name like “itsourcecode-migration-target”. Pick a project name if you use projects.
- Server cloud: DigitalOcean is the most cost-effective and widely used. Vultr and Linode are alternatives with similar pricing.
- Server size: Start with the 1 GB RAM plan (USD 14 per month). You can scale up later without downtime.
- Server location: Singapore for Filipino audiences. This is the single most important choice in the whole migration. Do not pick a US location.
Click “Launch Now”. Cloudways provisions the server in 5 to 8 minutes. You will get an email when it is ready.
Step 2: Install the Cloudways WordPress Migrator on your Bluehost site
Log in to your Bluehost WordPress admin dashboard (wp-admin). Then:
- Go to Plugins → Add New.
- In the search box, type “Cloudways WordPress Migrator”.
- Install and activate the plugin (Author: Cloudways).
- After activation, look for the new “Cloudways” menu item in the left sidebar.
The plugin is officially maintained by Cloudways and is free. It handles the entire file and database transfer without you needing to touch FTP, phpMyAdmin, or the command line.
Step 3: Configure and run the migration
Click the “Cloudways” menu item in your Bluehost wp-admin sidebar. You will see a form asking for your destination Cloudways server details.
Fill in these fields from your Cloudways account (you can find these under “Servers” → your server → “Master Credentials”):
- Your Cloudways email address
- Destination site URL (Cloudways gives you a temporary URL like `wordpress-abc123.cloudwaysapps.com`)
- SFTP host, username, password (from Master Credentials)
- Server public IP (also in Master Credentials)
- Application folder (usually just “public_html”)
Click “Migrate”. The plugin now packages your site’s files and database, transfers them to Cloudways over SFTP, and imports them into your new WordPress installation. This takes 10 to 45 minutes depending on site size.
You can watch progress in the plugin’s status window. Do not close the browser tab during migration. You will get an email when it completes successfully.
Step 4: Verify the migrated site on the Cloudways temporary URL
Once migration completes, visit your Cloudways temporary URL in an incognito window: `https://wordpress-abc123.cloudwaysapps.com`
Check these before switching DNS:
- Homepage loads correctly. Images, fonts, layout all match Bluehost version.
- 3 to 5 sample posts open normally. Pick posts with images, embeds, and comments.
- WordPress admin login works. Log in at `https://wordpress-abc123.cloudwaysapps.com/wp-admin` with your existing credentials.
- Plugin list matches Bluehost site. All active plugins are present.
- User accounts are intact. Check Users → All Users.
- Media library shows all images. Check Media → Library.
If any of these checks fail, do NOT proceed to the DNS switch. Contact Cloudways support with the migration ID (in your email confirmation) and they will investigate. In our experience, migration issues are rare (under 5 percent of moves) and Cloudways support resolves them within 24 hours.
Step 5: Point your domain DNS to Cloudways
This is the final step that makes visitors see the Cloudways version of your site instead of the Bluehost version.
Get your Cloudways server IP: In Cloudways dashboard, go to Servers → your server → Master Credentials. Copy the Public IP address.
Update DNS at Bluehost (or wherever your domain is registered):
- Log in to your Bluehost account.
- Go to Domains → your domain → DNS.
- Find the A record for the root domain (@).
- Change the “Points To” IP address to your Cloudways server IP.
- Also update the A record for “www” if it exists.
- Save changes.
DNS propagation takes 15 minutes to 4 hours globally. Most Filipino ISPs (PLDT, Globe, Converge) refresh within 30 minutes. You can check propagation status at dnschecker.org by entering your domain.
Once DNS is propagated, install a free SSL certificate on Cloudways: Applications → your WP app → SSL Certificate → Let’s Encrypt → enter your email → click Install. Takes 1 to 2 minutes.
After migration: what to check in the first 24 hours
- Google PageSpeed Insights: Test your homepage and 2-3 top articles. Expect LCP to drop from around 3 seconds (Bluehost) to under 2 seconds (Cloudways Singapore).
- Google Search Console: No action needed; Google will re-crawl automatically. Just verify no crawl errors show up in the next 3 days.
- WooCommerce or contact forms: Submit a test order or contact form to make sure email sending works. Cloudways uses SendGrid Free by default, which handles up to 100 emails per day free.
- Backup: Cloudways offers automated backups. Enable daily backups under Applications → your WP app → Backups.
- Bluehost cancellation: Wait 7 to 14 days after migration before canceling Bluehost, in case you need to fall back. Then cancel and request a prorated refund.
Common issues and fixes
Migration timed out: Your site is too large for a single migrator run. Split the migration: exclude the wp-content/uploads folder in the plugin, run migration, then upload the uploads folder separately via SFTP.
SFTP connection failed: Double-check the Cloudways Public IP and SFTP credentials. Cloudways credentials use the Server-level username and password, not the Application-level ones.
Site loads but images are broken: Cloudways migrator did not transfer wp-content/uploads. Run the migration again with “Include uploads” checked, or upload the folder manually via SFTP.
Cannot log in to WordPress admin after DNS switch: Clear your browser cookies and try again. Also clear WP object cache: Cloudways dashboard → Applications → your app → Application Settings → click “Purge Varnish Cache”.
Site works on temporary URL but 404 on real domain: The DNS A record change did not propagate yet, or you also need to change the site URL in WordPress admin: Settings → General → change WordPress Address and Site Address to `https://yourdomain.com`.
Bottom line
Migrating from Bluehost to Cloudways is a 30 to 90 minute investment that typically delivers 60 to 80 percent faster page loads for Filipino audiences and better Core Web Vitals scores that Google’s ranking algorithm rewards. The Cloudways WordPress Migrator plugin handles the technical heavy lifting for free, so you never touch FTP or phpMyAdmin directly.
The single most important choice in the whole migration is picking Singapore as your Cloudways server location. Do not pick a US location “just because” or “because it looks cheaper”. The speed difference for PH visitors is the entire reason to migrate.
If you get stuck at any step, Cloudways support is genuinely helpful and typically responds within 15 to 30 minutes via live chat. We hope this guide helps you make the move smoothly.
Official documentation
Quick step-by-step summary (click to expand)
- Set up a Cloudways server and WordPress app. Pick DigitalOcean Singapore as location, 1 GB RAM plan. Launch takes 5 to 8 minutes.
- Install the Cloudways WordPress Migrator plugin on your Bluehost site. Search in wp-admin plugins, install, activate.
- Configure and run the migration. Enter your Cloudways SFTP credentials from Master Credentials panel, click Migrate. Takes 10 to 45 minutes.
- Verify the migrated site on the Cloudways temporary URL. Test homepage, sample posts, admin login, plugin list, users, media library.
- Point your domain DNS to Cloudways. Update the A record at your registrar to the Cloudways Public IP. Install free SSL. DNS propagates in 15 to 60 minutes.
Try Cloudways or explore alternatives (affiliate)
Some links below are affiliate links. We may earn a commission at no extra cost to you. See our affiliate disclosure.
- Cloudways, our top pick for the migration target (Singapore data center, managed WordPress)
- SiteGround, alternative with Singapore data center and included daily backups
- Bluehost, the source host you are migrating away from
Frequently asked questions
Will my site go down during migration?
No. The migration creates a copy of your site on Cloudways while your original stays live on Bluehost. Only when you update the DNS A record (Step 5) does traffic start going to the Cloudways version. Even then, DNS propagation is gradual and there is typically zero visible downtime.
How much does Cloudways cost after migration?
The DigitalOcean 1 GB RAM plan is USD 14 per month, billed monthly. This is the plan we recommend for most Filipino WordPress sites under 5,000 daily visitors. You can scale up to 2 GB (USD 28), 4 GB (USD 42), or higher as your traffic grows, without downtime.
Can I get a refund from Bluehost after migrating?
If you are still within Bluehost’s 30-day money-back window, yes, full refund. After 30 days, Bluehost offers a prorated refund on unused months but not on the domain (which is technically a separate service). Wait 7 to 14 days after migration before canceling Bluehost, in case you need to fall back for any reason.
Does Cloudways include email hosting?
No. Cloudways does not include email hosting like Bluehost does. You have three options: keep your Bluehost email service after migration (Bluehost sells email hosting separately), use Google Workspace (USD 6 per user per month), or use Zoho Mail Free (5 GB per user, ad-supported). Most Filipino site owners we work with pick Zoho Mail Free or Google Workspace.
What if the migration fails partway through?
The Cloudways WordPress Migrator plugin creates a copy on Cloudways without touching your Bluehost site. If migration fails, your original site is unaffected. Common causes are SFTP credential errors (double-check the Cloudways Master Credentials panel) or session timeout on very large sites (over 5 GB). Cloudways support responds within 15 to 30 minutes via live chat for migration issues.
Do I lose SEO rankings when I migrate?
No, if the migration is done correctly. URLs stay the same (yourdomain.com still resolves to the same content, just on a faster server). Google detects the DNS change transparently and re-crawls within a few days. In our experience, sites typically see a small ranking BOOST 2 to 4 weeks post-migration because Core Web Vitals scores improve significantly on Cloudways Singapore.

Caren Bautista
Technical Writer at PIES IT Solution
Responsible for crafting clear, well-structured, and beginner-friendly content across the platform. Handles the writing, proofreading, and editorial review of tutorials, guides, and documentation to ensure every article is accurate, readable, and easy to follow.
Expertise: Technical Writing · Content Creation · Documentation · Editorial Writing · JavaScript · TypeScript · Python · Python Errors · HTTP Errors · MS Excel · View all posts by Caren Bautista →