[Complete] Sales and Inventory Management System in Laravel
Laravel Sales and Inventory Management System Project. This Sales and Inventory Management System includes Dashboard, Stock Management, Purchasing, Sales, Suppliers, Customers, Reports, system maintenance and Payments, all of which are web-based applications.
The interface has a nice look and feel to it. It can be displayed on a mobile device.
This web application was created using the Laravel PHP Framework, which is a popular PHP framework nowadays.
The modification is done entirely within this Project Inventory Management System.
As a result, all modifications are recorded on the project side, allowing you to easily and rapidly maintain and upgrade the project in the future.
What is an Inventory Management System and How Does It Work?
There are several important components to an inventory management system.
Inventory control is based on tracking the two primary tasks of a warehouse: receiving (incoming) and shipping (outgoing) (outgoing).
Other tasks, such as inventory movement or relocation, are also carried out. The value of raw resources is decremented, while the value of finished goods is increased.
What is Laravel?
Laravel is a web application framework with a syntax that is both expressive and beautiful.
To be really meaningful, we believe development must be a fun and creative experience. Laravel aims to make development easier by simplifying processes like authentication, routing, sessions, queueing, and caching that are typical in most online applications.
| ABOUT PROJECT | PROJECT DETAILS |
|---|---|
| Project Name : | Sales and Inventory Management System in Laravel |
| Project Platform : | Php |
| Programming Language Used: | Laravel Language |
| Developer Name : | itsourcecode.com |
| IDE Tool (Recommended): | Sublime |
| Project Type : | Web Application |
| Database: | MySQL |
| Upload Date and Time: |
Admin Features in Sales and Inventory Management System in Laravel
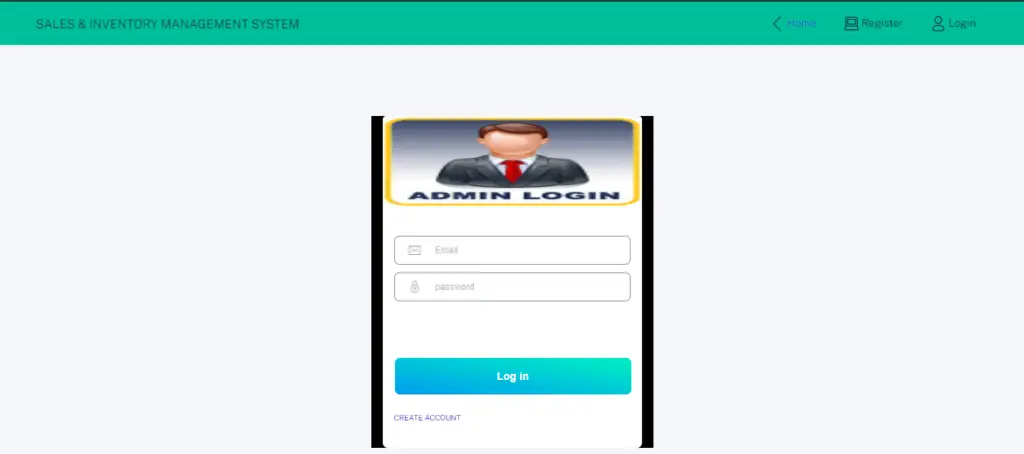
- Login Module – This is the module where the system administrator enters their credentials to gain access to the data in the sales and inventory management system.
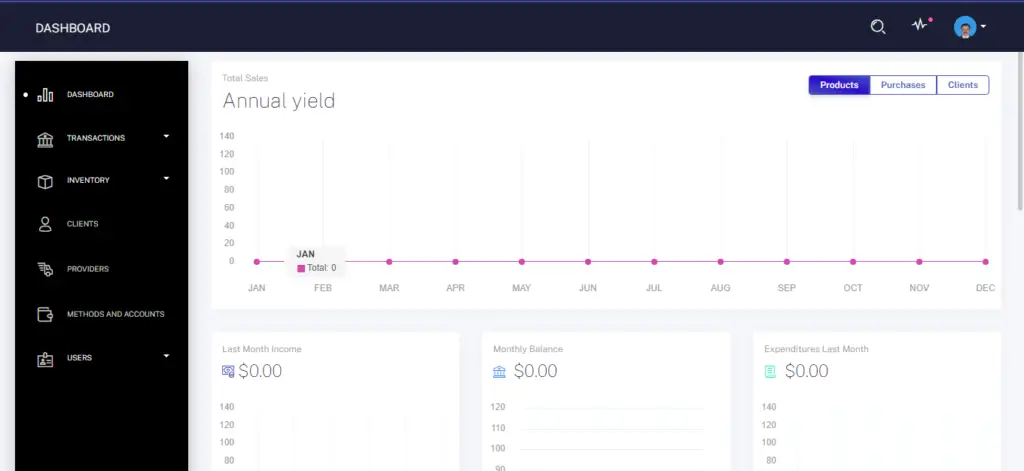
- Dashboard Module – After logging in, system administrators are automatically directed to this module.
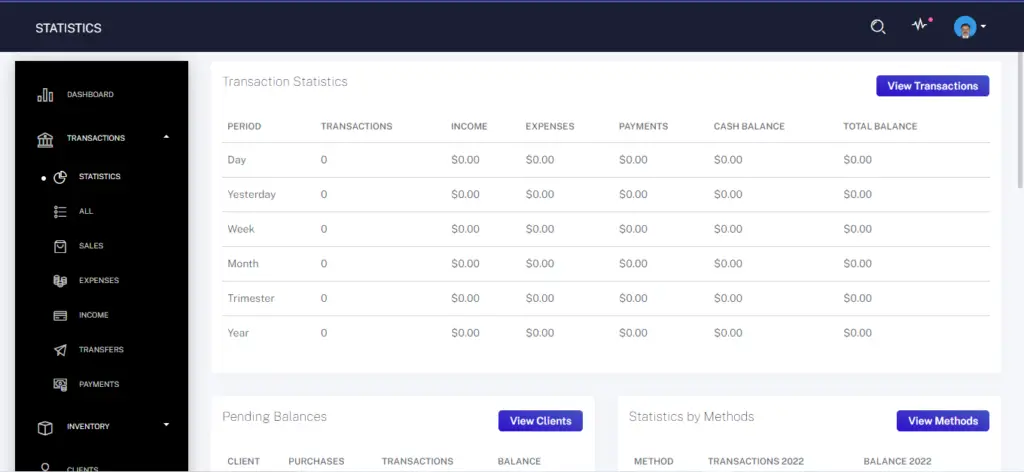
- Transaction Module – This module is composed of seven features such as statistic, all tables, sales, expenses, income, transfers, and payments.
1. Statistics Module – In this statistics module the admin can view all the transaction, view clients, view methods and view sales.
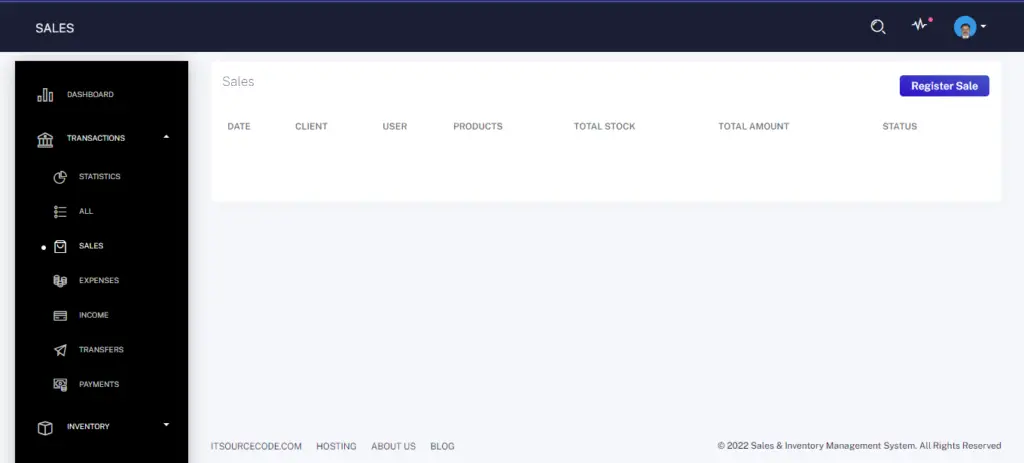
2. Sales Module – The administrator can use this sales module to register the client sales.
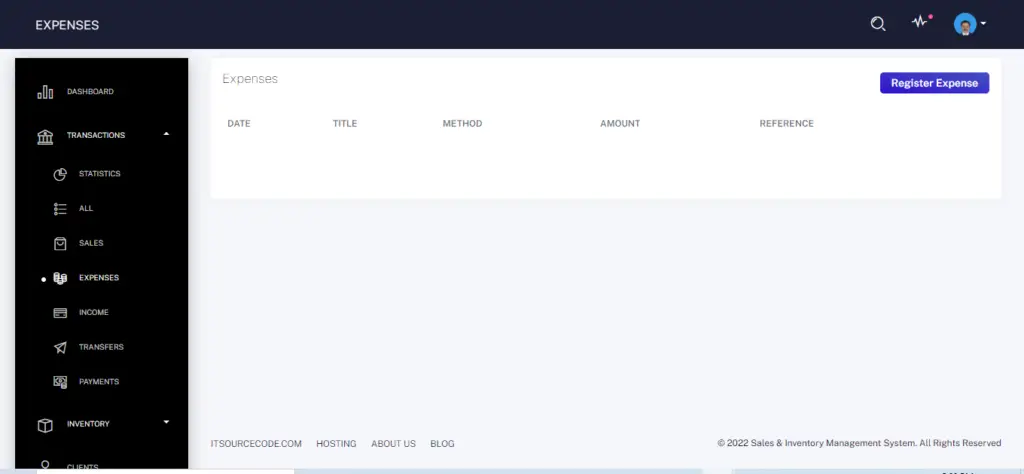
3. Expense Module – In this statistics module the admin can add new expense information.
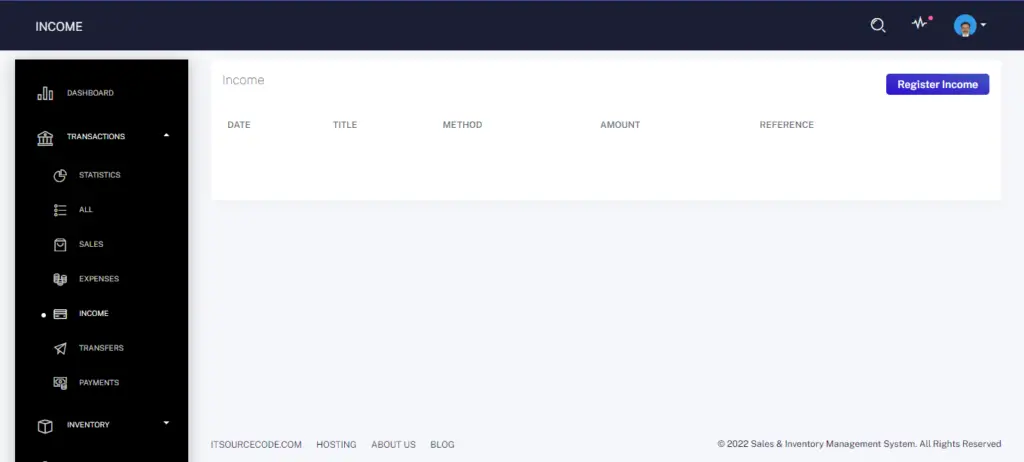
4. Income Module – The administrator can use this income module to add new income.
5. Transfers Module – The admin can use this transfers module to transfer new amount to the client.
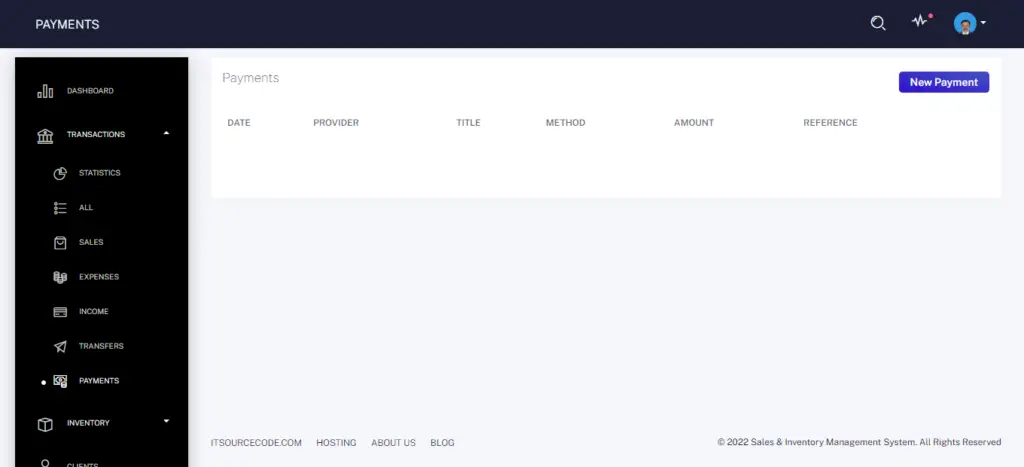
6. Payments Module – The administrator can use this payments module to add new payments information. - Manage Inventory Module – There are three features in this module, which are the products, categories, and receipts.
1. Products Module – The administrator can use this products module to add ,view, edit and delete products information.
2. Categories Module – The admin can use this categories module to add, view, edit and delete categories details.
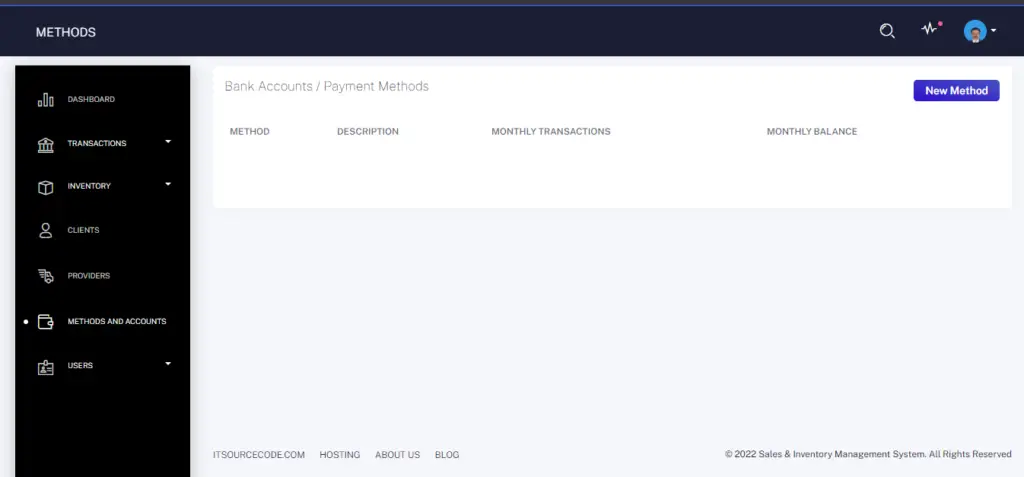
3. Receipts Module – In this module the admin can add, view, and delete receipts information. - Methods and Accounts Module – The administrator can use this methods and accounts module to add ,view, edit and delete methods information.
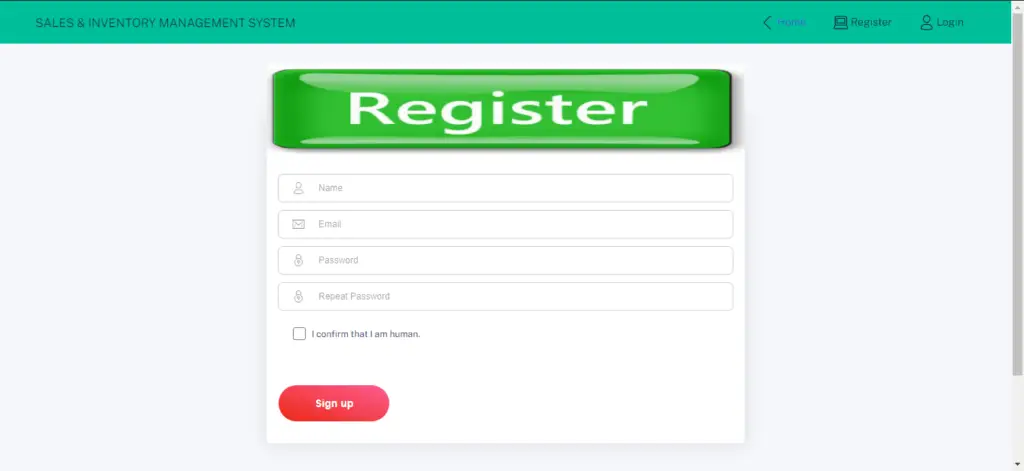
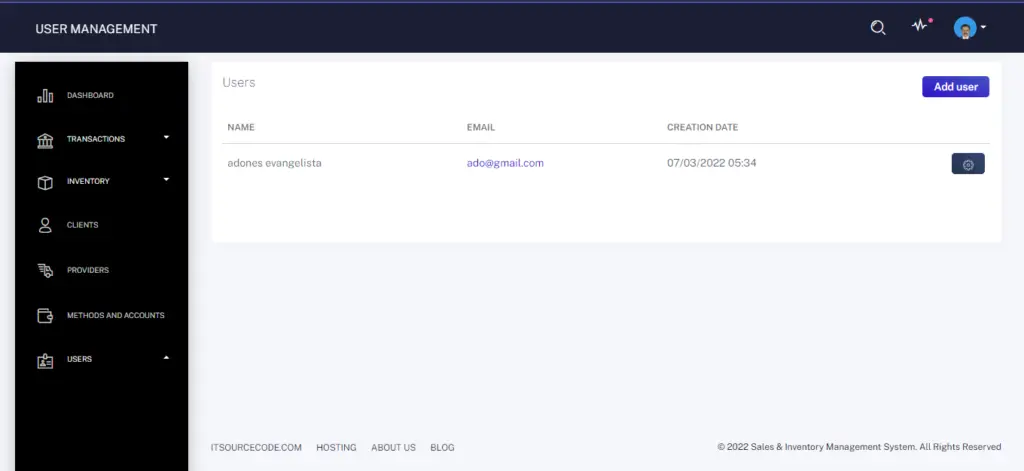
- Users Module – In this module, there are three features: My Profile, Manage users, and add new user.
1. My Profile Module – This profile module the admin can edit profile users information.
2. Manage Users -The admin can add, view, edit and delete users.
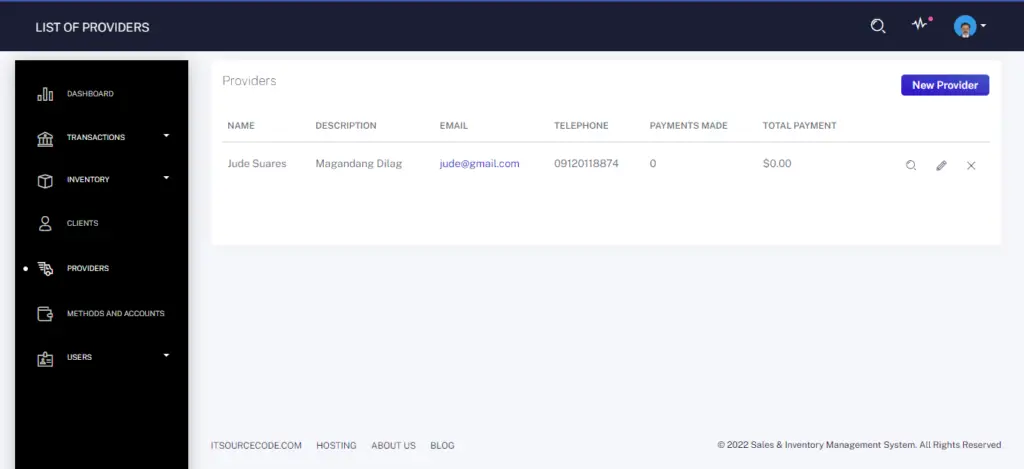
Screenshots Module in Sales and Inventory Management System in Laravel
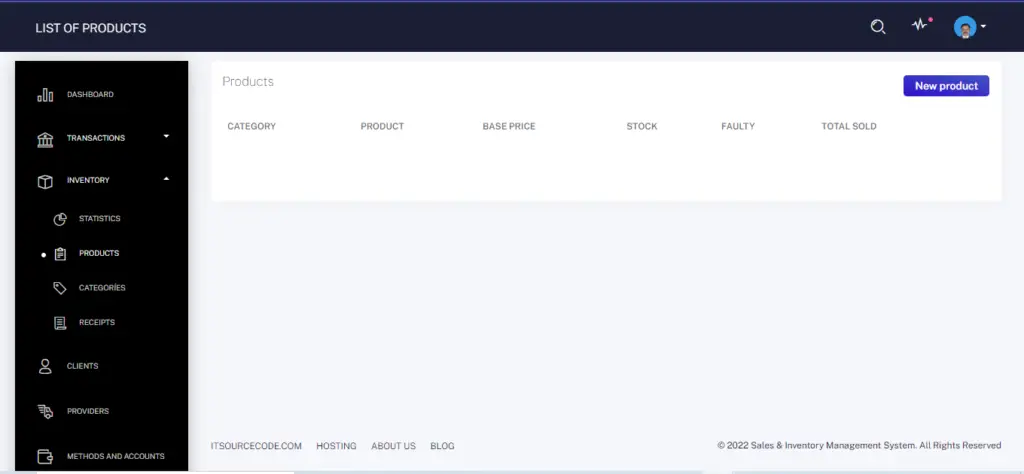
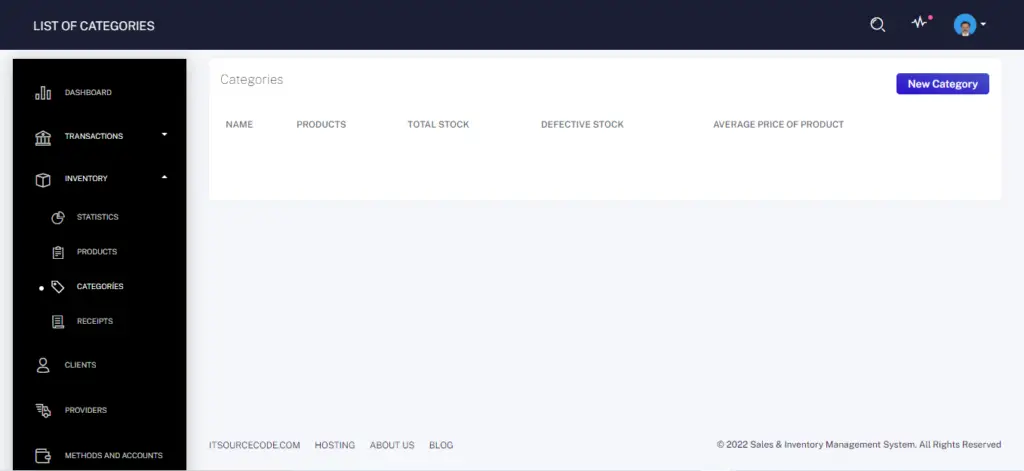
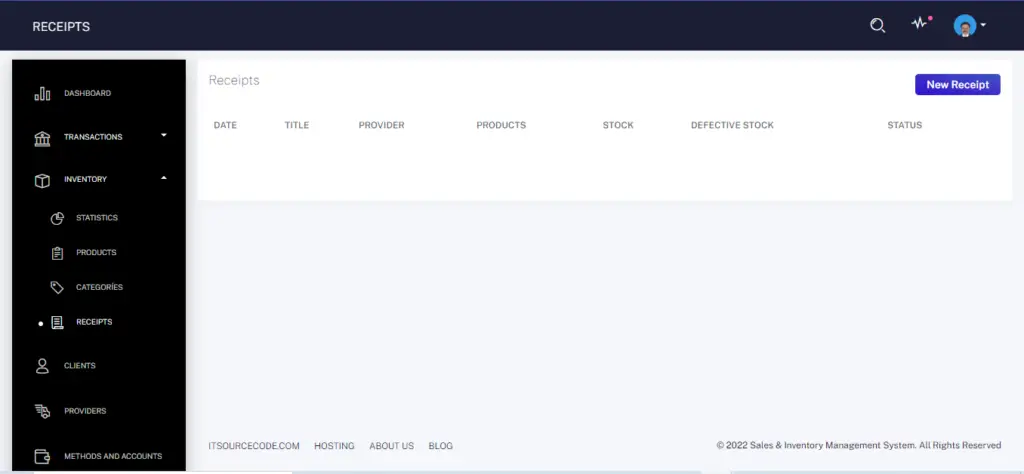
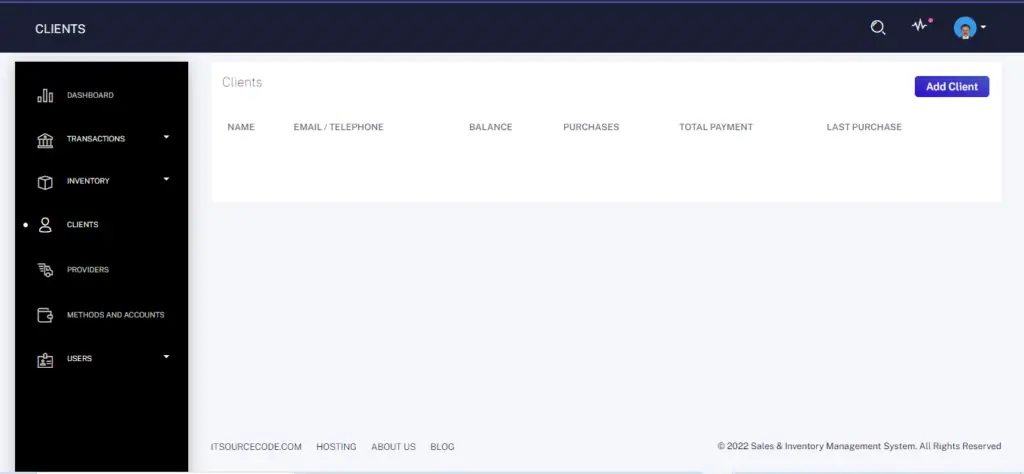
Laravel Sales and Inventory Management System Steps On How To Run The Project
Time needed: 5 minutes
Here’s the step’s on how to run a Sales and Inventory Management System in Laravel
- Step 1: Installed the composer and the Laravel dependencies
First, You need to install first the Composer and the Laravel libraries.
![Download Composer in [Complete] Sales and Inventory Management System in Laravel](data:image/svg+xml;base64,PHN2ZyB4bWxucz0iaHR0cDovL3d3dy53My5vcmcvMjAwMC9zdmciIHdpZHRoPSIxMzY2IiBoZWlnaHQ9IjcyOCIgdmlld0JveD0iMCAwIDEzNjYgNzI4Ij48cmVjdCB3aWR0aD0iMTAwJSIgaGVpZ2h0PSIxMDAlIiBzdHlsZT0iZmlsbDojY2ZkNGRiO2ZpbGwtb3BhY2l0eTogMC4xOyIvPjwvc3ZnPg==)
- Step 2: Open Command Prompt
Next, go to the project folder directory then type CMD to open the command prompt.
![open cmd in [Complete] Sales and Inventory Management System in Laravel](data:image/svg+xml;base64,PHN2ZyB4bWxucz0iaHR0cDovL3d3dy53My5vcmcvMjAwMC9zdmciIHdpZHRoPSIxMzYwIiBoZWlnaHQ9IjcxMyIgdmlld0JveD0iMCAwIDEzNjAgNzEzIj48cmVjdCB3aWR0aD0iMTAwJSIgaGVpZ2h0PSIxMDAlIiBzdHlsZT0iZmlsbDojY2ZkNGRiO2ZpbGwtb3BhY2l0eTogMC4xOyIvPjwvc3ZnPg==)
- Step 3: Composer Update
Then, After you finish to installed the composer and the Laravel. now type “composer update” in your command prompt to install the composer dependencies.
![composer update in [Complete] Sales and Inventory Management System in Laravel](data:image/svg+xml;base64,PHN2ZyB4bWxucz0iaHR0cDovL3d3dy53My5vcmcvMjAwMC9zdmciIHdpZHRoPSIxMzYwIiBoZWlnaHQ9IjQyMiIgdmlld0JveD0iMCAwIDEzNjAgNDIyIj48cmVjdCB3aWR0aD0iMTAwJSIgaGVpZ2h0PSIxMDAlIiBzdHlsZT0iZmlsbDojY2ZkNGRiO2ZpbGwtb3BhY2l0eTogMC4xOyIvPjwvc3ZnPg==)
- Step 4: php artisan key:generate
After that, then type “php artisan key:generate ” in your command prompt. A command that sets the APP_KEY value in your . env file. By default, Run the following command to have the database tables migrated for you so that you can begin using the system.
![key generate in [Complete] Sales and Inventory Management System in Laravel](data:image/svg+xml;base64,PHN2ZyB4bWxucz0iaHR0cDovL3d3dy53My5vcmcvMjAwMC9zdmciIHdpZHRoPSIxMzYwIiBoZWlnaHQ9IjE1NSIgdmlld0JveD0iMCAwIDEzNjAgMTU1Ij48cmVjdCB3aWR0aD0iMTAwJSIgaGVpZ2h0PSIxMDAlIiBzdHlsZT0iZmlsbDojY2ZkNGRiO2ZpbGwtb3BhY2l0eTogMC4xOyIvPjwvc3ZnPg==)
- Step 5: Create Database
After that, To install and run the application correctly. Simply go to phpmyadmin and make a new database. After that, “Be” and rename it to “.env“, then go to connection and modify the default database connection name, only database connection, database username, and password.
![create database in [Complete] Sales and Inventory Management System in Laravel](data:image/svg+xml;base64,PHN2ZyB4bWxucz0iaHR0cDovL3d3dy53My5vcmcvMjAwMC9zdmciIHdpZHRoPSIxMzYwIiBoZWlnaHQ9IjYyOSIgdmlld0JveD0iMCAwIDEzNjAgNjI5Ij48cmVjdCB3aWR0aD0iMTAwJSIgaGVpZ2h0PSIxMDAlIiBzdHlsZT0iZmlsbDojY2ZkNGRiO2ZpbGwtb3BhY2l0eTogMC4xOyIvPjwvc3ZnPg==)
- Step 6: php artisan migrate
Lastly, you’ve set up the environment, you’ll need to establish a database configuration for it. Use the following command to create database tables: “php artisan migrate“.
![migrate in [Complete] Sales and Inventory Management System in Laravel](data:image/svg+xml;base64,PHN2ZyB4bWxucz0iaHR0cDovL3d3dy53My5vcmcvMjAwMC9zdmciIHdpZHRoPSIxMzYwIiBoZWlnaHQ9IjE3NSIgdmlld0JveD0iMCAwIDEzNjAgMTc1Ij48cmVjdCB3aWR0aD0iMTAwJSIgaGVpZ2h0PSIxMDAlIiBzdHlsZT0iZmlsbDojY2ZkNGRiO2ZpbGwtb3BhY2l0eTogMC4xOyIvPjwvc3ZnPg==)
- Step 7: php artisan serve
Lastly, type “php artisan serve” in your command prompt. The purpose of using PHP artisan serve (PHP built in server) is just for testing and easy starting your project it should not be used in real website deployment.
![serve in [Complete] Sales and Inventory Management System in Laravel](data:image/svg+xml;base64,PHN2ZyB4bWxucz0iaHR0cDovL3d3dy53My5vcmcvMjAwMC9zdmciIHdpZHRoPSIxMzYwIiBoZWlnaHQ9IjE3NiIgdmlld0JveD0iMCAwIDEzNjAgMTc2Ij48cmVjdCB3aWR0aD0iMTAwJSIgaGVpZ2h0PSIxMDAlIiBzdHlsZT0iZmlsbDojY2ZkNGRiO2ZpbGwtb3BhY2l0eTogMC4xOyIvPjwvc3ZnPg==)
- Step 8: Copy “http://127.0.0.1:8000/”
Finally, In your browser, type the following code to access your project dashboard.
![copy url in [Complete] Sales and Inventory Management System in Laravel](data:image/svg+xml;base64,PHN2ZyB4bWxucz0iaHR0cDovL3d3dy53My5vcmcvMjAwMC9zdmciIHdpZHRoPSIxMzYwIiBoZWlnaHQ9IjE3NiIgdmlld0JveD0iMCAwIDEzNjAgMTc2Ij48cmVjdCB3aWR0aD0iMTAwJSIgaGVpZ2h0PSIxMDAlIiBzdHlsZT0iZmlsbDojY2ZkNGRiO2ZpbGwtb3BhY2l0eTogMC4xOyIvPjwvc3ZnPg==)
Download Source Code below
Summary
This project includes source code for a Sales and Inventory Management System in Laravel with Source Code is solely for instructional purposes.
By downloading it, you may use it as a reference and learn more about how to design a system. You are completely free to make whatever changes you want.
It has a lot to teach both beginners and intermediate developers. In general, this program manages the majority of a small business’s operations.
As a result, this application is both straightforward and informative for a company that needs to market things.
Anyway, if you want to level up your programming knowledge, especially Laravel PHP, try this new article I’ve made for you Awesome Laravel Projects With Source Code Free Download .
Related Articles
- Sales and Inventory System Using PHP and MYSQL Source Code
- Pablo Auto and Motorcycle Parts Sales And Inventory System in VB.net
- Sales and Inventory System Using PHP and MYSQL
- Aguilos Enterprises Network-Based Sales and Inventory System in VB.net
- Motor Parts Sales and Inventory System in VB.net and MS Access
- Sales and Inventory System in Vb.net with Source Code
Inquiries
If you have any questions or suggestions about Sales and Inventory Management System in Laravel with Source Code, please feel free to leave a comment below.

![[Complete] Sales and Inventory Management System in Laravel](https://itsourcecode.com/wp-content/uploads/2022/03/Complete-Sales-and-Inventory-Management-System-in-Laravel.png)
![Download Composer in [Complete] Sales and Inventory Management System in Laravel](https://itsourcecode.com/wp-content/uploads/2022/03/Download-Composer-in-Complete-Sales-and-Inventory-Management-System-in-Laravel.png)
![open cmd in [Complete] Sales and Inventory Management System in Laravel](https://itsourcecode.com/wp-content/uploads/2022/03/open-cmd-in-Complete-Sales-and-Inventory-Management-System-in-Laravel.png)
![composer update in [Complete] Sales and Inventory Management System in Laravel](https://itsourcecode.com/wp-content/uploads/2022/03/composer-update-in-Complete-Sales-and-Inventory-Management-System-in-Laravel.png)
![key generate in [Complete] Sales and Inventory Management System in Laravel](https://itsourcecode.com/wp-content/uploads/2022/03/key-generate-in-Complete-Sales-and-Inventory-Management-System-in-Laravel.png)
![create database in [Complete] Sales and Inventory Management System in Laravel](https://itsourcecode.com/wp-content/uploads/2022/03/create-database-in-Complete-Sales-and-Inventory-Management-System-in-Laravel.png)
![migrate in [Complete] Sales and Inventory Management System in Laravel](https://itsourcecode.com/wp-content/uploads/2022/03/migrate-in-Complete-Sales-and-Inventory-Management-System-in-Laravel.png)
![serve in [Complete] Sales and Inventory Management System in Laravel](https://itsourcecode.com/wp-content/uploads/2022/03/serve-in-Complete-Sales-and-Inventory-Management-System-in-Laravel.png)
![copy url in [Complete] Sales and Inventory Management System in Laravel](https://itsourcecode.com/wp-content/uploads/2022/03/copy-url-in-Complete-Sales-and-Inventory-Management-System-in-Laravel.png)
What is the code to unzip
What is the code to unzip
Zip file password:itsourcecode.com or itsourcecode