
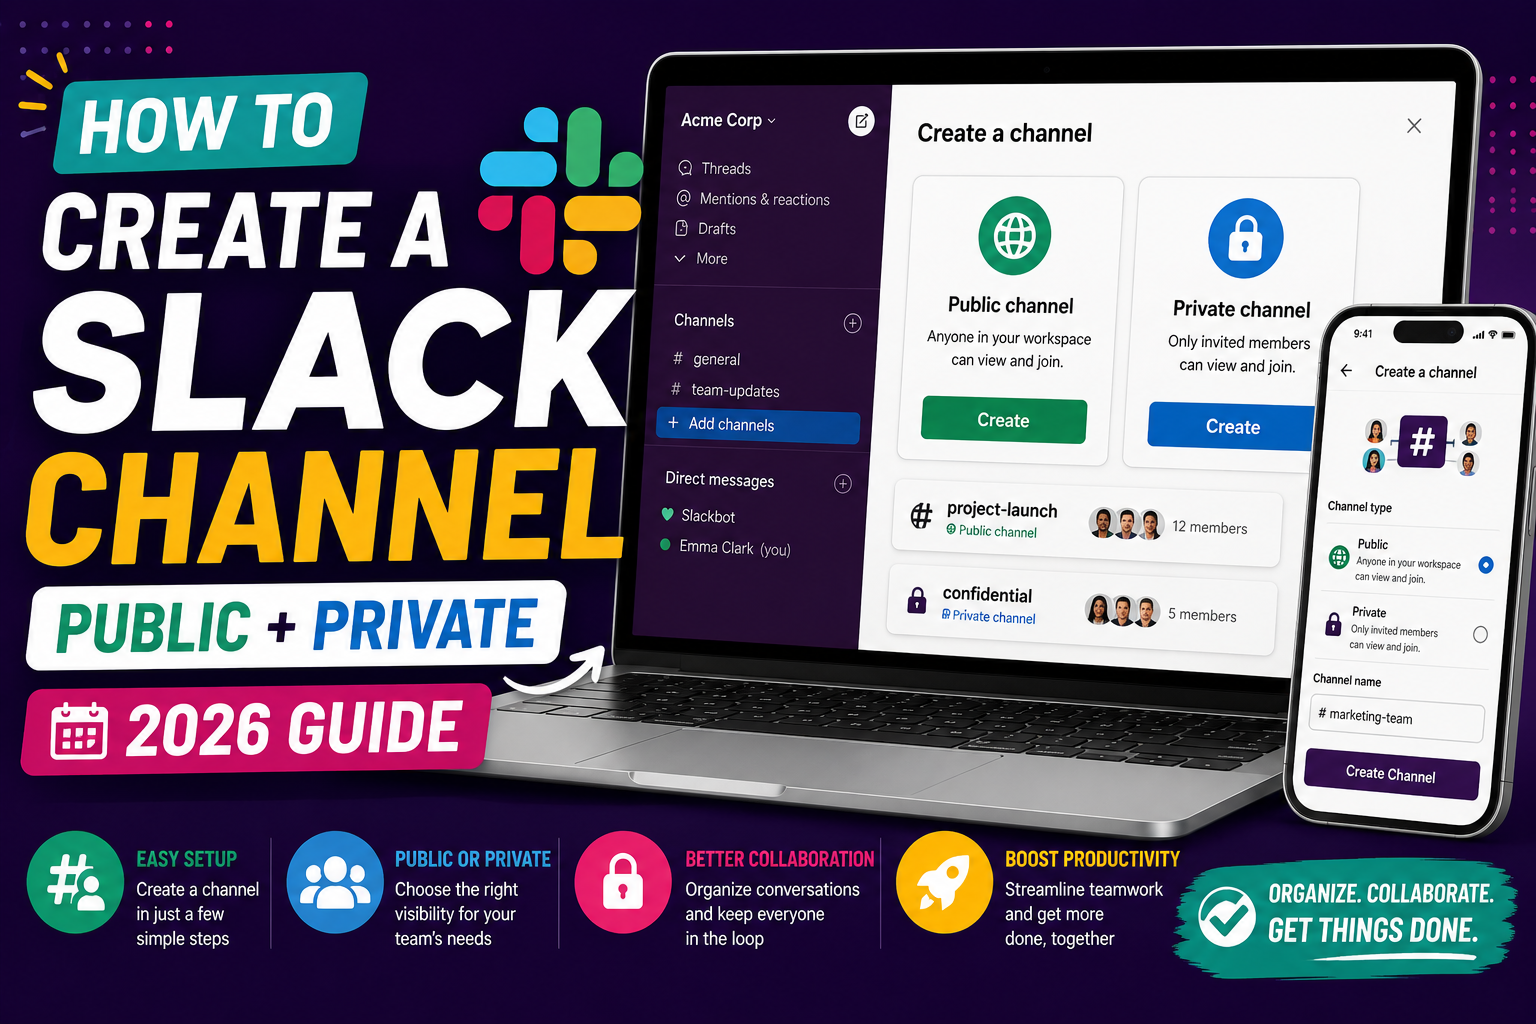
Quick step-by-step summary (click to expand)
- Click the plus icon. In the left sidebar next to “Channels”, click the plus icon and choose “Create channel”.
- Name the channel. Use lowercase, dashes-not-spaces, and a clear prefix (like proj- or team-).
- Add a description. One sentence about what the channel is for.
- Choose visibility. Toggle “Make private” on if only invited members should see it. Off = public (any workspace member can join).
- Click Create. Slack creates the channel and opens it.
- Add members. Click “Add people” and search by name, or paste in a list of emails.
- Pin the purpose message. Send a first message that explains what the channel is for and pin it so new joiners see it.
Public vs private channels: how to choose
Slack has two channel types with different visibility rules:
- Public channels are visible in the channel browser and any workspace member can join without an invite. Use for team-wide announcements, general discussion, and topics anyone might want to follow.
- Private channels are invitation-only. They do not appear in the browser and non-members cannot see messages. Use for confidential topics (HR, hiring, salary discussions, incident response, client work with NDA).
Default to public. Slack’s own guidance is that private channels create silos and reduce cross-team visibility. Use private only when you have a real confidentiality reason.
Note: once you make a channel private, you cannot convert it back to public. You can convert public to private, but the reverse is not allowed. Choose carefully at creation.
Create a channel on Slack Desktop
- Open Slack (desktop app or web).
- In the left sidebar, find the “Channels” section. Hover over it and click the plus icon that appears.
- Click “Create a channel” from the menu.
- In the “Channel name” field, type a name. Slack enforces lowercase, no spaces (use dashes instead), and 80 character max. Emoji are allowed but discouraged.
- In the “Description” field, write one clear sentence about what the channel is for. This shows up in the channel details and helps new joiners orient.
- Toggle “Make private” if only invited members should see it. Leave off for public.
- Click “Create”. Slack opens the new channel.
Create a channel on Slack Mobile
The mobile app supports channel creation too, though the flow has fewer options:
- Open the Slack app on iOS or Android.
- Tap the “You” tab at the bottom right, then tap the pencil icon (top right) or navigate to your workspace’s channel list.
- Tap the plus icon or “Create a channel”.
- Enter the name and description.
- Toggle public/private.
- Tap “Create”.
Mobile creates the channel with default settings. For member invites, integrations, and advanced settings, switch to desktop after creation.
Add members to your new channel
After creating the channel, invite people:
- At the top of the channel, click the “Add people” button (visible if the channel is empty of members other than you).
- Search by name, or paste a list of email addresses to invite people who are not yet in the workspace.
- Alternatively, type a message like
/invite @teammatein the channel to add someone directly. - For bulk invites, click the members icon at the top and use “Add” to select multiple people at once.
For large teams, consider using Slack’s user groups feature (like @marketing-team) which lets you invite a pre-defined group of people in one click.
Naming conventions that keep channels findable
The single best thing you can do for your Slack workspace is enforce a naming convention. When channel names follow a predictable pattern, everyone can find what they need without asking.
Common convention pattern:
team-marketing: for team channels (permanent, department-wide)proj-website-redesign: for project channels (temporary, ends when project ends)help-it: for help/support channelssocial-book-club: for social/off-topic channelsext-clientname: for external channels shared with clients (Slack Connect)inc-2026-07-24: for incident response channels (dated for post-mortem)
Skip generic names like “discussion”, “chat”, or “team”. They collide with other teams’ channels and become unfindable.
Set the purpose and topic
Beyond the description, Slack lets you set a channel purpose (long-form) and topic (short, changes often):
- Click the channel name at the top to open channel details.
- Scroll to “Details”.
- Click “Topic” to add a short pinned line at the top of the channel (like a status: “Sprint 12 in progress”).
- Click “Description” to write a longer explanation of what the channel is for.
Update the topic weekly for active channels. It is the first thing people see when they open the channel and is a low-friction way to broadcast context.
Common mistakes when creating channels
- Creating too many channels. Every new channel dilutes attention. Before creating one, check if an existing channel already covers the topic. Consolidate where possible.
- Skipping the description. A blank description signals “I did not think about this” and reduces adoption. Even a 5-word description helps.
- Making channels private without a reason. Private channels prevent knowledge sharing. Only use for real confidentiality (HR, security incidents, exec discussions).
- Inconsistent naming. If half your channels use
team-and half useteams-, no one can find things. Set a convention and document it in your onboarding guide. - No pinned message. Post an intro message and pin it. New joiners appreciate the context.
- Not archiving dead channels. When a project ends, archive its channel (do not delete). Archived channels stay searchable but do not clutter the sidebar.
Archive a channel when it is done
When a project channel is no longer needed:
- Open the channel.
- Click the channel name at the top.
- Scroll to “Settings”, then click “Archive channel”.
- Confirm. The channel is removed from active channel lists but stays searchable.
Archived channels can be restored if needed. Deletion is permanent and workspace admins usually have to enable it. Archive is almost always the right choice.
Official documentation
Frequently asked questions
How many channels can I create in Slack?
Slack does not enforce a hard limit on the number of channels in a workspace. Practical limits: free workspaces show only the 10 most recent channels in search; paid plans have full history. Most healthy workspaces have 50 to 500 channels depending on team size.
Can I rename a channel after creating it?
Yes. Click the channel name at the top, click Settings, then click Rename channel. All @mentions and links to the old name auto-update. Only channel members and workspace admins can rename.
Can I convert a private channel to public?
No. Slack only allows public-to-private conversion, not the reverse. If you need to open a private channel to more people, either add them individually or create a new public channel and copy the important content across.
Who can create channels in Slack?
By default, all workspace members can create both public and private channels. Workspace admins can restrict channel creation to admins only in Workspace Settings if the team wants tighter control. Guest users cannot create channels regardless of setting.
Should I make my channel public or private by default?
Public by default. Slack’s own guidance is that public channels reduce silos and let knowledge flow across teams. Only use private for real confidentiality (HR, security, exec-only). Once private, you cannot switch back to public.
Can I create a Slack channel with external partners?
Yes, using Slack Connect (available on paid plans). Create a channel and click Share with another organization. Both workspaces need to approve. Use the ext- naming prefix so your team can distinguish external channels from internal ones at a glance.