
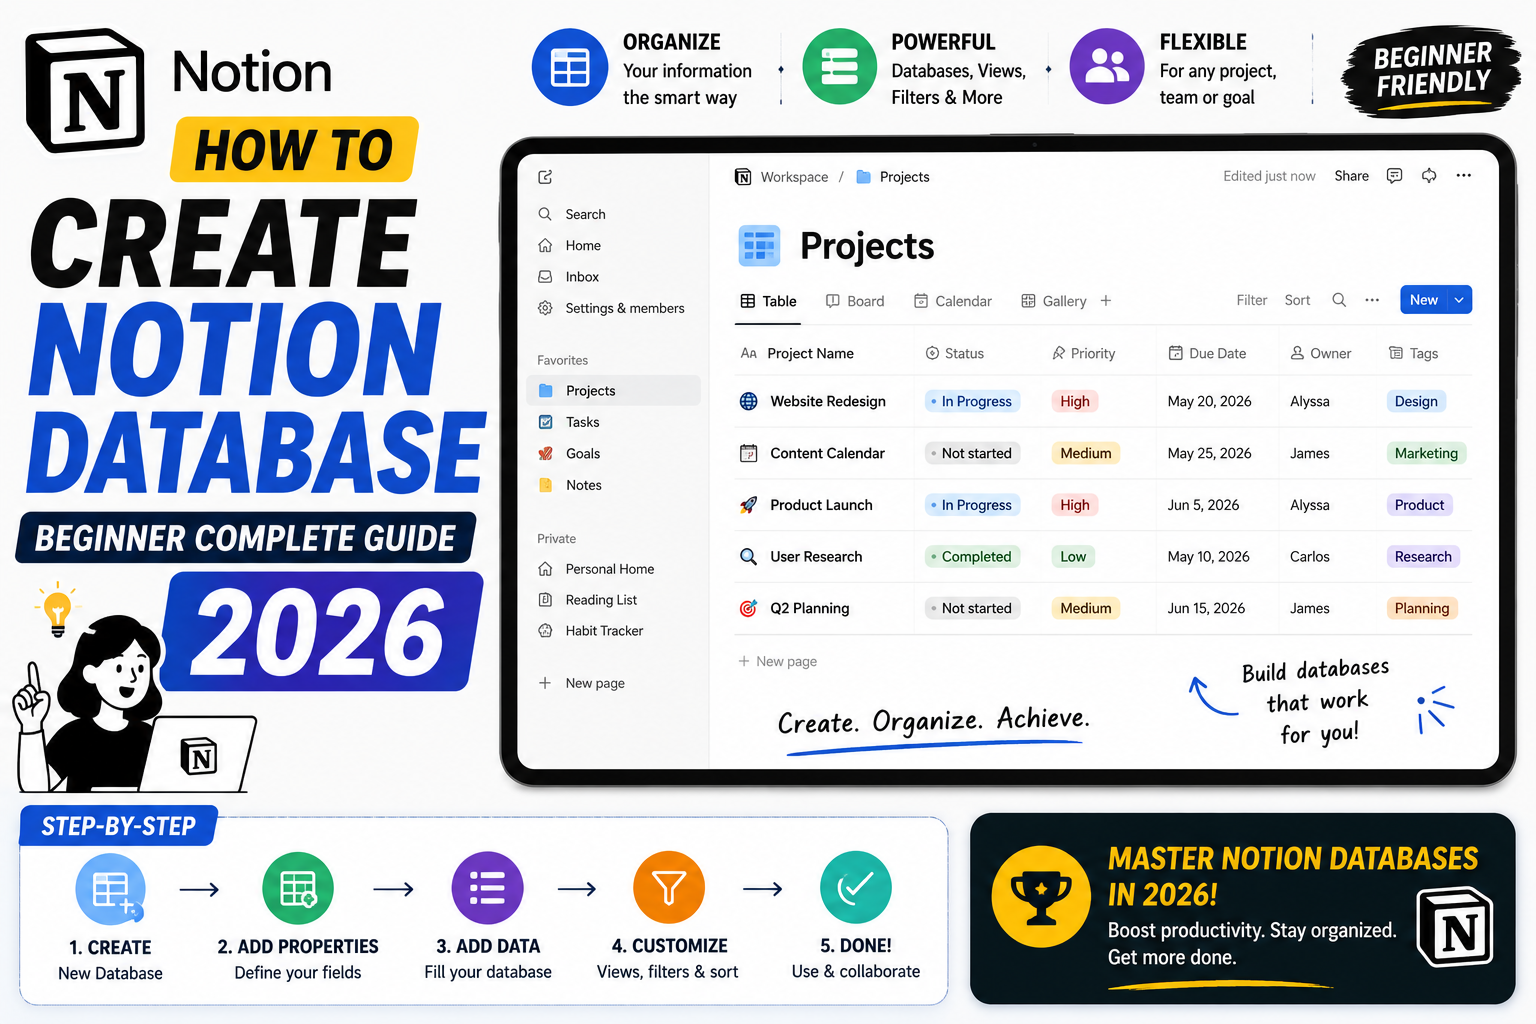
Quick step-by-step summary (click to expand)
- Open Notion. Web app at notion.so or desktop app.
- Create a new page. Click “+ Add a page” in the sidebar.
- Type /database. Notion shows database options.
- Choose Database – Inline or Database – Full page. Inline embeds in your page; Full page becomes its own page.
- Add columns (properties). Click the + at the right of the columns to add title, tags, dates, etc.
- Add rows. Click New to add each item.
- Set up views. Click + next to the current view (Table default) to add Board, Calendar, Gallery, List.
What a Notion database actually is
A Notion database is a table where each row is a full page. That is the key difference from a spreadsheet: in Google Sheets, a cell is just data. In Notion, each row can be opened as a page with rich content (headings, checklists, images, comments) inside it.
This makes databases perfect for:
- Project tracker where each project has notes and files
- Content calendar where each article has a draft body
- CRM where each contact has email history and meeting notes
- Personal knowledge base where each entry has an in-depth article
- Recipe collection where each recipe has ingredients and step-by-step instructions
Create your first database (step by step)
- Open Notion (web at notion.so or desktop app).
- In the left sidebar, click “+ Add a page” or use an existing page.
- Give the page a title (like “My First Database”).
- On the empty page, type
/database. A menu appears with database options. - Choose “Database – Full page” for a dedicated database page, or “Database – Inline” to embed the database within another page.
- Notion creates a table with default columns Name, Tags, and Files.
- Click on a row to open it as a page. Type inside to add rich content.
Inline vs Full-page database
- Full-page database: The database is its own page in the sidebar. Best for a big database (your main project tracker, CRM, or content calendar). Easier to link to and share.
- Inline database: The database sits inside another page. Best when the database is context for something else (like a project overview page with a task list embedded). Multiple inline databases can live on one page.
You can convert between the two: click the three-dot menu on the database and choose Turn into inline or Turn into page.
Add the right property types
Properties are the columns in your database. Notion offers many types; the most common:
- Title: The main name of each entry. Every database has exactly one Title property.
- Text: Short free-form text (like a description).
- Number: For counts, amounts, or IDs. Can be formatted as currency, percentage, or ratio.
- Select: Single choice from a dropdown (like Status: Not started, In progress, Done).
- Multi-select: Multiple tags from a dropdown (like Categories: Design + Content + Development).
- Date: Single date or date range with time.
- Person: Assign to a Notion workspace member.
- Files & media: Upload files or link to external URLs.
- Checkbox: Boolean true/false.
- URL: A link that shows as clickable.
- Email: Formatted email that opens mail app on click.
- Phone: Formatted phone number.
- Formula: Calculated field based on other properties.
- Relation: Link to another database (for CRM linking Contacts to Companies, for example).
- Rollup: Aggregate data from a related database.
- Created time / Last edited time: Auto-tracked timestamps.
To add a property: click the “+” at the right end of your database’s column headers. Pick the type, name it, and configure options.
Set up multiple views
The same data can display in different views. Common view types:
- Table: Spreadsheet-style. Best for browsing and editing quickly.
- Board (Kanban): Cards grouped by a status property. Best for project management.
- Calendar: Entries plotted on a monthly calendar based on a Date property. Best for content or event planning.
- Timeline (Gantt): Entries as bars on a timeline. Best for project schedules.
- Gallery: Card-style with images. Best for portfolios or recipes.
- List: Simple minimal list. Best for reading notes or a simple task list.
To add a view: click the “+” next to the current view name at the top of your database. Pick the type. Configure grouping, filtering, and sorting.
Filter and sort a view
Each view can filter and sort independently:
- Open the view.
- Click “Filter” at the top right of the database.
- Choose a property (like Status) and a condition (like “equals In Progress”).
- Add multiple filters with AND/OR logic.
- Click “Sort” next to Filter to order the results (like “Sort by Due date, ascending”).
Popular filter setups: “My tasks” view (filter Person = me), “This week” view (filter Date is this week), “Overdue” view (filter Date is before today AND Status is not Done).
Use relations to connect databases
Relations link two databases so entries reference each other. Example: link “Contacts” database to “Companies” database.
- Open the database that will hold the relation (like Contacts).
- Add a new property. Choose type “Relation”.
- Pick the target database (Companies).
- Choose whether it’s one-way or two-way (creates a matching property in the target).
- Save.
- Now in each contact row, you can select which company they belong to. Click into the field and pick from the Companies database.
Combine with a Rollup property to show aggregate data. Example: “Total revenue” property on each Company that sums the “Amount” from all related Deals.
Start from a template instead of blank
Notion has hundreds of ready-made database templates:
- Click “Templates” in the sidebar.
- Browse categories like Personal, Work, Team, or Startup.
- Click a template to preview it. Click “Get template” to duplicate into your workspace.
Community templates on notion.so/templates, notionpages.com, and gumroad are often more polished than the built-in ones. Free options exist for almost every use case.
Common mistakes when creating a database
- Too many properties from the start. Start with 3-5 columns. Add more only when you actually need them. It is easy to add later.
- Using Text where Select would work. Free text (like “priority: high”) is unfilterable. Use Select with predefined options (Low, Medium, High).
- No consistent naming. If some rows say “Draft” and others say “Drafts”, filters break. Use Select to enforce consistency.
- Nesting databases too deep. Each database is its own thing. Do not create databases inside database entries; use relations instead.
- Ignoring views. The Table view alone is limiting. Set up 2-3 useful views (Board for status, Calendar for dates, filtered “My tasks”) to make the database daily-useful.
Official documentation
Frequently asked questions
What is the difference between a Notion page and a Notion database?
A page is a single document. A database is a collection where each entry is its own page. Use pages for one-off notes and documents. Use databases when you have many similar items you want to organize, filter, and view different ways.
Is Notion database free?
Yes on the free plan for personal use (unlimited pages, unlimited databases, up to 5 MB file upload). Team plans start at USD 8-10 per user monthly for collaboration features. Individual users almost never hit paid-tier limits.
Can I import an Excel or CSV file as a Notion database?
Yes. Click “Import” in the sidebar, choose CSV, and pick your file. Notion creates a database with columns matching your CSV headers. Property types are inferred but you may need to adjust (dates as Date, numbers as Number) after import.
How many rows can a Notion database hold?
No hard limit but performance degrades past 5,000-10,000 rows. Views take longer to load and filter/sort feels sluggish. For larger datasets, split into multiple databases (like “Contacts 2025” and “Contacts 2026”) or move to Airtable/PostgreSQL.
Can I share a database with people outside my workspace?
Yes. Click Share on any database page and enable public access with view or edit permissions. You can also share with specific external emails (they get an invite even without a Notion account) or grant Notion workspace guests limited access.
Should I use Notion or Airtable for databases?
Notion is better if you want databases plus rich page content (notes, docs). Airtable is better for pure data work with heavy formulas, integrations, and larger datasets (100K+ rows). Both work well; pick based on whether your primary use is knowledge management (Notion) or data management (Airtable).