In this chapter, we’ll talk about what is Page break and how to add breaks between pages in MS Word . Microsoft Word starts a new page when the current page is full of text, but you can force Word to start text on a new page by adding a page break. Either the mouse or the keyboard can be used to add a page break.
Table of contents
What Is Page Break In MS Word
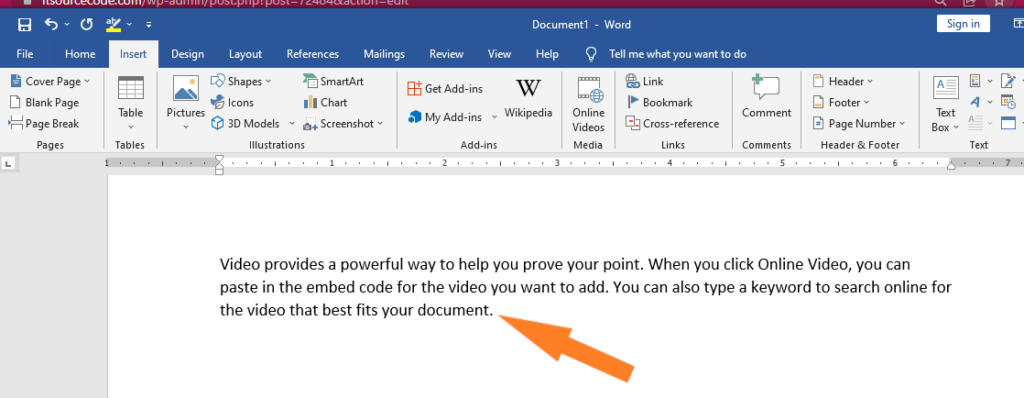
A page break is a special mark that tells the computer to move to the next page. Further, it lets you move text to the next page before the page is full. If you’re writing a paper with a title page or a list of sources, you might use a page break to make sure it starts on a new page.
When you want to move to the beginning of the next page in your document, add a page break. Many users don’t know about the page break feature, so when they want to start a new page, they just hit the Enter key a lot.
You can control where a page ends and a new one starts by using page breaks. Insert a page break. Put the cursor where you want the new page to begin.
To move the cursor to where you want to start a new page, click there. Click the Tab that says “Insert.” If you need to make it bigger, click the Pages group. Click the Page Break button.
The Importance of Page Breaks
The Importance of Page Breaks is it helps keep paragraph together. If you don’t use Page Breaks every time you can, you might use the Enter key to move things down or the Backspace key to move things up and adjust the layout.
This can fix the problem, but it can also cause new ones when you add or remove more content because the new lines move everything back to where it was before. And you have to start over with everything.
Instead, you must learn to use the Ctrl + Enter keys instead of the Enter key when you need to add a page break.
What is the use of page section breaks in MS Word?
We use section breaks to break up the document into different parts. After putting in section breaks, you can format each section on its own.
For example, set up the first part of a report as a single column, and then set up the next part as two columns for the report’s body text.
In Microsoft Word, a page break is an invisible line that separates one page from the next. This mark makes it easy for text to move from one page to the next. Also, when you want to print the document, the page break tells the printer where the first page ends and the next one starts.
In short, a page break tells your document how to be laid out and lets you put the right information on the right page. Let’s learn how to put a page break in Word and then how to get rid of one.
Section breaks
Section breaks separate different parts of a document so that you can format each one separately. For instance, you might want one section to have two columns without making the whole document have more columns. There are different kinds of section breaks in Word:
- Next Page: This option adds a section break and moves the text after the break to the next page of the document. This is helpful if you want to make a normal-looking page after a page with column formatting.
- Continuous: With this option, there is no break between sections, so you can keep working on the same page. You can use this type of break to separate a paragraph from a column.
- Even Page and Odd Page: These choices insert a section break and shift the text to the following even or odd page after the break. When you need to start a new section on an even or odd page, these options may help.
How to Insert a section break
In our example, we will learn How To insert a section break. A two-column list will be separated from a paragraph by a section break. This will let us change the look of the paragraph so it doesn’t look like a column anymore.
- Place the insertion point where the break should be. In our example, we’ll put it at the beginning of the paragraph we want to separate from the column formatting.
- Insert the point of insertion where you wish to make the break. In our example, we will insert it at the start of the paragraph we wish to segregate from column formatting.
- The document will be split into sections.
- You can now format the text before and after the section break separately. Use the options you want for formatting. In our example, we’ll format the paragraph so that it only has one column, so that it no longer looks like columns.
- In the document, the text will be set up in a certain way.
Insert a Page Break with a Keyboard Shortcut
- Place your cursor where you want to insert the break.
- Press the shortcut Ctrl + Enter (PC) or Command + Return (Mac) on your keyboard.
The content after the break should move to the next page in your document.
How to Do a Page Break in Word
Time needed: 1 minute
Here the simple steps on How to Do a Page Break in Word.
- First, open your document in Microsoft Word, to insert a page break in your document,
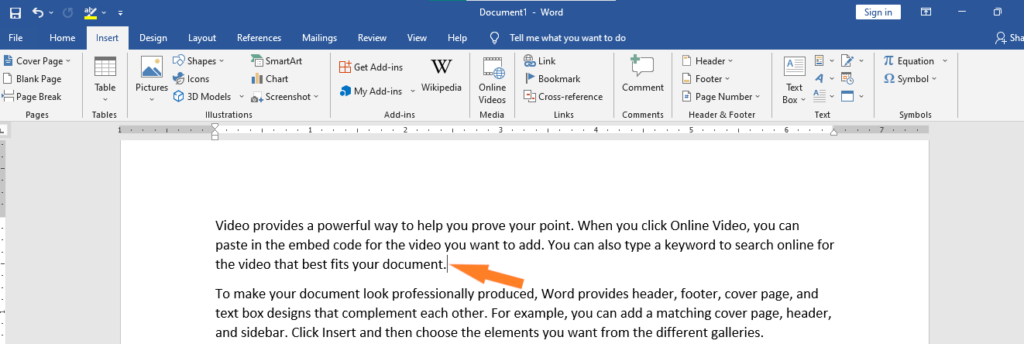
In the document, place your cursor where the new page should begin. Everything to the right of your cursor will go on to the new page.

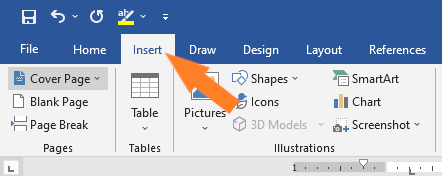
- Click the “Insert” tab in Word’s ribbon at the top, .

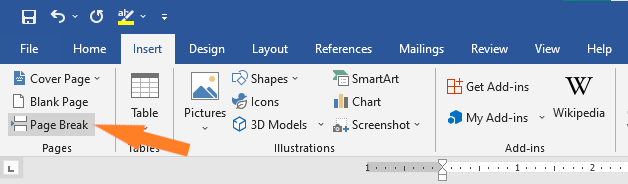
- On the “Insert” tab, in the “Pages” section to the extreme left, click “Page Break.”

- Word will add a page break to the selected location in your document. All your text that was to the right of your cursor has now moved to the new page.
And you are all set.

How to Delete Page Breaks
You can skip to step 2 if your formatting marks are already visible.
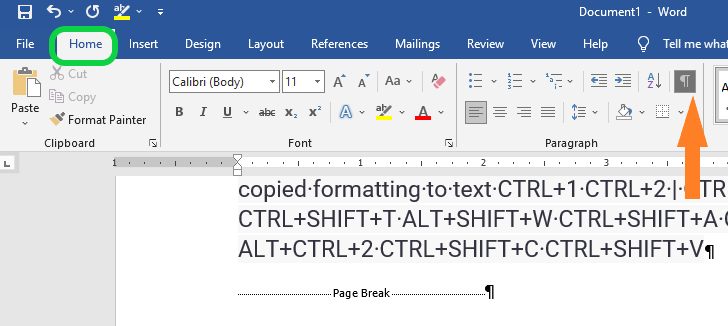
- Step 1: Select the Show/Hide button in the Home tab to reveal the formatting marks (see figure 1).
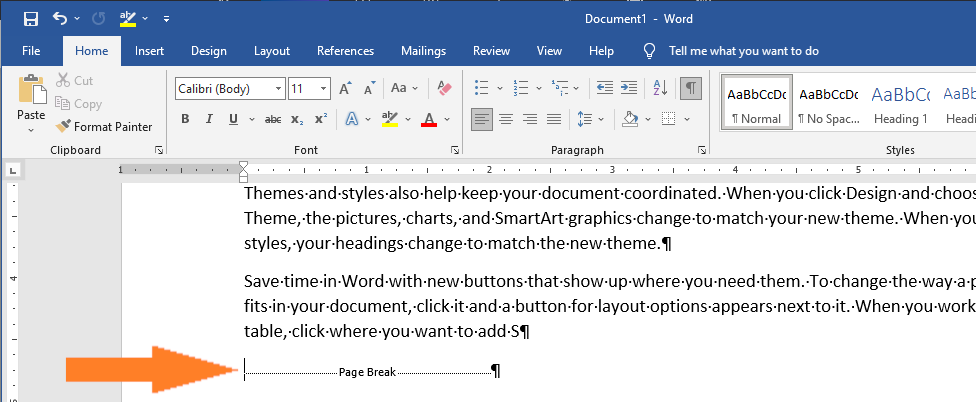
- Step 2:Place your cursor at the start of the page break.

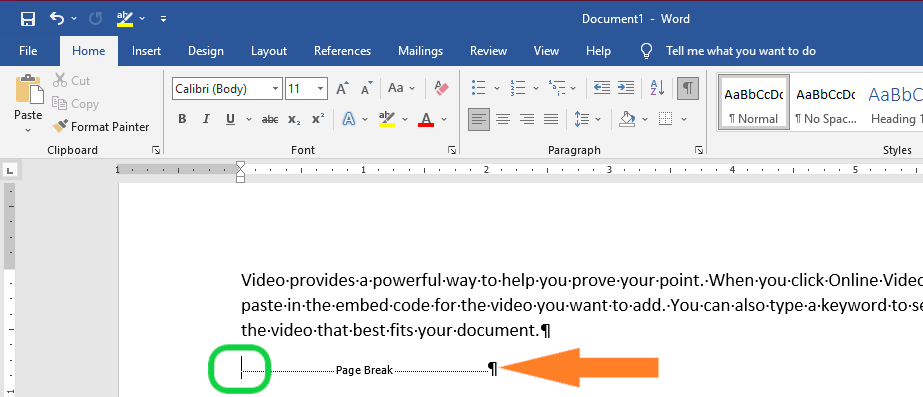
- Step 3:Select the Delete key on your keyboard.
- Step 4:Reselect the Show/Hide button to hide the formatting marks (see figure 1).
The page break should be deleted.
Two Types of Page Breaks
There are two types of page breaks and a few extra document breaks in Word.
- Automatic page inserts page breaks as you move from one page to the next.
- Manual page breaks can be inserted anywhere in a document to separate and progress to the following page.
You cannot eliminate automatic page breaks, but you can modify their location. You have control over the position of manual page breaks because you manually insert them.
How to Remove a Page Break in Word
Anywhere in a Word document, you can add a manual page break to make the text start at the top of the next page. But how do you get rid of a break between pages in Word?
Here are two methods to get rid of page breaks in Microsoft Word.
Method 1: How to Remove Page Breaks in Word Using Delete
- Open your Word document.
- Go to Home and click the Show/Hide button to see all of the document’s hidden marks that can’t be printed, like page breaks, spaces, and spaces that don’t break.

- Double-click on a page break to select it, and press Delete to get rid of it.
- Now you can click the Show/Hide button again to hide the other formatting marks in the document.
- You can also put your cursor just before the page break marker and hit Delete instead of double-clicking.

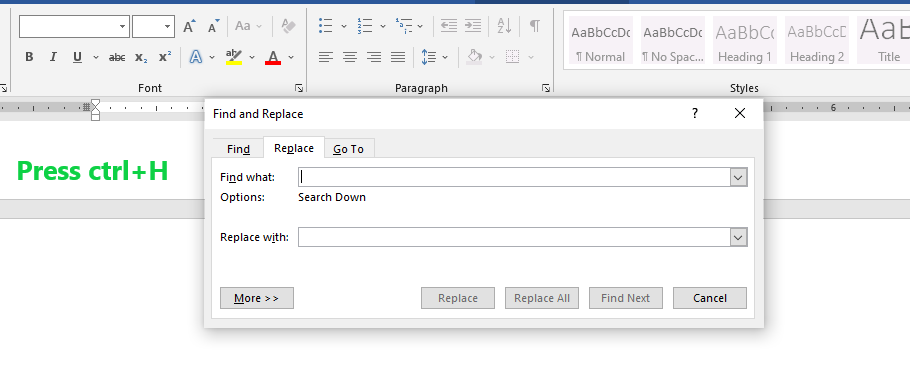
Method 2: How to Remove a Page Break Using Find and Replace
- To open the Find and Replace box, press Ctrl + H.

- Select “Replace” tab. Click on the text box that says “Find what,” and then click on “More” to see all the other options.
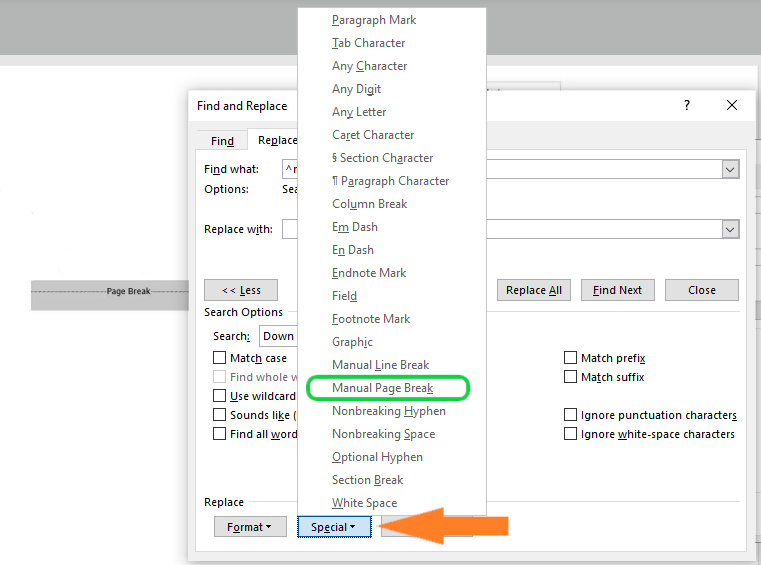
- Next, Click “Special” and choose “Manual Page Break” from the menu that comes up.

- Finally, Leave the Replace box empty and click Replace All to replace every page break in the document with a blank space.
Keyboard Shortcuts Formatting Word Documents
This table shows Keyboard Shortcuts Formatting Word Documents can also streamline the formatting process.
| Function | Shortcut |
| Insert line break | SHIFT+ENTER |
| Insert page break | CTRL+ENTER |
| Insert column break | CTRL+SHIFT+ENTER |
| Single line spacing | CTRL+1 |
| Double line spacing | CTRL+2 |
| 1.5 line spacing | CTRL+5 |
Summary
In summary, we’ve learned what page breaks are and how to insert and remove page breaks in MS Word, as well as what those terms mean. In addition, we know what different types of page breaks can be useful in our document to make it presentable and appear more professional.
Meanwhile, if you want to learn more about formatting pages, see the previous tutorial on how to check and change lines and paragraphs as well as how to adjust page margin in Microsoft Word, which are still part of formatting your documents. You can browse those guides if you are having a hard time exploring your documents.
We hope this tutorial helps you as you format your documents in MS Word.
PREVIOUS

Glay Eliver
Programmer & Technical Writer at PIES IT Solution
Glay Eliver is a programmer and writer at PIES IT Solution, author of over 600 tutorials at itsourcecode.com. Specializes in JavaScript tutorials, Microsoft Office how-tos (Excel, Word, PowerPoint), and Python error debugging covering ImportError, TypeError, AttributeError, ModuleNotFoundError, and JavaScript ReferenceError. Authored several of the site’s highest-traffic Excel and MS Office reference articles.
Expertise: JavaScript · MS Excel · MS Word · MS PowerPoint · Python · Python ImportError · Python TypeError · Python AttributeError · ModuleNotFoundError · JavaScript ReferenceError · Pygame · View all posts by Glay Eliver →