Document Scanner OpenCV Python With Source Code
The Document Scanner OpenCV Python was developed using Python OpenCV, the scanner takes a poorly scanned image, finds the corners of the document, applies the perspective transformation to get a top-down view of the document, sharpens the image, and applies an adaptive color threshold to clean up the image.
What is OpenCV?
OpenCV is short for Open Source Computer Vision. Intuitively by the name, it is an open-source Computer Vision and Machine Learning library.
This library is capable of processing real-time image and video while also boasting analytical capabilities. It supports the Deep Learning frameworks.
In this Python OpenCV Project also includes a downloadable Python Project With Source Code for free, just find the downloadable source code below and click to start downloading.
By the way if you are new to python programming and you don’t know what would be the the Python IDE to use, I have here a list of Best Python IDE for Windows, Linux, Mac OS that will suit for you. I also have here How to Download and Install Latest Version of Python on Windows.
To start executing Document Scanner OpenCV Python With Source Code, make sure that you have installed Python 3.9 and PyCharm in your computer.
Document Scanner OpenCV Python With Source Code : Steps on how to run the project
Time needed: 5 minutes
These are the steps on how to run Document Scanner OpenCV Python With Source Code
- Step 1: Download the given source code below.
First, download the given source code below and unzip the source code.

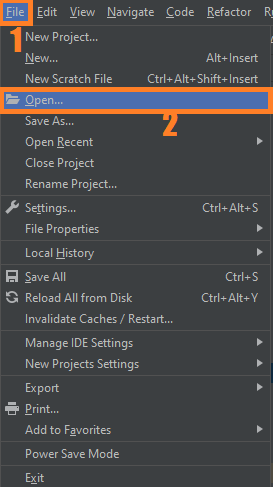
- Step 2: Import the project to your PyCharm IDE.
Next, import the source code you’ve download to your PyCharm IDE.

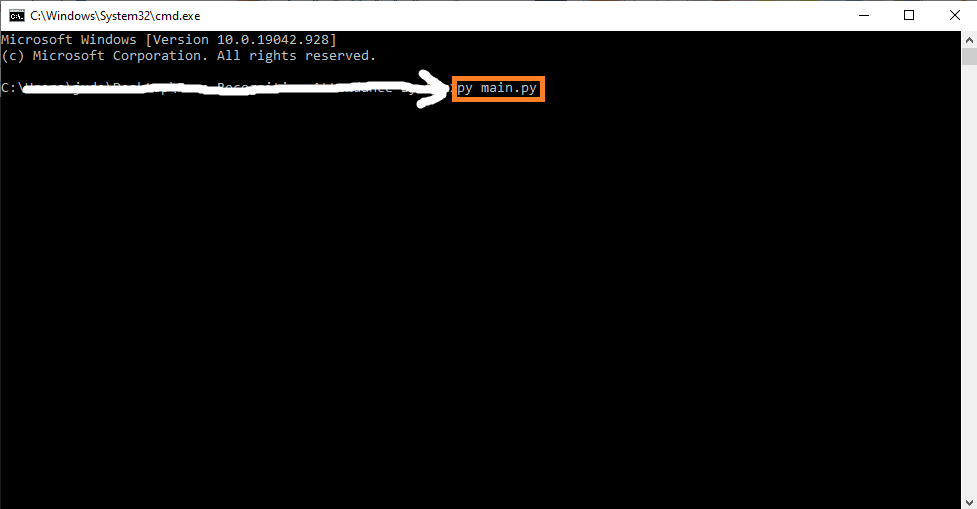
- Step 3: Run the project.
last, run the project with the command “py main.py”


Installed Libraries
import numpy as np
import cv2
import imutils
Complete Source Code
import numpy as np
import cv2
import imutils

args_image ="docu.jpg"

image = cv2.imread(args_image)
image=cv2.resize(image,(500,500))
orig = image.copy()
cv2.imshow("Original Image", image)
cv2.waitKey(0)
cv2.destroyAllWindows()

grayImage = cv2.cvtColor(image, cv2.COLOR_BGR2GRAY)
grayImageBlur = cv2.blur(grayImage,(2,2))
edgedImage = cv2.Canny(grayImageBlur, 100, 300, 3)

cv2.imshow("gray", grayImage)
cv2.waitKey(0)
cv2.destroyAllWindows()
cv2.imshow("grayBlur", grayImageBlur)
cv2.waitKey(0)
cv2.destroyAllWindows()
cv2.imshow("Edge Detected Image", edgedImage)
cv2.waitKey(0)
cv2.destroyAllWindows()

allContours = cv2.findContours(edgedImage.copy(), cv2.RETR_LIST, cv2.CHAIN_APPROX_SIMPLE)
allContours = imutils.grab_contours(allContours)
allContours = sorted(allContours, key=cv2.contourArea, reverse=True)[:1]

perimeter = cv2.arcLength(allContours[0], True)
ROIdimensions = cv2.approxPolyDP(allContours[0], 0.02*perimeter, True)
cv2.drawContours(image, [ROIdimensions], -1, (0,255,0), 2)
cv2.imshow("Contour Outline", image)
cv2.waitKey(0)
cv2.destroyAllWindows()
ROIdimensions = ROIdimensions.reshape(4,2)
rect = np.zeros((4,2), dtype="float32")
s = np.sum(ROIdimensions, axis=1)
rect[0] = ROIdimensions[np.argmin(s)]
rect[2] = ROIdimensions[np.argmax(s)]
diff = np.diff(ROIdimensions, axis=1)
rect[1] = ROIdimensions[np.argmin(diff)]
rect[3] = ROIdimensions[np.argmax(diff)]

(tl, tr, br, bl) = rect

widthA = np.sqrt((tl[0] -tr[0])**2 + (tl[1] - tr[1])**2 )
widthB = np.sqrt((bl[0] - br[0])**2 + (bl[1] - br[1])**2 )
maxWidth = max(int(widthA), int(widthB))

heightA = np.sqrt((tl[0] - bl[0])**2 + (tl[1] - bl[1])**2 )
heightB = np.sqrt((tr[0] - br[0])**2 + (tr[1] - br[1])**2 )
maxHeight = max(int(heightA), int(heightB))
dst = np.array([
    [0,0],
    [maxWidth-1, 0],
    [maxWidth-1, maxHeight-1],
    [0, maxHeight-1]], dtype="float32")

transformMatrix = cv2.getPerspectiveTransform(rect, dst)
scan = cv2.warpPerspective(orig, transformMatrix, (maxWidth, maxHeight))
cv2.imshow("Scaned",scan)
cv2.waitKey(0)
cv2.destroyAllWindows()
scanGray = cv2.cvtColor(scan, cv2.COLOR_BGR2GRAY)
cv2.imshow("scanGray", scanGray)
cv2.waitKey(0)
cv2.destroyAllWindows()
from skimage.filters import threshold_local
T = threshold_local(scanGray, 9, offset=8, method="gaussian")
scanBW = (scanGray > T).astype("uint8") * 255
cv2.imshow("scanned", scanBW)
cv2.waitKey(0)
cv2.destroyAllWindows()
Download the Source Code below
Anyway, if you want to level up your programming knowledge, especially Python OpenCV, try this new article I’ve made for you Best OpenCV Projects With Source Code For Beginners .
Summary
This Project With Source Code takes a poorly scanned image, finds the corners of the document, applies the perspective transformation to get a top-down view of the document, sharpens the image, and applies an adaptive color threshold to clean up the image.
And this Python project was developed and designed using Python OpenCV, and this Python OpenCV Project also includes a downloadable Python Project With Source Code for free.
Related Articles
- Code For Game in Python: Python Game Projects With Source Code
- Best Python Projects With Source Code FREE DOWNLOAD
- How to Make a Point of Sale In Python With Source Code
- Python Code For Food Ordering System | FREE DOWNLOAD |
- Inventory Management System Project in Python With Source Code
Inquiries
If you have any questions or suggestions about Document Scanner OpenCV Python With Source Code, please feel free to leave a comment below.
Technology stack and requirements
To run this Python project on your development machine, you need:
- Python 3.10 or higher. Download from python.org or install via Anaconda if you prefer bundled packages.
- pip package manager. Comes with Python. Used to install project dependencies from requirements.txt.
- Virtual environment. Use venv or conda to isolate project dependencies from your global Python install.
- VS Code or PyCharm. Free code editors with Python syntax highlighting, IntelliSense, and debugging.
- Git. For version control and cloning source code repositories.
Installing the source code
- Download or clone the repository. Get the ZIP archive from the download link on this page and extract it.
- Create a virtual environment. Open a terminal in the project folder and run: python -m venv venv, then activate it (venv\Scripts\activate on Windows or source venv/bin/activate on Mac/Linux).
- Install dependencies. Run pip install -r requirements.txt to install all libraries the project needs.
- Configure environment variables. If the project uses API keys (OpenAI, Anthropic, database), create a .env file and set the required keys.
- Run the project. Follow the run command in the README (usually python main.py or streamlit run app.py).
Using this project for your BSIT capstone
- Chapter 1 (Introduction). Discuss the real-world problem this system solves. Cite Philippine or international use cases where the manual process could be automated.
- Chapter 2 (RRL). Compare your project against 5-10 similar published works. Cite ACM, IEEE, or arXiv papers for academic-standard sources.
- Chapter 3 (Methodology). Document the model architecture, training data, hyperparameters, and evaluation metrics used.
- Chapter 4 (Results). Report accuracy, precision, recall, F1-score, and confusion matrix. Screenshot the running app on real inputs.
- Chapter 5 (Conclusion). Identify features for Version 2: better model, larger dataset, mobile deployment, or REST API.
Modules typical of Document Scanner OpenCV Python
- Text preprocessing. Tokenization, lowercasing, stop-word removal, lemmatization with NLTK or spaCy.
- Feature extraction. TF-IDF, word embeddings (GloVe), or transformer embeddings (BERT).
- Model training. scikit-learn baseline (Naive Bayes, SVM) or HuggingFace fine-tuned transformer.
- Evaluation. Accuracy, precision, recall, F1 for classification; BLEU/ROUGE for generation.
- Inference API. Flask or FastAPI endpoint for real-time predictions.
- UI or demo. Streamlit dashboard for interactive testing.
Common enhancements for capstone review
- Multilingual support. Extend to Filipino, Cebuano, or other Philippine languages with translation preprocessing.
- Real-time streaming. Add WebSocket support for continuous input classification.
- Explainability. Use LIME or SHAP to visualize why the model made a specific prediction.
- Batch mode. Add CSV upload for bulk classification, useful for research analysis.
Official documentation
Frequently Asked Questions
How does the OpenCV document scanner work?
Detect the document edges (Canny + contour finding to get the largest 4-sided polygon), apply cv2.getPerspectiveTransform to warp the tilted document to a flat top-down rectangle, then apply adaptive thresholding to produce a clean black-on-white scanned look. The result is comparable to CamScanner or Office Lens output, free and offline.
What OpenCV version do I need to run this project?
Use OpenCV 4.5 or newer. Install with pip install opencv-python (the standard build for desktop projects). Some projects also need opencv-contrib-python which adds extra modules (SIFT, SURF, advanced trackers). The pip install command auto-downloads pre-built wheels so no compilation is needed on Windows, Mac, or Linux.
How do I install OpenCV and the dependencies for this project?
Open a terminal, then: pip install opencv-python numpy. Most projects also need one of these: mediapipe (for face / hand / pose detection), pyzbar (for barcode and QR), pytesseract (for OCR), Pillow (for image manipulation), pyautogui (for screen capture). Pin Python version to 3.10, 3.11, or 3.12 for maximum library compatibility.
Can I use this OpenCV project for a BSIT or CSE capstone?
Yes, but extend it. A single OpenCV demo (face detection alone, lane detection alone) is too narrow for full capstone scope. Combine it with a real domain (attendance system using face recognition, traffic monitoring system using lane detection, fitness coach app using pose detection), add a database to log results, build a simple Tkinter or Streamlit UI, and document the whole pipeline in Chapter 3.
Why am I getting AttributeError or ImportError when running this code?
Three most common causes: (1) You installed opencv-python but the code needs opencv-contrib-python (extra modules like xfeatures2d). Reinstall with pip install opencv-contrib-python. (2) You are on Python 3.13 but some wheels (mediapipe) lag behind, downgrade to Python 3.11 or 3.12. (3) NumPy version mismatch, pin numpy to a version your other libraries support.
Where do I find more OpenCV and Machine Learning project ideas?
Browse our Machine Learning Projects hub for 23+ OpenCV demos with source code. For capstone-scale AI ideas (RAG, NLP, recommendation systems), see 100+ AI Capstone Project Ideas. For broader Python project ideas, our Python Projects library has 250+ working capstones.

Angel Jude Suarez
Full-Stack Developer at PIES IT Solution
Focuses on Python development, machine learning, and AI integration. Has built production AI systems including OpenAI Whisper integration for medical transcription and GPT-4o-powered diagnosis assistance. Strong background in pandas, scikit-learn, and TensorFlow.
Expertise: Python · PHP · Java · VB.NET · ASP.NET · Machine Learning · AI Integration · OpenCV · Django · CodeIgniter
· View all posts by Angel Jude Suarez →