TypeScript Environment Setup
Typescript is free to use and works on any browser, host, or operating system.
You can install TypeScript in three ways: as an npm module, a NuGet package, or a Visual Studio Extension.
Choose the one that fits your project.
If you’re using Node.js, go for the npm version. If your project uses MSBuild, pick the NuGet package or Visual Studio extension.
- As an npm module:
You can install TypeScript globally on your machine by using the following command in your terminal:
npm install -g typescript- As a NuGet package:
If you’re using MSBuild, you can add TypeScript as a NuGet package.
In the NuGet Package Manager Console, type:
Install-Package Microsoft.TypeScript.MSBuild- As a Visual Studio Extension:
If you’re using Visual Studio, you can install TypeScript as an extension.
- Go to Extensions
- Manage Extensions
- Online and search for “TypeScript”.
- Download and install the extension.
For more details, continue reading this article until the end.
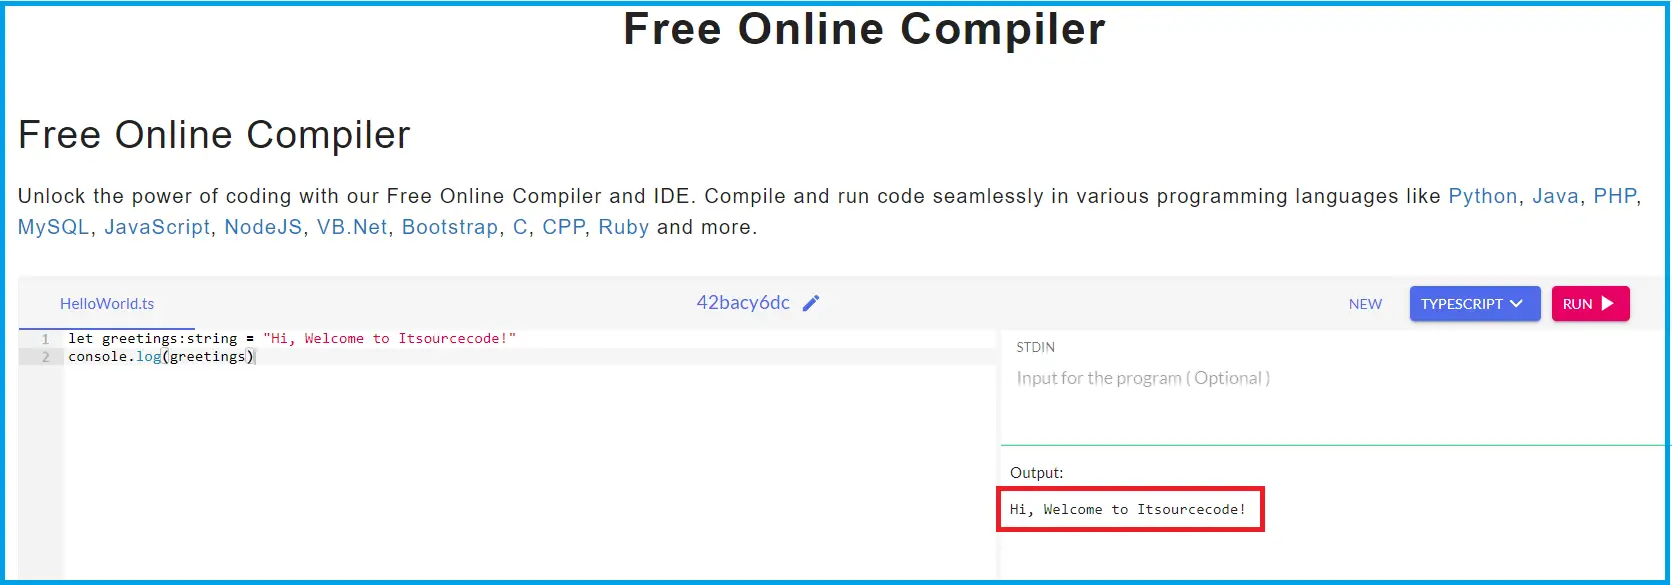
Alternatively, you can check your scripts using the TypeScript Online Compiler.
Local TypeScript Environment Setup
Setting up a local TypeScript environment involves a few steps. You’ll also need certain tools to create and check a Typescript program.
Text editor
A text editor is a tool you use to write your code. Some examples are Notepad on Windows, Notepad++, Emacs, vim or vi.
The type of editor you use can depend on your operating system.
Typically, you save your code files with a .ts extension when using TypeScript.
TypeScript Compiler
The TypeScript Compiler, or TSC, is a tool that changes TypeScript (.ts) files into JavaScript (.js) files. It’s a type of compiler that converts code from one source to another.
Install Node.js
Node.js is a free tool that lets you run JavaScript on your computer, not just in a browser.
It uses the Google V8 JavaScript engine.
You can download either the Node.js source code or an installer that’s ready to go for your system.
You can download the Node.js here: nodejs.org
How to install Node.js on Windows?
Follow these steps to set up Node.js on your Windows computer.
- Download the .msi installer for Node and start it up.
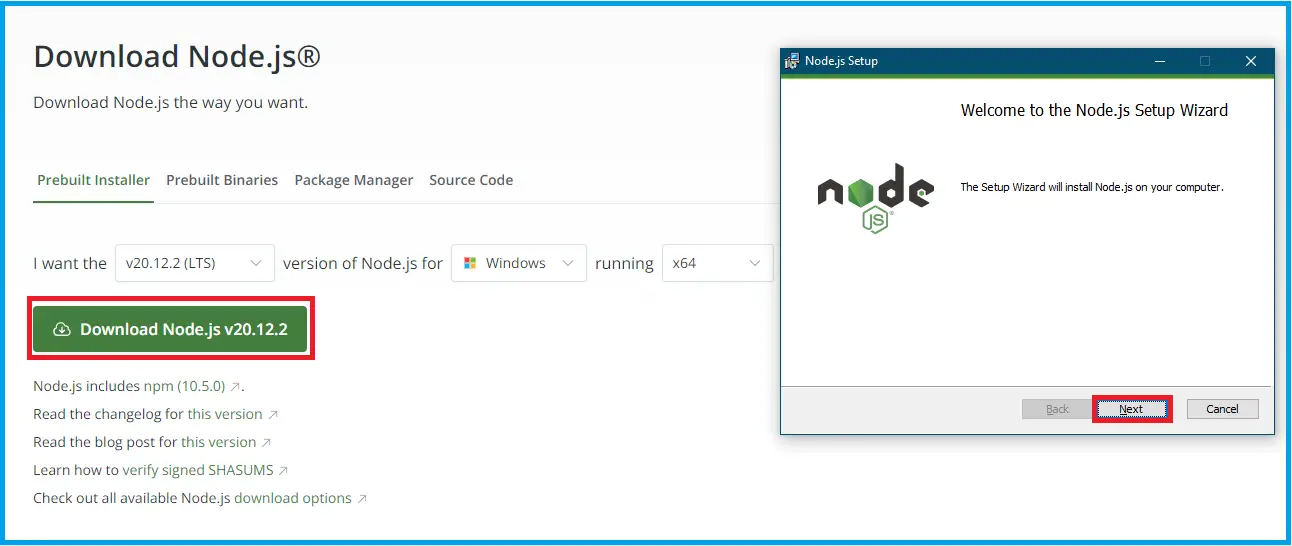
- Click the “Download Node.js” button.
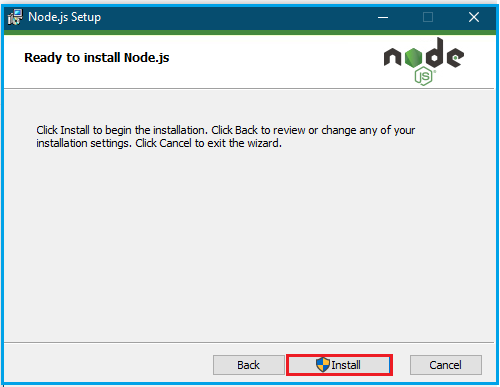
- Wait until it is finished downloading, then click “Next” until you’ve reached the “Install” button.
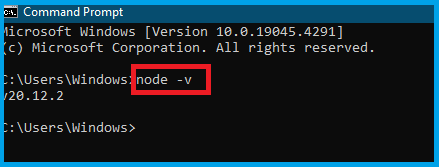
- Type the command node -v in the terminal to check if the installation was done.
- To install TypeScript, enter the following command in the terminal.

How to install Node.js on Mac OS?
Here are the steps to install Node.js on Mac OS:
- Download the Node.js
Visit the Node.js website and download the Mac installer.
- Start the Installer:
Open the downloaded file and follow the steps to install it.
- Use Homebrew:
If you have Homebrew, you can install Node.js by typing brew install node in your terminal.
- Check the Installation:
Type node -v in your terminal to make sure Node.js is installed.
How to install Node.js Linux?
Before you can install Node.js and NPM, you have to set up some other software first.
You need to have Ruby (version 1.8.6 or newer) and GCC (version 4.2 or newer).
Homebrew is a tool for managing software that was made for Mac but can also be used on Linux (where it’s called Linuxbrew).
After you’ve set up these tools, you can install Node.js with a command in your terminal.
brew install node.Apart from that, you can also try the following steps to install Node.js.
- Pick the command that matches your Linux version.
For Ubuntu, Debian, and Linux Mint:
sudo apt install nodejsFor CentOS 8 (and newer), Fedora, and Red Hat:
sudo dnf install nodejsFor CentOS 6, 7, and 8, and older versions of Red Hat:
sudo yum install epel-release and then sudo yum install nodejsFor Arch Linux and Manjaro:
sudo pacman -S nodejsFor OpenSUSE:
sudo zypper install nodejs- Type the command that you chose in the given list above into your terminal and press enter.
- Confirm Node.js is installed by typing
node -vin your terminal.
Visual Studio Code Installation
This is a free development tool from Visual Studio. You can use it on Mac, Linux, and Windows.
How to install Studio Code on Windows?
Here’s the step-by-step guide for installing the Visual Studio Code in Windows.
- Download the Visual Studio Code for Windows.

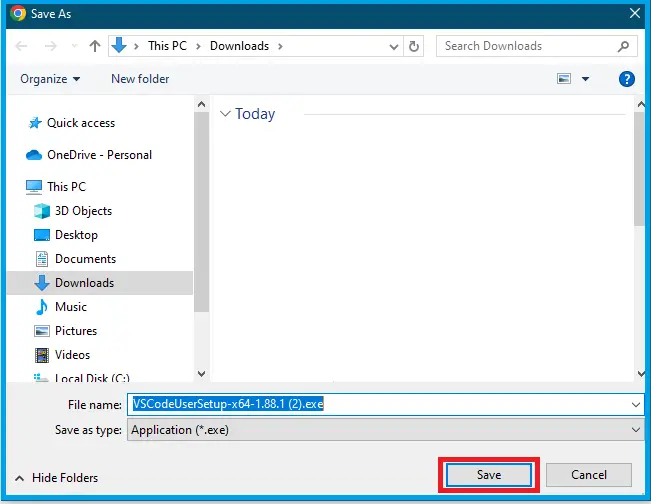
- If you click the direct download link, a file folder will pop up and you just have to click the “save” button.
- Once the installation is complete, you can start coding in TypeScript.
How to install Visual Studio Code on Mac OS and Linux?
You can find how to install Visual Studio Code on Mac OS and Linux here: Visual Studio Code on Mac OS
Conclusion
In conclusion, this article has provided a comprehensive guide to setting up a TypeScript environment.
We’ve shown you three different methods for installing TypeScript. The focus has been on setting up TypeScript with Node.js and npm.
However, if you’re using MSBuild, you may need to add TypeScript as a NuGet package or a Visual Studio extension.
Now, you’re all set to start your TypeScript journey.
I hope this article has helped you to setup your TypeScript environment. If you have any questions or inquiries, please don’t hesitate to leave a comment below.
Related Articles:

Caren Bautista
Technical Writer at PIES IT Solution
Responsible for crafting clear, well-structured, and beginner-friendly content across the platform. Handles the writing, proofreading, and editorial review of tutorials, guides, and documentation to ensure every article is accurate, readable, and easy to follow.
Expertise: Technical Writing · Content Creation · Documentation · Editorial Writing · JavaScript · TypeScript · Python · Python Errors · HTTP Errors · MS Excel · View all posts by Caren Bautista →