In this chapter, we’ll talk about how to apply quick styles in Word. Microsoft Word has a collection of Quick Styles that you can use for headings, titles, text, and lists. Additionally, quick styles have built-in formatting options like font, boldface, and color, which we’ll learn about in this chapter.
Table of contents
What is a quick style?
A Quick Style is a list of styles in Microsoft Word that can be used at any time. If you often format text similarly, you can create a Quick Style that will let you format any text in the same way.
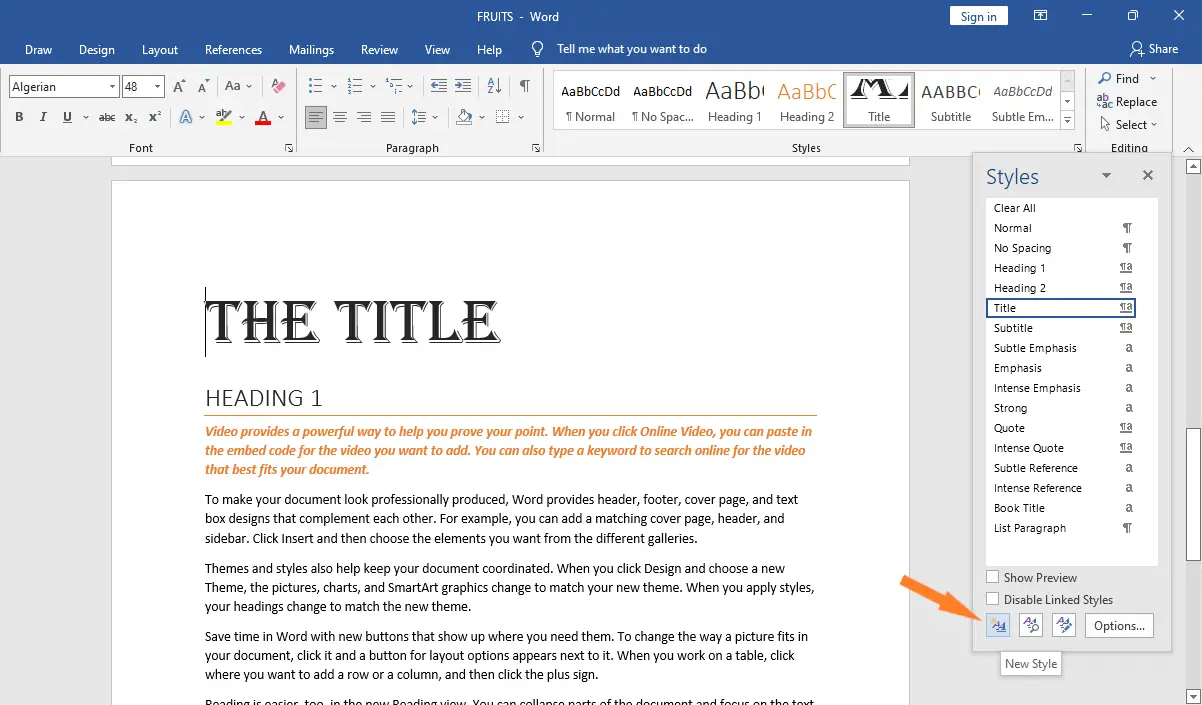
The button for Quick Styles will be found if you click the small launcher arrow in the bottom right corner of the Quick Styles gallery. This will open the Styles section. Then, at the bottom of the styles pane, you’ll see three buttons, and on the right is a button called Manage Styles.
In addition to using the Quick Styles gallery on your Home tab to easily apply formatting to text, you can also choose an entire set of styles that work together to create a document designed for a specific purpose.
How To Apply Quick Styles In Word
The steps below will show you how to use quick styles on a piece of text you have selected.
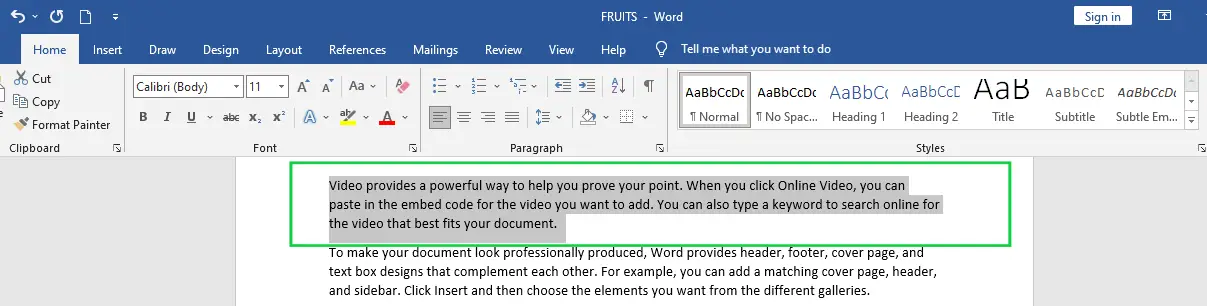
- Step 1 − Select the part of the text where you want to add style.
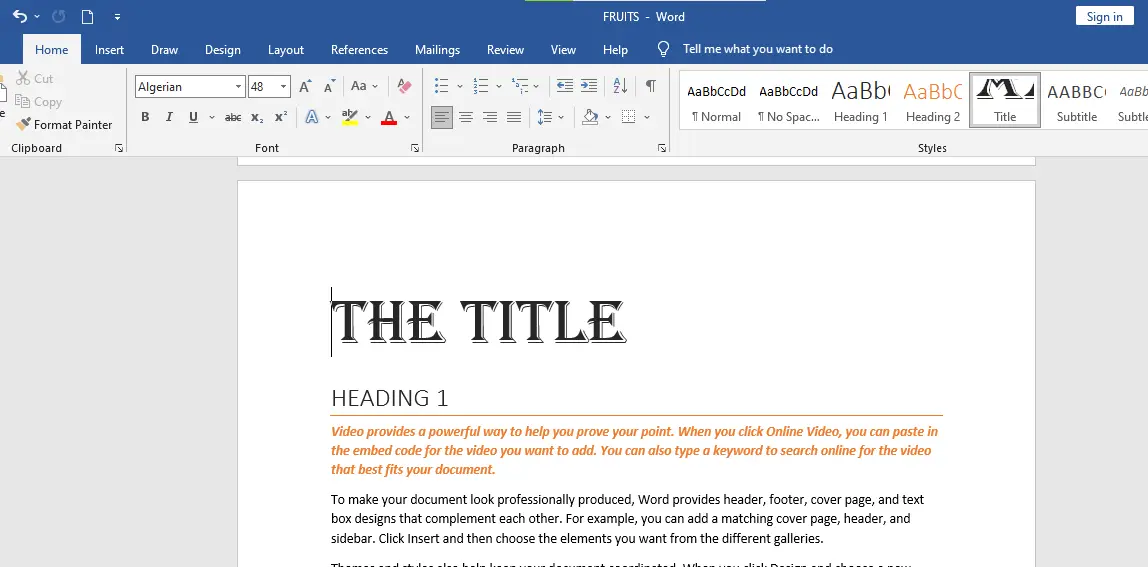
Using style, you can change the selected text into a heading, subheading, or title of the document. You can give your text different styles based on what you need.

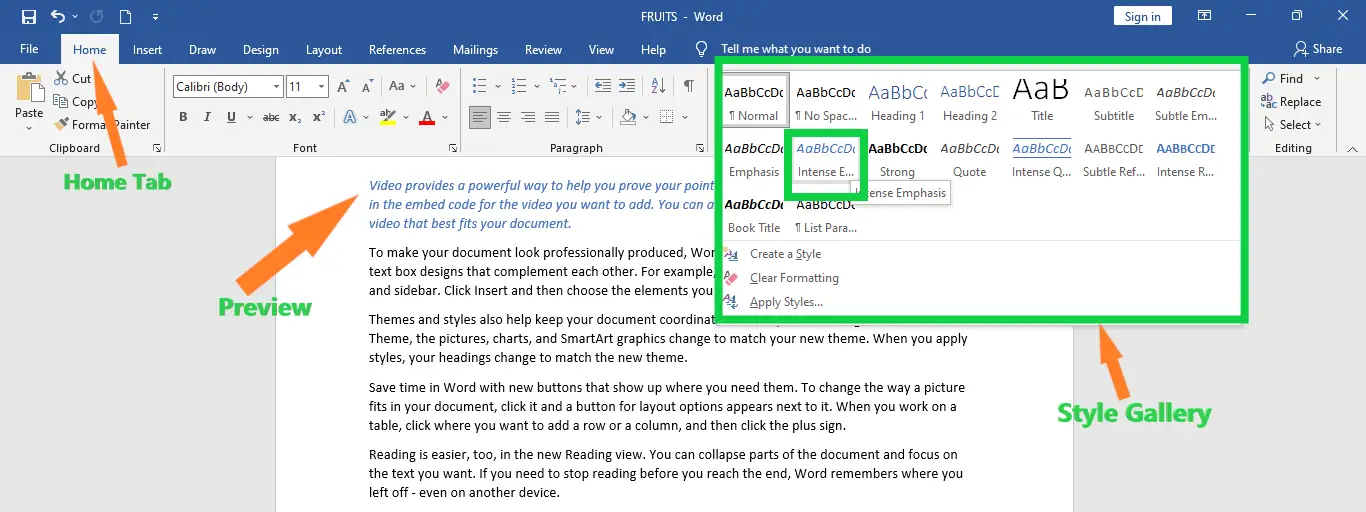
- Step 2 − Move your mouse pointer over the styles in the Style Gallery after clicking the Home tab.
You’ll see that the style of the chosen piece of text changes based on your chosen style. If you click the “More Style” button, you can see more styles.

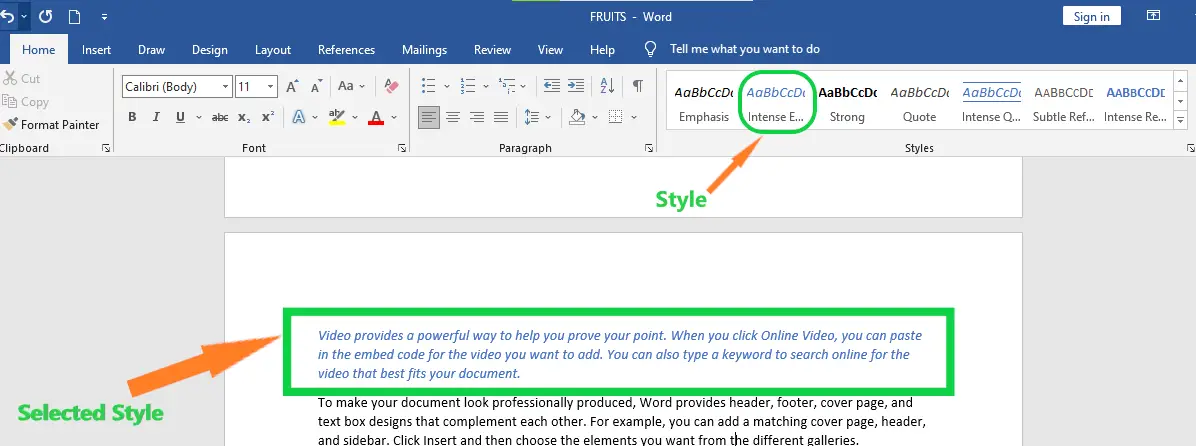
- Step 3 − Lastly, to apply the style you’ve chosen, click on the style. The style will then be applied to the text you’ve selected.
By selecting the Normal style from the Style Gallery, you can return a text to its normal appearance.

How to Apply a Style Set
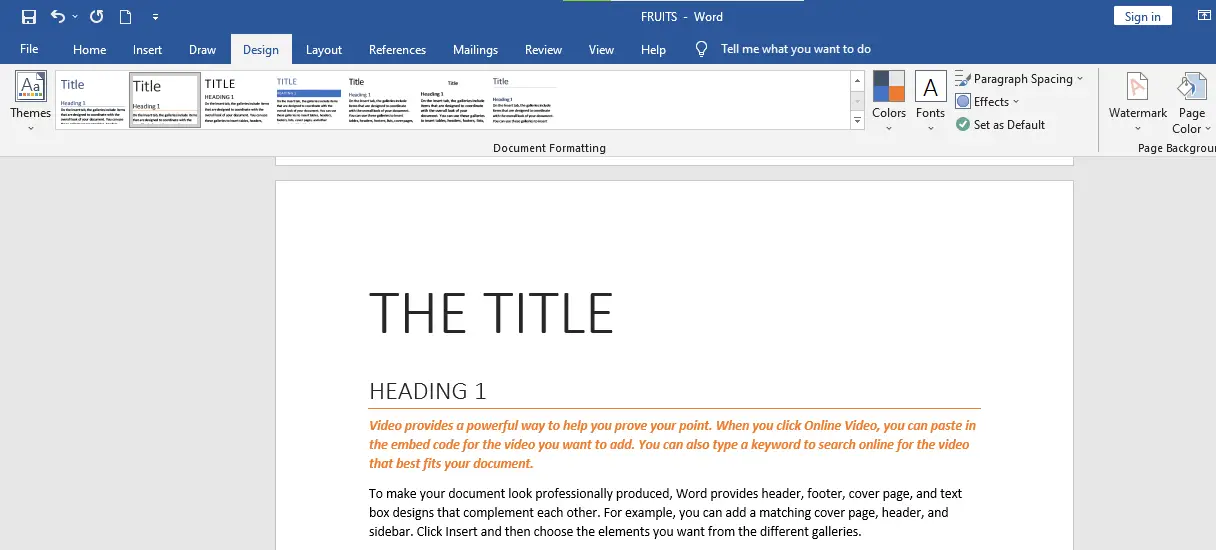
Style sets have a mix of styles for the title, heading, and paragraphs. Style sets let you change the look of all the parts of your document at once instead of changing each one individually.
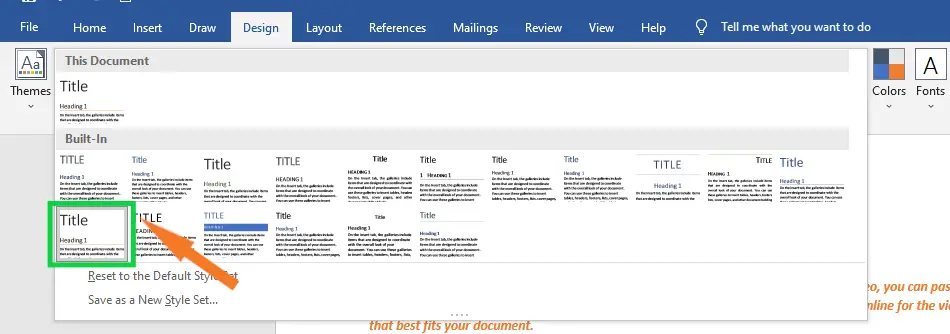
- Click the More drop-down arrow in the Document Formatting group on the Design tab.

- Choose the style set you want from the drop down menu.

- Your whole document will use the style set you choose.


How to Modify a Style
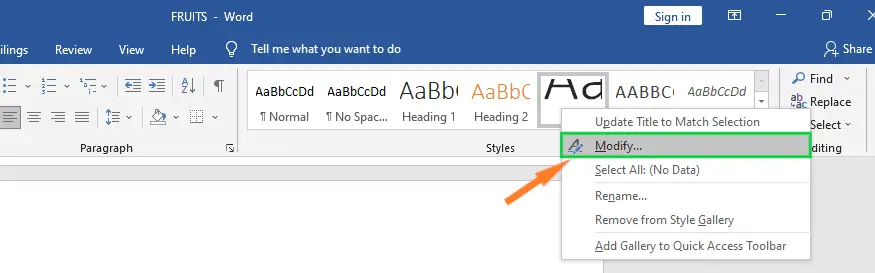
- Right-click the style you want to change in the Styles group on the Home tab and choose Modify from the drop-down menu.

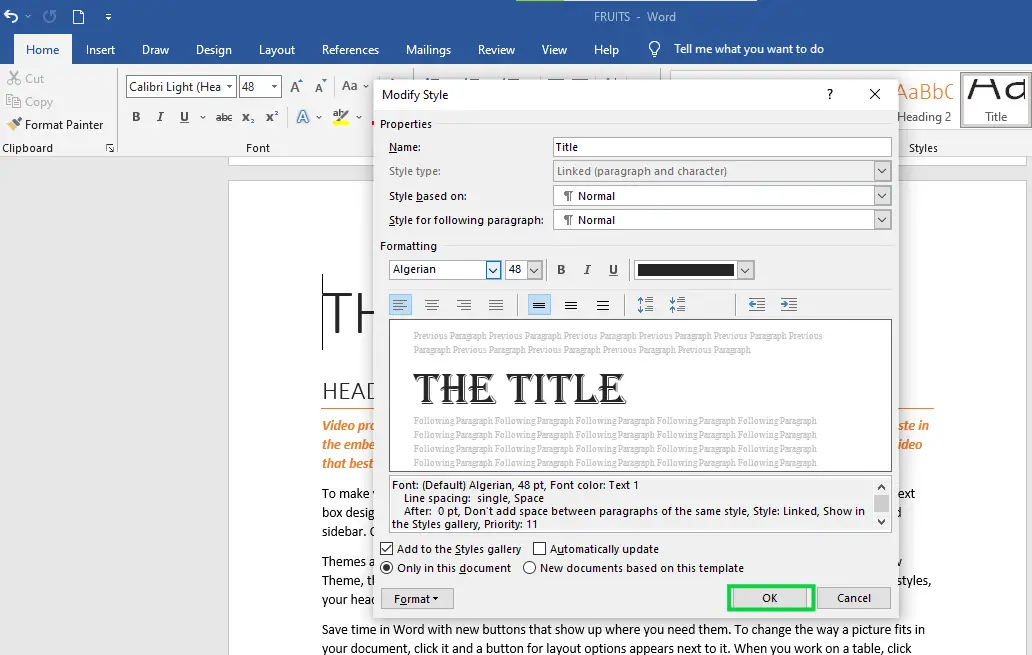
- There will be a dialog box. Change the font, size, and color, among other things, as needed. You can also change the name of the style if you want to. To save your changes, click OK.

- The style will be modified.

When you change a style, you change every place in the document where that style is used.
How to Create a New Style
- Click the arrow in the Styles group’s bottom-right corner.

- The Task Pane for Styles will show up. Choose the button that says “New Style” at the bottom of the task pane.

- There will be a dialog box. Type a name for the style, select the text formatting you want, and then click OK.
- The new style will be used on the text that is currently chosen. It will also be in the group called Styles.

Change Styles in Word 2013
The Change Style function lets you change a document’s default font, color, line spacing, and style. Follow these steps to change the style that is used by default.
- Step 1 −Open the file that needs to have its style changed. Click the Home tab,
- Step 2 – then click the Change Styles button. This will show you all the options that can be changed. You can change how the paragraph looks by changing its Style, Font, Color, and Spacing.
- Step 3 −If you want to change the style set, click the Style Set option. This will bring up a submenu where you can choose any style set. When you move your mouse over the different style sets, you’ll see a text preview in real time that gives you an idea of how the result will look.
Similarly, you can try applying Font, Color, and Paragraph Spacing. You can try these options yourself.
Summary
In the end, we’ve learned how to apply quick styles in Word and what those terms mean. We also know that there are a variety of styles that we can employ in our document to make it appear more professional and presentable.
Meanwhile, if you want to learn more about working on tables, see the previous tutorial on how to resize tables and how to merge and split tables in Microsoft Word. You can browse those guides if you are having a hard time working with your tables in a document.
We hope this tutorial helps you as you format your documents in MS Word.
PREVIOUS
NEXT

Glay Eliver
Programmer & Technical Writer at PIES IT Solution
Glay Eliver is a programmer and writer at PIES IT Solution, author of over 600 tutorials at itsourcecode.com. Specializes in JavaScript tutorials, Microsoft Office how-tos (Excel, Word, PowerPoint), and Python error debugging covering ImportError, TypeError, AttributeError, ModuleNotFoundError, and JavaScript ReferenceError. Authored several of the site’s highest-traffic Excel and MS Office reference articles.
Expertise: JavaScript · MS Excel · MS Word · MS PowerPoint · Python · Python ImportError · Python TypeError · Python AttributeError · ModuleNotFoundError · JavaScript ReferenceError · Pygame · View all posts by Glay Eliver →