
Text Alignment
In this course, we will talk about how to align text in Microsoft Word. Meanwhile, this is the continuation of the previous tutorial on how to change font style, size and font case in Microsoft Word which still part of formatting text in your documents.
Furthermore, we’ll learn how to change text so that it looks like what we want it to look like.
Table of contents
What is text alignment in MS Word?
Text alignment is a way to change the look of all the text in a paragraph. It is an attribute of paragraph formatting. For instance, when a paragraph is align to the left, which is the most common way to align it. The text lines up with the left margin. On the other hand, when a paragraph is justified, the text lines up with both sides of the page.
Default text alignment in MS Word
The default alignment for text or paragraphs is left-align with straight margins on the left and uneven ones on the right. However, there are many other ways to format a document’s alignment.
Also, the alignment buttons in the Paragraph group on the Home tab let us justify or align not just text but also other objects.
How Many Alignment in MS Word
There are four types of text alignment available in Microsoft Word, left-align, center-align, right-align, and justify.
Left Aligned Text
A paragraph or a text is left-align when that paragraph or text is aligned evenly along the left margin of the page in MS-Word. It is also known as “left-justified,”.
Right Align Text
Right-alignment means that the text of a paragraph is line up evenly along the right edge of the page in MS-Word. Moreover, right alignment works well for columns with numbers, tables, and other types of ordered lists.
Center Aligned Text
Center aligned means that the text of a paragraph is in the middle of the left and right margins.
Justified Text
Justified Text in MS-Word is a paragraph’s text when it lines up evenly along both the left and right edges of the page.
How to Align Text in Microsoft Word
Here are the ways How to Align Text in Microsoft Word.
- Align text left or right in Microsoft Word
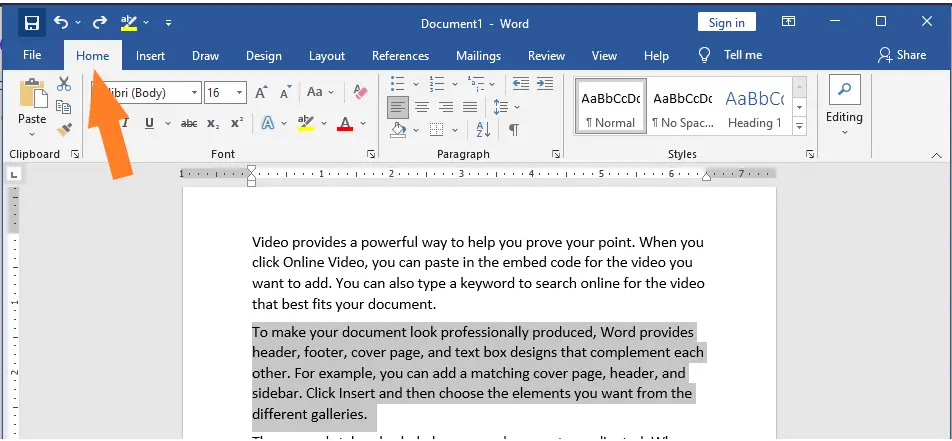
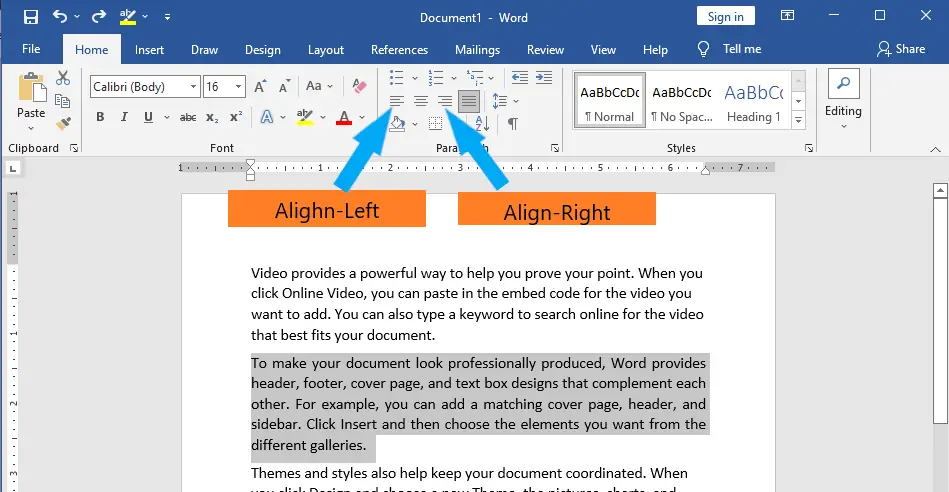
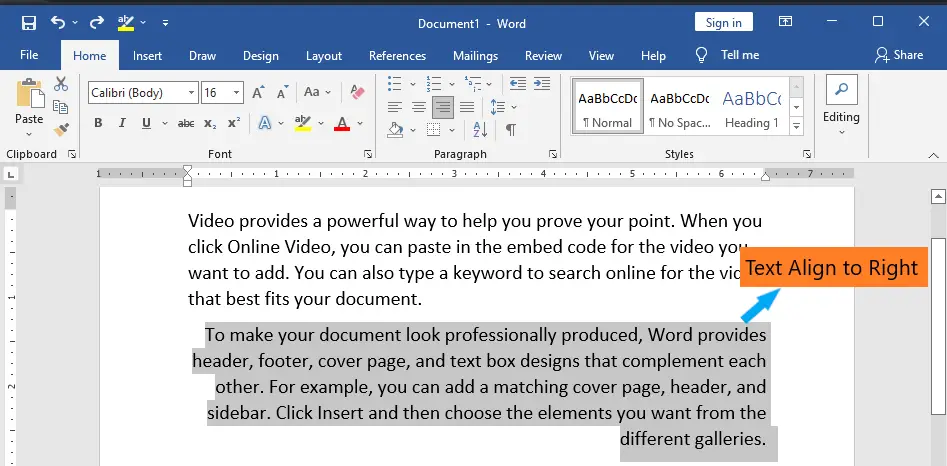
First select text in Word you want to align. Then, at the top of the window, click or tap on the Home tab.

Click or tap Align Left or Align Right in the Paragraph section, depending on what you want to do.
Here’s what right-aligned text looks like:
TIP: You can also align text to the left or right quickly by selecting the text and then pressing the CTRL + L or CTRL + R keys on your keyboard. - Center text horizontally in Microsoft Word
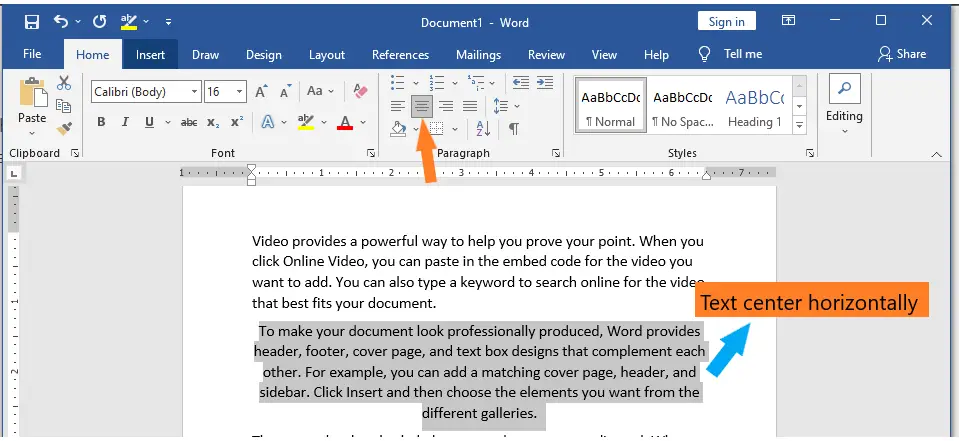
First, choose the text you want to center horizontally. Then, at the top of the window, click or tap on the same Home tab.
When you click or tap on Center in the Paragraph section, the text you chose is moved right away to the middle of the page’s side margins.
TIP: You can also center text by selecting it and then pressing the CTRL + E keys on your keyboard. - Justify text in Microsoft Word
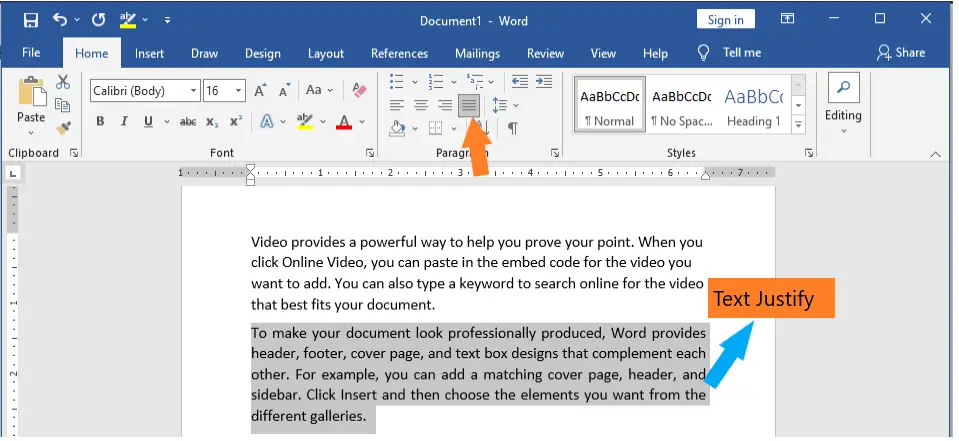
When text is justified, the edges on both sides of the page are straight. Word can add more or less space between words so that each line is filled from beginning to end. But if the last line of text has too few words, it can be cut down.
To justify text in Word, you must first select the text and then click or tap on the Home tab at the top of the window.
Justify is a button you can click or tap in the Paragraph section. This is how your text should look:
TIP: If you select the text and then press the CTRL and J keys on your keyboard, you can quickly align text. - Align text vertically (top, center, justify, bottom) on the pages of a Microsoft Word document
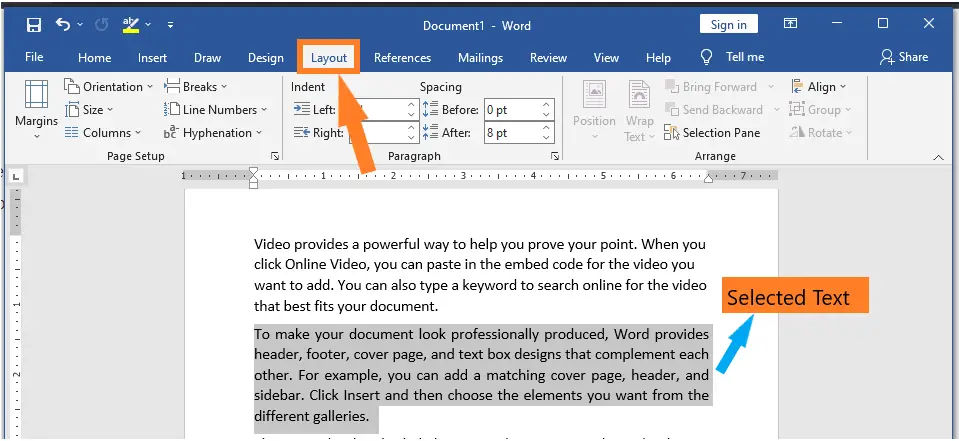
First, select the text, just like you would for any other text-alignment task. Then, at the top of the window, click or tap on the Layout tab.
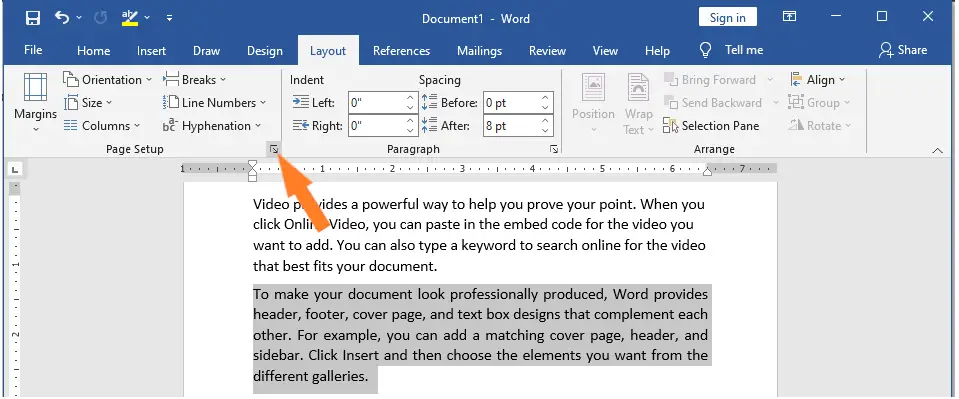
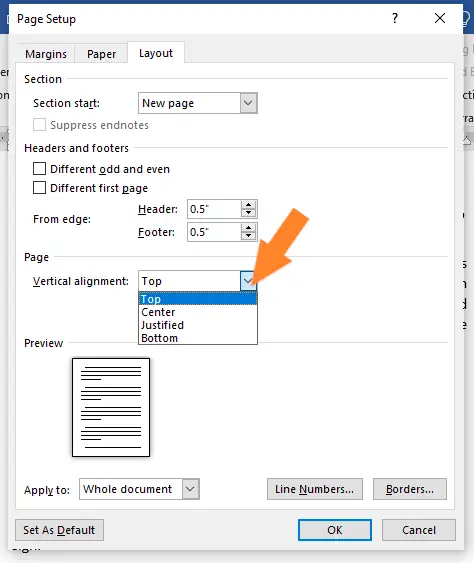
Then, in the Page Setup area, click or tap on the Dialog Box Launcher button. It is a small button in the bottom-right corner of the Page Setup section that looks like an arrow.
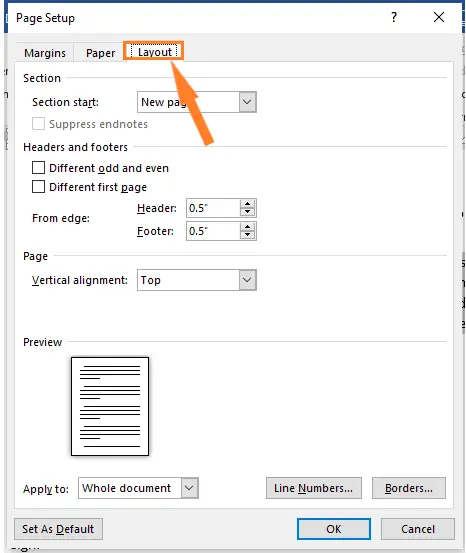
Now, the window for setting up pages opens. Choose the Layout tab at the top of the window.
In the Page section, look for a setting called Vertical alignment. It should be set to “top” by default, which means that the text is aligned vertically to the top of the page. But you can set the text to be aligned in the middle, at the bottom, or even to justify. Click or tap on Vertical alignment, and then choose the option you like best.
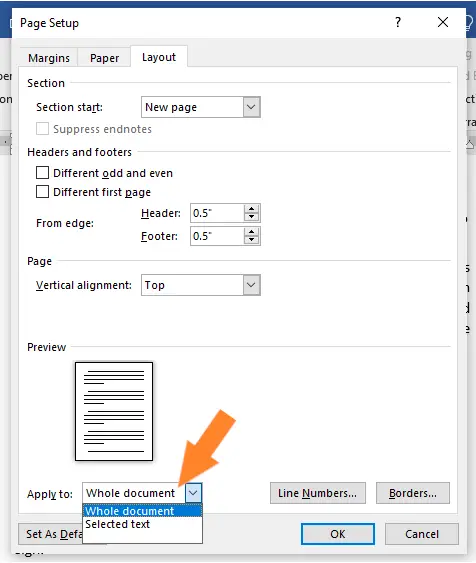
Then, make sure that Selected text is chosen in the box that says “Apply to” at the bottom of the window. This only changes the alignment of the text you chose. But if you’d rather, you can apply the vertical alignment to all the text in the whole document by leaving the Apply to setting on Whole document.
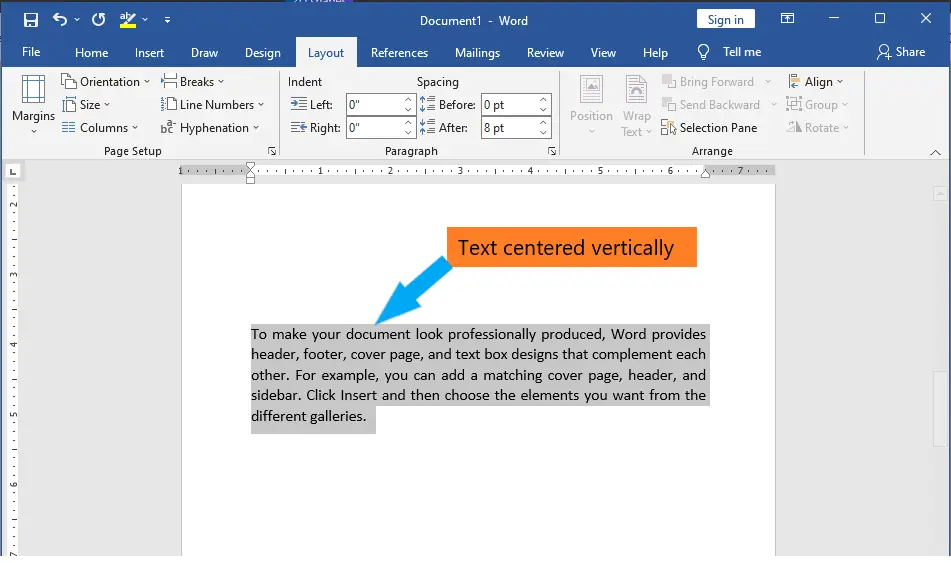
Here’s what a vertically centered piece of text looks like:
Simple, right? Now, all you have to do is try out the different alignment options until your text looks exactly how you want it to. You may also want to change the color of the font or just some of the cases in your Word document. Just visit our previous tutorial.
Which shortcut key to align the text?
Here are frequently used shortcuts to align the text in MS Word.
| Text alignment | Short Cuts |
|---|---|
| Increase the font size by 1 point. | Ctrl+Right bracket (]) |
| Center the text. | Ctrl+E |
| Align the text to the left. | Ctrl+L |
| Align the text to the right. | Ctrl+R |
Summary
In summary, we’ve talked about how to change text alignment in Microsoft Word, as well as how to apply those alignments in a document and what those terms mean. In addition, we know the available alignment in Microsoft Word. We also know how to use shortcuts that will make our formatting documents easy.
We hope this tutorial helps you as you format your documents in MS Word.

Glay Eliver
Programmer & Technical Writer at PIES IT Solution
Glay Eliver is a programmer and writer at PIES IT Solution, author of over 600 tutorials at itsourcecode.com. Specializes in JavaScript tutorials, Microsoft Office how-tos (Excel, Word, PowerPoint), and Python error debugging covering ImportError, TypeError, AttributeError, ModuleNotFoundError, and JavaScript ReferenceError. Authored several of the site’s highest-traffic Excel and MS Office reference articles.
Expertise: JavaScript · MS Excel · MS Word · MS PowerPoint · Python · Python ImportError · Python TypeError · Python AttributeError · ModuleNotFoundError · JavaScript ReferenceError · Pygame · View all posts by Glay Eliver →