
We will talk about how to move a table in Word in this chapter. Microsoft Word lets you move a table and all of its contents from one place to another. This chapter will show you how to move a table within the same document. You can also use the cut and paste operation to move a table from one document to another.
In this article, we talk about why you might want to move a table in Word and show you different ways to move or change a table.
Table of contents
Why move a table in Word?
The table insertion tool in Microsoft Word lets you make accurate tables that can hold information like financial data. You might move these tables to different places in the same document in some situations. Moving a table might be for the following reasons:
- Increasing or decreasing table size
- Adding new text
- Inputting new graphical elements
You can easily move a table in Word by dragging it with your mouse cursor and dropping it somewhere else. During this process, you may also change the alignment of the text, create word wrap, or change the size of the table.
How to Move Table in MS Word
The following steps will help you learn how to move a table in MS Word within the same document.
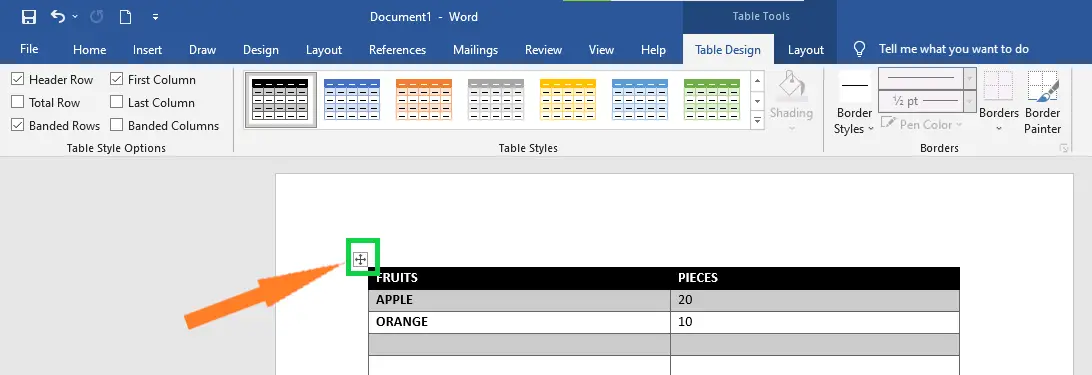
- Step 1 − Place the mouse pointer over the table you want to move from one place to another. As soon as you move your mouse pointer inside the table, a small Cross icon will appear in the top-left corner of the table, as shown below.

- Step 2 − If you click on the small Cross icon, the whole table will be chosen. Once the table is chosen, you can use the Cut button or the Ctrl + X keys to move it away from where it was.
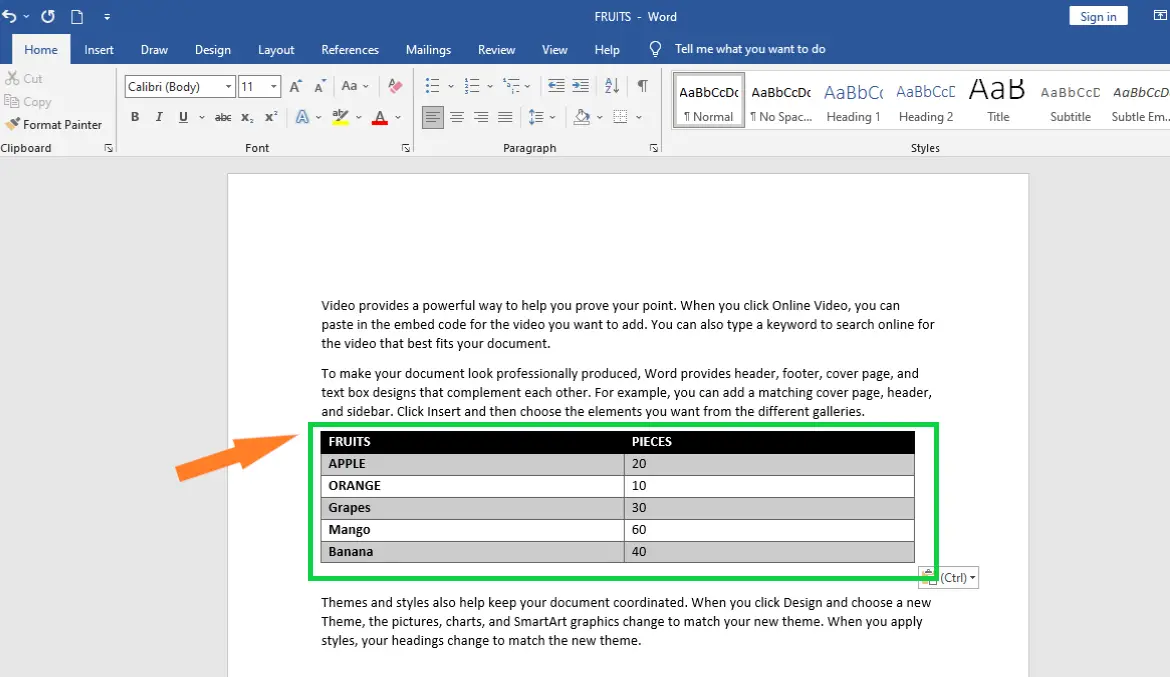
- Step 3 − Place the insertion point where you want to move the table, and then either use the Paste button or the Ctrl + V keys to paste the table there.

Moving a table with your mouse
Moving a table with your mouse is a method that works well when moving a table a short distance. For example, instead of moving it to a new page, you could put it a few lines down in your text.
Follow these steps to move a table by dragging it with your mouse in a Microsoft Word document:
- Move your mouse over the table until you see a small box with a four-way handle in it.

- Use your left mouse button to click on this small box.
- To move the table, hold down the mouse button and drag the mouse across the page.
- When you’ve found the right spot for your table, let go of the mouse button.
Summary
In summary, we’ve learned how to move table in MS word step by step, as well as what those terms mean. Furthermore, we understand that there are different ways of moving table. It can be used in our document to make it more presentable and professional.
Meanwhile, if you want to learn more about working on tables, see the previous tutorial on how to create tables and how to add rows and columns in Microsoft Word. You can browse those guides if you are having a hard time working with your tables in a document.
We hope this tutorial helps you as you format your documents in MS Word.
PREVIOUS