Have you ever struggled with formatting your PowerPoint presentation and hanging indent in PPT works? In this article, we’ll cover what a hanging indent is, why it’s useful, and how to apply it in your PowerPoint presentation.
One formatting technique that can greatly improve the readability and aesthetics of your slides is the hanging indent.
This time let’s briefly define what is an indent line…
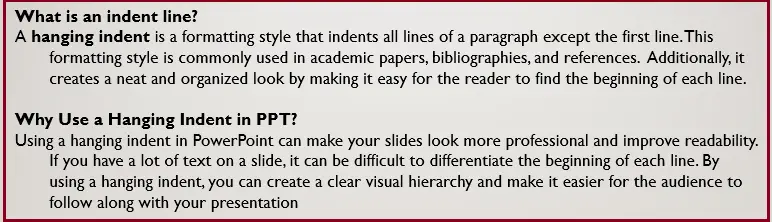
What is an indent line?
A hanging indent is a formatting style that indents all lines of a paragraph except the first line. This formatting style is commonly used in academic papers, bibliographies, and references.
Additionally, it creates a neat and organized look by making it easy for the reader to find the beginning of each line.
Why Use a Hanging Indent in PPT?
Using a hanging indent in PowerPoint can make your slides look more professional and improve readability. If you have a lot of text on a slide, it can be difficult to differentiate the beginning of each line.
By using a hanging indent, you can create a clear visual hierarchy and make it easier for the audience to follow along with your presentation.
How to Create a Hanging Indent in PPT?
Creating a hanging indent in PowerPoint is simple and easy to do. Here are the steps to follow:
- Highlight the text.
Highlight the text you want to format.

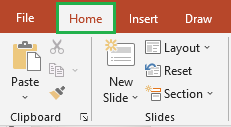
- Select the Home tab.
Click on the “Home” tab in the PowerPoint ribbon.

- Head over to the paragraph group.
Select the “Paragraph” group.

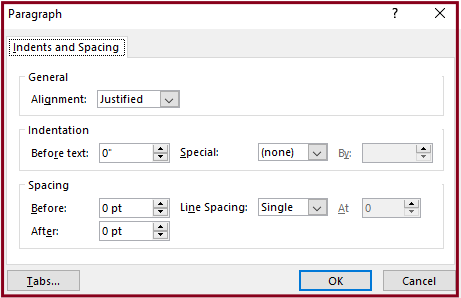
- Open the paragraph dialog box.
Click the paragraph dialog box launcher it’s the small arrow in the bottom right corner of the “Paragraph” group to open the “Paragraph” dialog box.

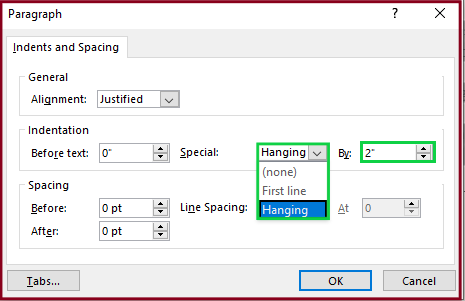
- Select Hanging Indentation
In the “Indentation” section, select “Hanging” from the “Special” drop-down menu.

- Input hanging indent value.
Enter the desired indentation value in the “By” field.
- Click OK and See the result.
Click “OK” to apply the hanging indent to your text.


How to change line spacing in PowerPoint
Changing the line spacing in PowerPoint can help improve the readability and overall look of your presentation. Here are the steps to follow to change the line spacing in PowerPoint:
- Select the text box or placeholder that contains the text you want to change the line spacing for.
- Click on the Home tab in the PowerPoint ribbon.
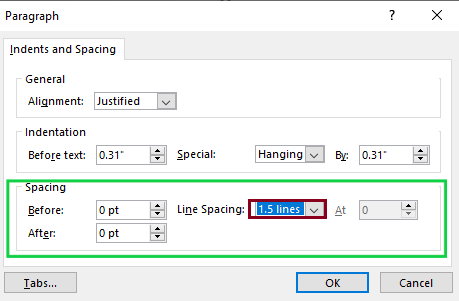
- In the Paragraph group, click on the small arrow in the bottom right corner to open the Paragraph dialog box.
- In the Line Spacing section, select the desired spacing option from the Line spacing drop-down menu. You can choose from options such as Single, “1.5 lines,” or “Double.”

- If you want to further customize the line spacing, you can click on the Line Spacing Options button. In the Line Spacing tab of the Paragraph dialog box, you can adjust the spacing before and after each paragraph, as well as the spacing between lines.

- Click OK to apply the changes to your text.

Note: Changing the line spacing may affect the overall layout and design of your PowerPoint presentation. Make sure to preview your presentation and adjust the line spacing as needed to achieve the desired look and feel.
Increase the indent for the text by one level
To increase the indent for the text by one level in PowerPoint, you can follow these steps:
- Select the text you want to indent.
- Click the Increase Indent button in the Paragraph group of the Home tab on the ribbon. Alternatively, you can press the Tab key on your keyboard to increase the indent by one level.
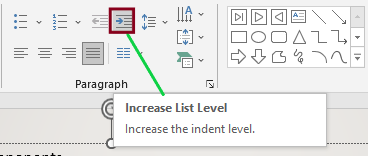
- The text will now be indented one level to the right.

- You can also decrease the indent by using the Decrease Indent button or by pressing the Shift + Tab keys on your keyboard.
Anyhow you may also check out this tutorial A Beginner’s Guide of PowerPoint Text wrapping to enhance your text formatting.
Conclusion
By using a hanging indent in your Microsoft PowerPoint presentations, you can improve the readability and professionalism of your slides. It’s a simple and effective way to make your content more organized and visually appealing.
Remember to use it sparingly and consistently to avoid cluttering your slides. With these tips and techniques, you can create a polished and impressive PowerPoint presentation that will engage and inform your audience.
I think we already covered all we need to know in this tutorial. I hope you have learned something new today. For more educational tutorials like this feel free to visit our website.
Thank you for reading 🙂

Glay Eliver
Programmer & Technical Writer at PIES IT Solution
Glay Eliver is a programmer and writer at PIES IT Solution, author of over 600 tutorials at itsourcecode.com. Specializes in JavaScript tutorials, Microsoft Office how-tos (Excel, Word, PowerPoint), and Python error debugging covering ImportError, TypeError, AttributeError, ModuleNotFoundError, and JavaScript ReferenceError. Authored several of the site’s highest-traffic Excel and MS Office reference articles.
Expertise: JavaScript · MS Excel · MS Word · MS PowerPoint · Python · Python ImportError · Python TypeError · Python AttributeError · ModuleNotFoundError · JavaScript ReferenceError · Pygame · View all posts by Glay Eliver →