Clicked Event OpenCV Python With Source Code
The Clicked Event OpenCV Python was developed using Python OpenCV, This Project With Source Code we will learn about Mouse Events in OpenCV Python.
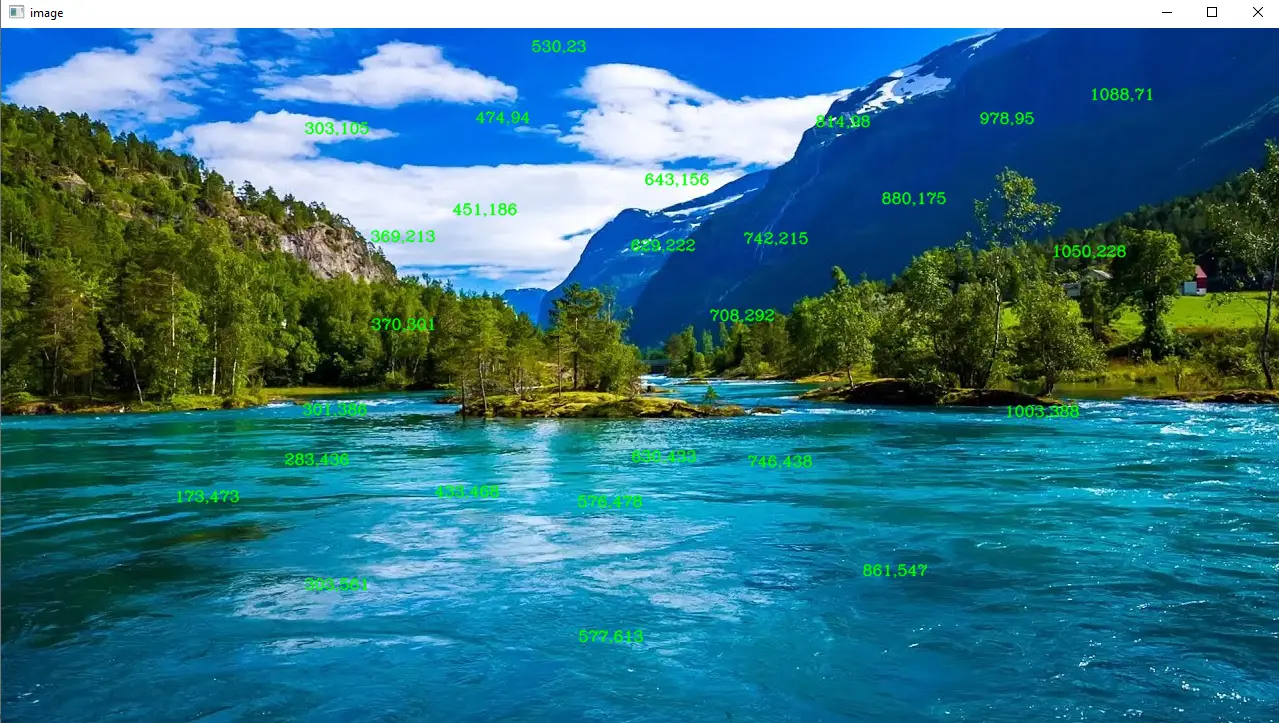
We will be creating a black background and on left mouse click print X and Y Co-ordinates and on right mouse click print RGB Value of that pixel.
A Mouse Events OpenCV Algorithm Computer Vision for reading and showing images and image manipulation.
Matplotlib for data visualization Read and Show Image for Mouse Events OpenCV.
What is OpenCV?
OpenCV (Open Source Computer Vision Library) is an open-source computer vision and machine learning software library.
OpenCV was built to provide a common infrastructure for computer vision applications and to accelerate the use of machine perception in commercial products.
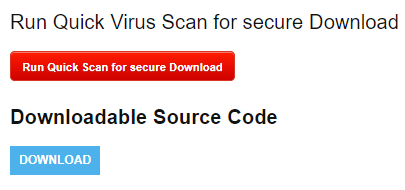
In this Python OpenCV Project also includes a downloadable Python Project With Source Code for free, just find the downloadable source code below and click to start downloading.
By the way, if you are new to python programming and you don’t know what would be the Python IDE to use, I have here a list of the Best Python IDE for Windows, Linux, Mac OS that will suit you. I also have here How to Download and Install the Latest Version of Python on Windows.
To start executing Clicked Event OpenCV Python With Source Code, make sure that you have installed Python 3.9 and PyCharm on your computer.
Clicked Event OpenCV Python With Source Code : Steps on how to run the project
Time needed: 5 minutes
These are the steps on how to run Clicked Event OpenCV Python With Source Code
- Step 1: Download the given source code below.
First, download the given source code below and unzip the source code.

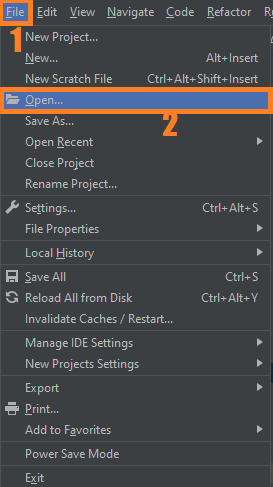
- Step 2: Import the project to your PyCharm IDE.
Next, import the source code you’ve download to your PyCharm IDE.

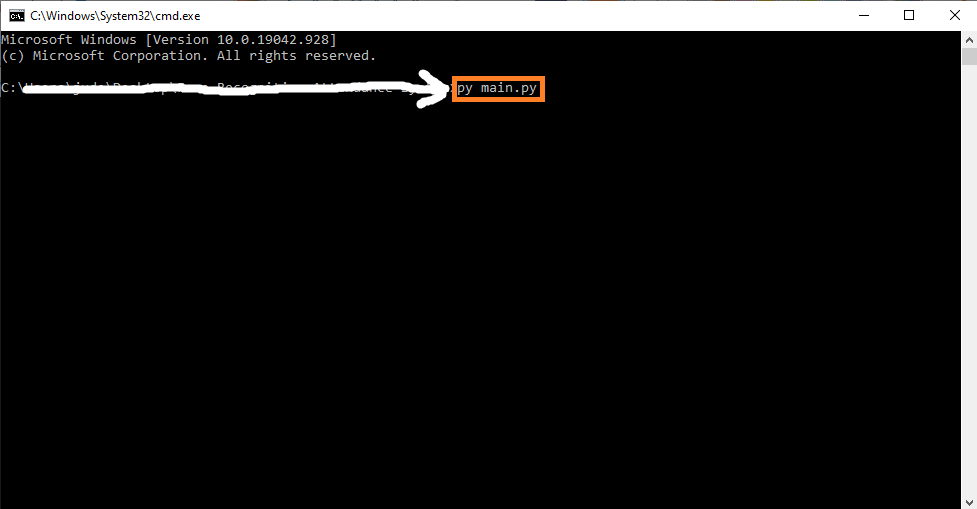
- Step 3: Run the project.
last, run the project with the command “py main.py”

Installed Libraries
import cv2 as cv
import numpy as np
from matplotlib import pyplot as plt
Complete Source Code
import cv2 as cv
import numpy as np
from matplotlib import pyplot as plt


def click_event(event, x, y, flags, params):
    '''
    Left Click to get the x, y coordinates.
    Right Click to get BGR color scheme at that position.
    '''
    text = ''
    font = cv.FONT_HERSHEY_COMPLEX
    color = (255, 0, 0)
    if event == cv.EVENT_LBUTTONDOWN:
        print(x, ",", y)
        text = str(x) + "," + str(y)
        color = (0, 255, 0)
    elif event == cv.EVENT_RBUTTONDOWN:
        b = img[y, x, 0]
        g = img[y, x, 1]
        r = img[y, x, 2]
        text = str(b) + ',' + str(g) + ',' + str(r)
        color = (0, 0, 255)
    cv.putText(img, text, (x, y), font, 0.5, color, 1, cv.LINE_AA)
    cv.imshow('image', img)


# img = np.zeros((600, 600, 3), np.uint8)
img = cv.imread('./img/sea.jpg')
print(img)
cv.imshow('image', img)
cv.setMouseCallback('image', click_event)
cv.waitKey()
cv.destroyAllWindows()
Output
Download Source Code below
Anyway, if you want to level up your programming knowledge, especially Python OpenCV, try this new article I’ve made for you Best OpenCV Projects With Source Code For Beginners 2021.
Summary
OpenCV provides a facility to use the mouse as a paint brush or a drawing tool.
Whenever any mouse event occurs on the window screen, it can draw anything.
Mouse events can be left-button down, left-button up, double-click, etc.
It gives us the coordinates (x,y) for every mouse event.
Related Articles
- Code For Game in Python: Python Game Projects With Source Code
- Best Python Projects With Source Code FREE DOWNLOAD
- How to Make a Point of Sale In Python With Source Code
- Python Code For Food Ordering System | FREE DOWNLOAD
- Inventory Management System Project in Python With Source Code
Inquiries
If you have any questions or suggestions about Clicked Event OpenCV Python With Source Code, please feel free to leave a comment below.
Where to get help while building this Python project
- itsourcecode.com free downloads. Browse other Python projects for similar patterns and code examples.
- Python 3 official documentation. The canonical reference for language syntax and standard library.
- Stack Overflow Python tag. Fastest place to get unstuck on a specific error message.
- Kaggle notebooks. Real-world ML project examples with datasets and code you can adapt.
- HuggingFace model hub. Free pre-trained models for NLP, vision, and audio tasks.
- Your adviser. Regular check-ins keep the project on track.
Common defense pitfalls to avoid
- Empty dataset. Pre-populate 200-1000 realistic sample records so demos are meaningful and the model actually learns.
- Missing error handling. Wrap risky calls (file I/O, API calls, model loading) in try/except with user-friendly messages.
- Model overfitting. If validation accuracy is much lower than training accuracy, add regularization or more data.
- No deployment plan. Panel expects to see the app running, not just Jupyter notebooks. Deploy to Streamlit Cloud or HuggingFace Spaces.
- Untested edge cases. Test with empty input, malformed input, and very long input before demo day.
Official documentation
Frequently Asked Questions
How does the OpenCV mouse-click event work?
Register a callback with cv2.setMouseCallback(window_name, callback_function). The callback receives (event_type, x, y, flags, userdata) on every mouse event. Common event types: cv2.EVENT_LBUTTONDOWN, EVENT_MOUSEMOVE, EVENT_RBUTTONDOWN. Use the x, y coordinates to draw shapes, sample pixel colors, or trigger custom actions on the displayed image.
What OpenCV version do I need to run this project?
Use OpenCV 4.5 or newer. Install with pip install opencv-python (the standard build for desktop projects). Some projects also need opencv-contrib-python which adds extra modules (SIFT, SURF, advanced trackers). The pip install command auto-downloads pre-built wheels so no compilation is needed on Windows, Mac, or Linux.
How do I install OpenCV and the dependencies for this project?
Open a terminal, then: pip install opencv-python numpy. Most projects also need one of these: mediapipe (for face / hand / pose detection), pyzbar (for barcode and QR), pytesseract (for OCR), Pillow (for image manipulation), pyautogui (for screen capture). Pin Python version to 3.10, 3.11, or 3.12 for maximum library compatibility.
Can I use this OpenCV project for a BSIT or CSE capstone?
Yes, but extend it. A single OpenCV demo (face detection alone, lane detection alone) is too narrow for full capstone scope. Combine it with a real domain (attendance system using face recognition, traffic monitoring system using lane detection, fitness coach app using pose detection), add a database to log results, build a simple Tkinter or Streamlit UI, and document the whole pipeline in Chapter 3.
Why am I getting AttributeError or ImportError when running this code?
Three most common causes: (1) You installed opencv-python but the code needs opencv-contrib-python (extra modules like xfeatures2d). Reinstall with pip install opencv-contrib-python. (2) You are on Python 3.13 but some wheels (mediapipe) lag behind, downgrade to Python 3.11 or 3.12. (3) NumPy version mismatch, pin numpy to a version your other libraries support.
Where do I find more OpenCV and Machine Learning project ideas?
Browse our Machine Learning Projects hub for 23+ OpenCV demos with source code. For capstone-scale AI ideas (RAG, NLP, recommendation systems), see 100+ AI Capstone Project Ideas. For broader Python project ideas, our Python Projects library has 250+ working capstones.

Angel Jude Suarez
Full-Stack Developer at PIES IT Solution
Focuses on Python development, machine learning, and AI integration. Has built production AI systems including OpenAI Whisper integration for medical transcription and GPT-4o-powered diagnosis assistance. Strong background in pandas, scikit-learn, and TensorFlow.
Expertise: Python · PHP · Java · VB.NET · ASP.NET · Machine Learning · AI Integration · OpenCV · Django · CodeIgniter
· View all posts by Angel Jude Suarez →