Inventory Management System Java Project With Source Code
The Inventory Management System Java Project was developed using Java Programming Language, in this Inventory Management System In Java is similar to the stock management system where the user can add and update the product details.
This is a simple Java project built in NetBeans IDE with MySQL as a backend database.
An Inventory Management System Project In Java Netbeans is easy to use and anyone can understand the system.
Here, in this Project In the Java system, you can add and update the product details. Also, you can perform a search to get your product details.
This Mini Project In Java also includes a Downloadable Source Code for free, just find the downloadable source code below and click to start downloading.
To start executing an Inventory Management System Java Project make sure that you have the NeatBeans IDE or any platform of Java installed on your computer.
About The Inventory Management System In Java
| Project Name: | Inventory Management System |
| Language/s Used: | JAVA |
| Database: | MySQL |
| Type: | Desktop Application |
| Developer: | IT SOURCECODE |
| Updates: | 0 |
How to run the Inventory Management System Project in Java? A step-by-step Guide with Source Code
Time needed: 5 minutes
These are the steps on how to run an Inventory Management System Java Project With Source Code
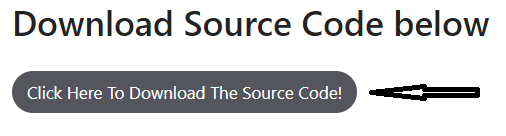
- Step 1: Download the source code.
First, download the source code given below.

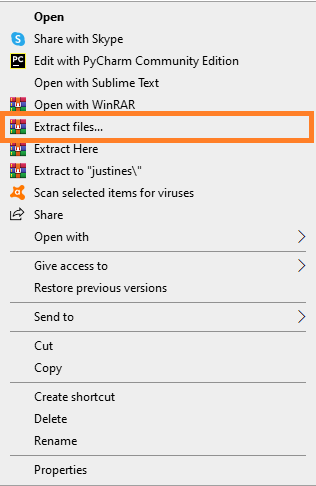
- Step 2: Extract file.
Second, after you finish downloading the source code, extract the zip file.

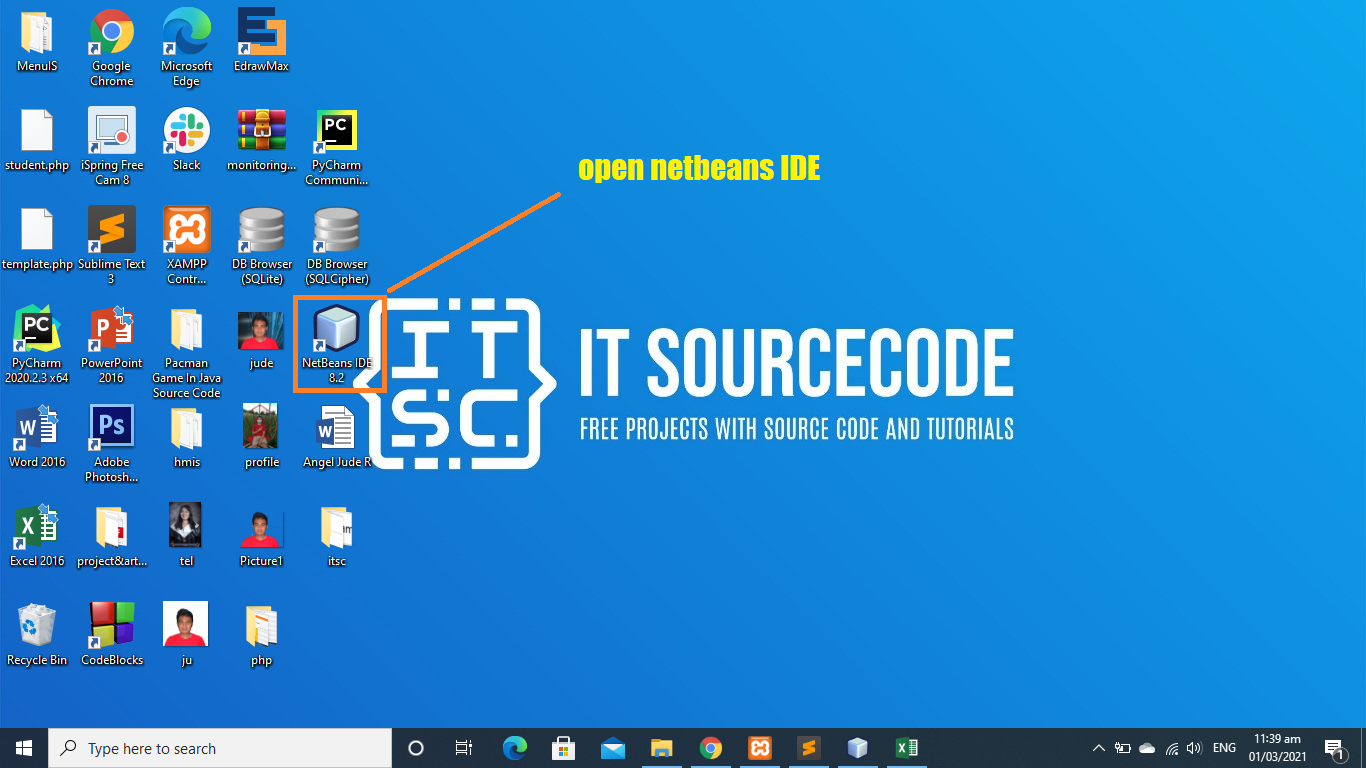
- Step 3: Open Netbeans.
Third, open “Netbeans IDE”.

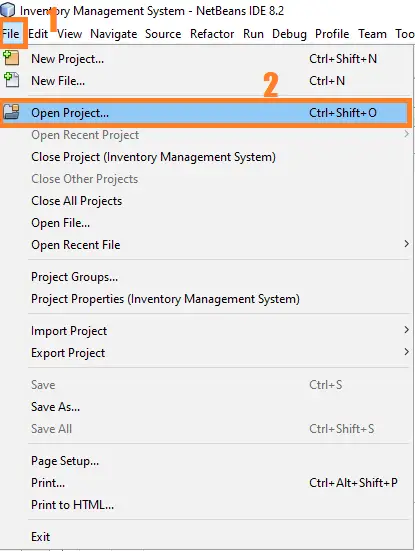
- Step 4: Click open project.
Fourth, click Open Project and choose your download source code.

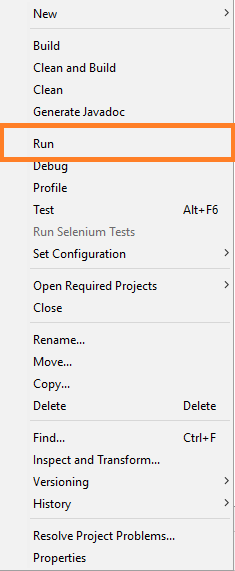
- Step 5: Run the project.
fifth, right-click the project folder and click run.

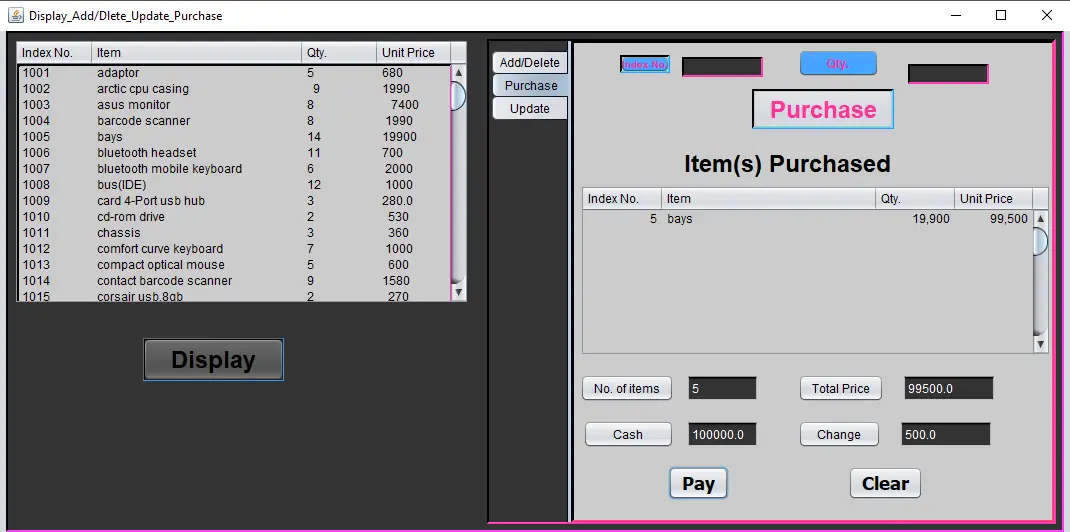
- Step 6: The project design
The actual design of the project.

The Code Given Below Is For Displaying All Items in JTable
 try {
                for (int r = 0; r < 100; r++) { //initializing row
                    for (int c = 0; c < 4; c++) { //initializing column
                        jTable1.setValueAt(null, r, c);
                    }
                }

                BufferedReader rdfile = new BufferedReader(new FileReader("items.txt"));

                String[] item = new String[100];
                String[] temp;

                int x = 0;  //read item
                while ((item[x] = rdfile.readLine()) != null) {
                    temp = item[x].split("\t");
                    jTable1.setValueAt((1000 + x + 1), x, 0);
                    for (int j = 1; j < 4; j++) {
                        jTable1.setValueAt(temp[j - 1], x, j);
                    }

                    x++;
                }
                rdfile.close();

            } catch (IOException e) {
            }
This module displays all the items in the table.
The Code Given Below Is For Purchased Module
try {
            BufferedReader rdfile = new BufferedReader(new FileReader("items.txt"));
            String[] itemline = new String[100];
            String str;
            double price, total;
            int qty = 0, qty_prv = 0, qty_new = 0;
            boolean found = false, edited = false;
            int idx = (Integer.parseInt(jTextField1.getText())) - 1001;

            for (int x = 0; (str = rdfile.readLine()) != null; x++) {
                itemline[x] = str;
            }
            rdfile.close();


            int r = Row.getRow();
            for (int i = 0; itemline[i] != null; i++) {
                if (idx == i) {
                    found = true;
                    String[] temp = itemline[i].split("\t");
                    qty = Integer.parseInt(jTextField2.getText());
                    qty_prv = Integer.parseInt(temp[1]);
                    if ((qty > qty_prv) && (qty_prv != 0)) {
                        JOptionPane.showMessageDialog(null, "Item Shortage!", "Oops!", JOptionPane.WARNING_MESSAGE);
                    }
                    if (qty_prv == 0) {
                        JOptionPane.showMessageDialog(null, "Out of Stock!", "Oops!", JOptionPane.WARNING_MESSAGE);
                    }
                    if ((qty <= qty_prv) && (qty_prv != 0)) {
                        qty_new = qty_prv - qty;
                        itemline[i] = temp[0] + "\t" + qty_new + "\t" + temp[2];
                        jTable2.setValueAt(qty, r, 0);
                        jTable2.setValueAt(temp[0], r, 1);
                        jTable2.setValueAt(Double.parseDouble(temp[2]), r, 2);
                        price = Double.parseDouble(temp[2]);
                        total = qty * price;
                        jTable2.setValueAt(total, r, 3);
                        r++;
                        edited = true;
                    }
                }

            }

            if (!found) {
                JOptionPane.showMessageDialog(null, jTextField1.getText() + ": Item Not Available!", "Oops!", JOptionPane.ERROR_MESSAGE);
            }
            if (edited) {
                PrintWriter wrfile = new PrintWriter(new FileWriter("items.txt"));
                for (int i = 0; itemline[i] != null; i++) {
                    wrfile.println(itemline[i]);
                }
                jButton16.setEnabled(true);
                wrfile.close();
                Row.setRow();
            }
            jTextField1.setText("");
            jTextField2.setText("");

        } catch (IOException e) {
        } catch (NumberFormatException e) {
            JOptionPane.showMessageDialog(null, "Some input may be invalid!", "Oops!", JOptionPane.ERROR_MESSAGE);

            jTextField1.setText("");
            jTextField2.setText("");
        }
This module is for the purchased module.
Downloadable Source Code Below.
Anyway, if you want to level up your programming knowledge, especially Java, try this new article I’ve made for you Best Java Projects With Source Code For Beginners Free Download.
Summary
The Java Project With Source Code is built fully in Java and MySQL Database. It has a full-featured Graphical User Interface (GUI) with all the functionalities.
This Article is a way to enhance and develop our skills and logic ideas which is important in practicing the Java programming language which is the most well-known and most usable programming language in many companies.
Official documentation
Quick step-by-step summary (click to expand)
- Install the JDK. Install Java Development Kit 17 or newer from Adoptium or Oracle. Verify with java -version in a terminal.
- Install NetBeans or IntelliJ IDEA. Choose one and install it. Both work with this project; NetBeans matches the tutorial screenshots exactly.
- Import the Inventory Management project. Extract the downloaded zip. Open the IDE and choose Open Project (NetBeans) or Import Project (IntelliJ), then point to the extracted folder.
- Set up MySQL and import the database. Install MySQL Server 8. Open MySQL Workbench or phpMyAdmin, create the database, then import the included .sql schema file.
- Run the app and log in as admin. Right-click the main class in the IDE and choose Run. Log in with the default admin credentials from the SQL file. Start adding stock items.
Frequently Asked Questions
How does this Java inventory management system work?
Tracks stock levels per item per warehouse, handles stock-in/out, stock-take, reorder alerts when stock < threshold. Reports: inventory valuation, slow-moving stock, top-selling items.
What Java JDK and MySQL versions does this project require?
Most projects in this batch use Java JDK 8 or 11 with MySQL 5.7+ or MariaDB 10+. To run: install JDK (Adoptium / Oracle), install MySQL Server + MySQL Workbench, install NetBeans IDE (15+ supports modern JDK), open the project (.zip extracted folder), right-click + Open Project, add MySQL JDBC driver to Project Libraries, run.
How do I set up the database for this Java project?
Open MySQL Workbench (or phpMyAdmin if you have XAMPP), create a new empty database with the name specified in the project. Import the included .sql file via Server, Data Import in Workbench (or Import tab in phpMyAdmin). Update the connection class (usually DBConnection.java or DatabaseConnection.java) with your MySQL host, port, username, password, and database name.
Can I use this Java project for a BSIT capstone or thesis?
Yes, Java is one of the most accepted languages by Philippine BSIT panels. Extend it: add role-based access (admin/staff/customer login redirect), JasperReports printable reports, dashboards with JFreeChart, audit log, multi-branch support. Pair with Chapter 1-5 documentation matching your panel’s rubric.
Why am I getting ‘ClassNotFoundException: com.mysql.jdbc.Driver’ or ‘No suitable driver’?
Three common Java JDBC issues: (1) MySQL JDBC driver JAR not added to project Libraries. Right-click Project, Properties, Libraries, Add JAR/Folder, select mysql-connector-java-X.X.X.jar. (2) Wrong driver class name. Modern (8.0+) uses com.mysql.cj.jdbc.Driver, legacy (5.x) uses com.mysql.jdbc.Driver. (3) Connection URL missing serverTimezone parameter, add ?serverTimezone=UTC to the URL.
Where can I find more Java projects with source code?
Browse the Java Projects hub for the full library (120+ Java desktop systems). For modern Java web alternatives consider Spring Boot. For other desktop stacks see VB.NET Projects or C# Projects. For BSIT capstone idea lists see 150 Best Capstone Project Ideas.
Related articles below
- Load data from MySQL database to Combo box Using Java
- How to use Scanner in Java Tutorial Using Netbeans IDE
- Update Data using MySQL Database and Java with Netbeans IDE
- Join Two String Value using MySQL CONCAT Function in Java
- How to Load data from Mysql Database to Table Element Using Java
Other articles in different programming languages
- Sales and Inventory System Using PHP and MYSQL
- Complete Inventory Management System
- Inventory Management System Project In Python
- Inventory Management System Project using Django with Source Code
Inquiries
If you have any questions or suggestions about the Inventory Management System Java Project With Source Code, please feel free to leave a comment below.

Angel Jude Suarez
Full-Stack Developer at PIES IT Solution
Focuses on Python development, machine learning, and AI integration. Has built production AI systems including OpenAI Whisper integration for medical transcription and GPT-4o-powered diagnosis assistance. Strong background in pandas, scikit-learn, and TensorFlow.
Expertise: Python · PHP · Java · VB.NET · ASP.NET · Machine Learning · AI Integration · OpenCV · Django · CodeIgniter · View all posts by Angel Jude Suarez →
Sir Can we access the database
same can we acesss the database?
It’s saying inventory class wasn’t found in Comp_inventory project
good informational site
its nice and informational site
all project this website mostly of them are not working why is the mostly don’t run
All the project are working maybe you have lack of libraries to import so thats why is now working.