
WordPress powers roughly 43 percent of all websites in 2026, which makes it the most attacked CMS on the internet. Attackers do not target you personally, they target the platform, and every unpatched WordPress site becomes fair game for automated scanners looking for known vulnerabilities. The good news is that most WordPress hacks are preventable with a handful of concrete hardening steps that take under an hour to implement.
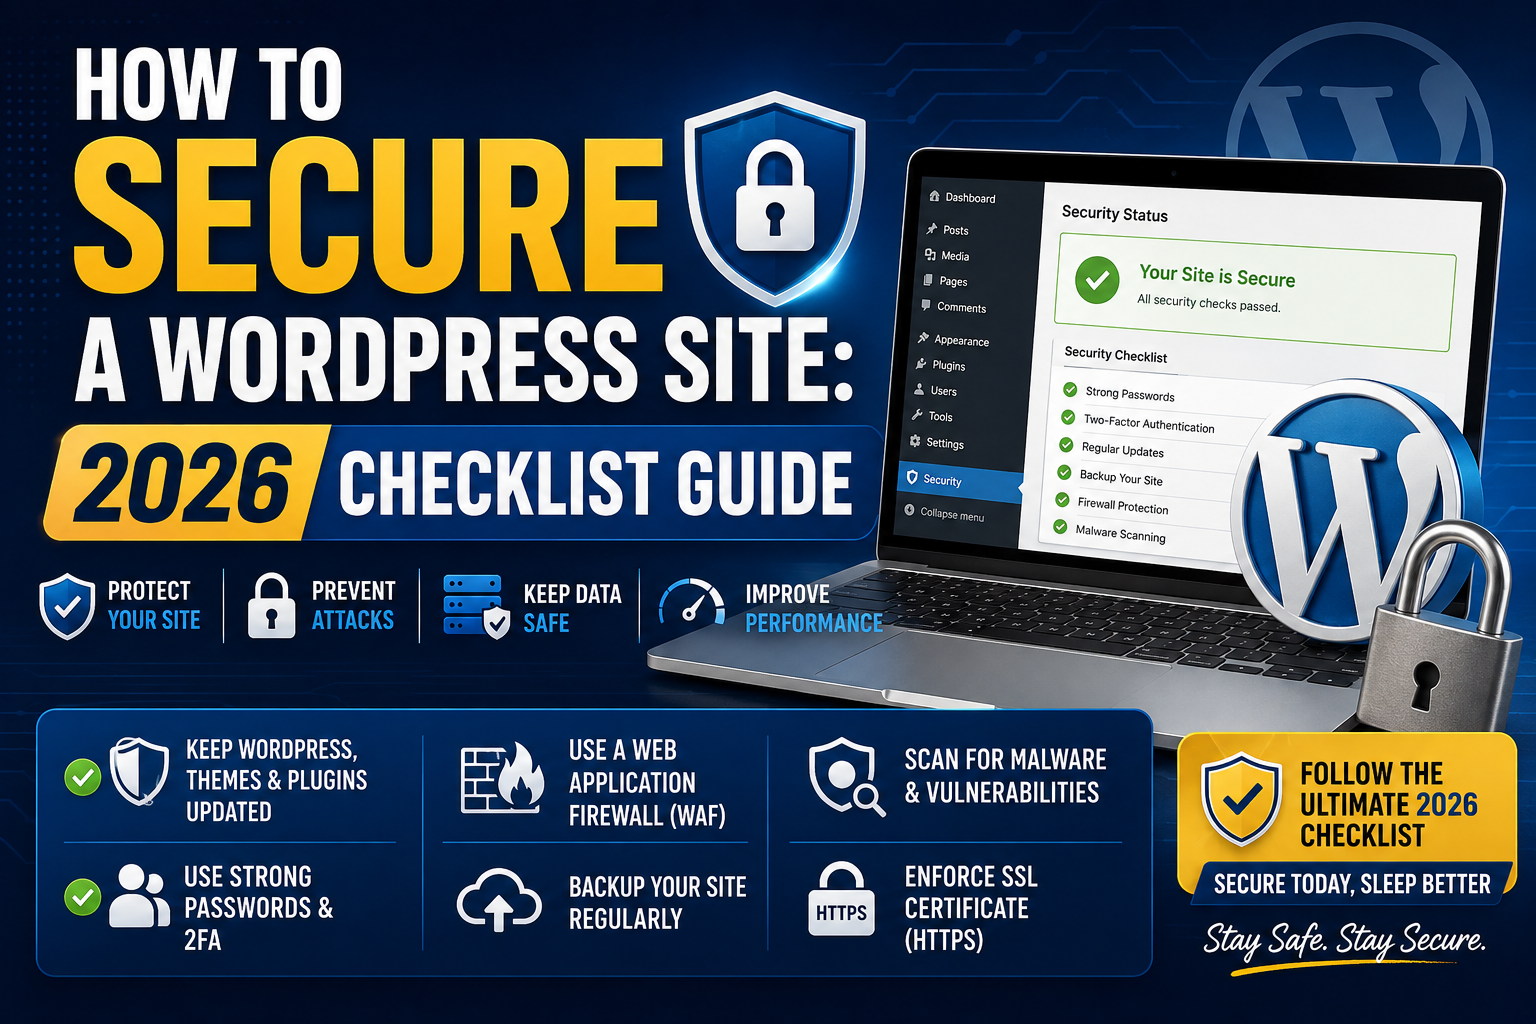
This is the checklist we run through for every new WordPress site we set up at PIES IT Solutions. It covers the 7 changes that block roughly 95 percent of automated attacks. No paranoia, no rare edge cases, just the fundamentals every WordPress site owner should have in place before considering the site production-ready.
Before you start (prerequisites)
- Admin access to your WordPress dashboard. You need to be able to install plugins and change settings.
- Access to your hosting control panel (cPanel, Cloudways console, or similar). Some steps require touching wp-config.php or database credentials.
- A recent full backup. Before making any security changes, back up your site. UpdraftPlus (free) is the standard choice, or use your host’s built-in backup (Cloudways offers daily backups).
- 30 to 60 minutes of uninterrupted time. The whole checklist takes about an hour if you have never done it before, faster on repeat sites.
Step 1: Change the default admin username
WordPress used to install with a default admin user called “admin”, and countless sites still have that as their admin username. Attackers know this. Automated brute-force attacks always try “admin” first.
If your admin username is “admin”, change it:
- Log in to WordPress as admin.
- Go to Users → Add New. Create a new user with a strong username (not “admin”, “administrator”, “editor”, or your site name) and set role to Administrator. Use a strong password.
- Log out. Log back in as the NEW user.
- Go to Users → All Users. Delete the old “admin” user. When prompted “What should be done with all content owned by this user?”, select “Attribute all content to…” and pick your new admin user.
Now brute-force attacks trying “admin” hit a wall. Even if the attacker knows your username somehow, they still have to guess your password. Combined with Step 2 below, this closes the most common attack vector.
Step 2: Enable two-factor authentication on all admin accounts
Password alone is not enough in 2026. Every admin account needs 2FA. We recommend the free Wordfence Login Security plugin (or Wordfence full plugin which includes login security).
- Install and activate Wordfence Login Security (or full Wordfence).
- Go to Login Security → Two-Factor Authentication.
- Scan the QR code with Google Authenticator, Authy, or your password manager’s TOTP feature.
- Enter the current code to verify.
- Copy the recovery codes shown and save them somewhere secure (offline preferred, like a printed sheet in a locked drawer).
Repeat for every admin user. From now on, admin login requires password AND a fresh 6-digit code from your authenticator app. Even if your password leaks in a breach elsewhere, attackers cannot log in without physical access to your phone.
Step 3: Install and configure a WAF plugin (Wordfence or Sucuri)
A Web Application Firewall (WAF) blocks known malicious traffic patterns before they reach WordPress. The two dominant options for WordPress:
- Wordfence (free tier is enough for most sites): Runs as a plugin inside your WordPress installation. Blocks brute-force attempts, scans for malware, and gets real-time threat intelligence updates. Free tier updates lag 30 days behind Premium.
- Sucuri (paid): Runs as a cloud proxy in front of your site. More effective at blocking attacks before they reach your server. Costs USD 200 per year.
For most Filipino WordPress sites, we recommend Wordfence free. It is the most widely deployed WordPress security plugin with strong track record.
Configuration:
- Install Wordfence from Plugins → Add New.
- Enter your email (get security alerts) and grab the free API key.
- Go to Wordfence → All Options → Firewall. Set Web Application Firewall Status to “Enabled and Protecting”.
- Under “Brute Force Protection”, set max login failures to 5 per 30 minutes.
- Under “Rate Limiting”, enable “Throttle crawlers if they exceed X pages per minute”.
- Save changes.
Wordfence will automatically start blocking known bad IPs and rate-limiting login attempts within minutes.
Step 4: Set up automatic backups (daily minimum)
Backups are not “security” strictly, but a good backup is your last line of defense against ransomware, defacement, and self-inflicted mistakes. Without backups, a compromised site takes hours or days to rebuild. With backups, you restore in 15 minutes.
Option 1: UpdraftPlus (free, works on any host).
- Install UpdraftPlus from Plugins → Add New.
- Go to Settings → UpdraftPlus Backups.
- Set backup schedule to Daily for Files and Daily for Database.
- Set retain last: 7 file backups + 7 database backups.
- Choose remote storage: Google Drive (free 15 GB) or Dropbox. Do NOT rely on backups stored on the same server as your site.
- Save. Run a manual “Backup Now” to test.
Option 2: Managed host backups (Cloudways, SiteGround, Kinsta). If your host already offers daily backups, use those and skip UpdraftPlus. Cloudways offers daily backups for USD 0.03 per GB per month, which for a typical 1-2 GB WordPress site is under USD 1 per month.
Step 5: Disable file editing in wp-config.php
By default, WordPress lets admins edit theme and plugin files directly in the dashboard (Appearance → Theme File Editor). This is dangerous, because a compromised admin account can inject PHP code directly into your site. Disable it.
- Access your site’s file system via cPanel File Manager, SFTP, or Cloudways console.
- Edit wp-config.php (in your site’s root directory).
- Above the line that says
/* That's all, stop editing! */, add:
define( 'DISALLOW_FILE_EDIT', true );
Save. The Theme File Editor and Plugin File Editor menus disappear from the WordPress dashboard. Admins can still edit files via SFTP or cPanel (which is fine, because those require separate credentials).
Step 6: Change the default database table prefix (only for new sites)
WordPress installs with database tables prefixed wp_ by default. Many SQL injection attacks assume this default. Changing to a custom prefix (like itsc_ or a random string) makes those attacks fail even if they find an injection point.
For a new WordPress installation:
- During installation, when prompted for database credentials, set Table Prefix to something custom like
itsc_or a random 6-char string.
For an existing WordPress site:
- Changing prefix on an existing site is risky and requires database work. Only do this if you have a full backup AND some database familiarity.
- Use a plugin like Brozzme DB Prefix Change (free) to automate the process. Or hire a developer for USD 50 to do it correctly.
- If risk is too high, skip this step for existing sites. Steps 1-5 already block the vast majority of attacks.
Step 7: Enable auto-updates for WordPress core, plugins, and themes
Unpatched vulnerabilities in outdated WordPress core, plugins, or themes are the #1 cause of hacked WordPress sites in 2026. Automatic updates close this window before attackers find your site.
Enable auto-updates for WordPress core:
- Go to Dashboard → Updates.
- At the top, look for “This site is automatically kept up to date with each new version of WordPress. Switch to automatic updates for maintenance and security releases only.” Click “Enable automatic updates for all new versions of WordPress” if not already active.
Enable auto-updates for plugins:
- Go to Plugins → Installed Plugins.
- For each plugin, click “Enable auto-updates” in the rightmost column.
- Do this for all installed plugins unless you have a specific reason not to (e.g., a plugin that has broken your site in a past auto-update).
Enable auto-updates for themes:
- Go to Appearance → Themes.
- Click your active theme. Click “Enable auto-updates”.
- Repeat for parent theme if using a child theme.
Now WordPress core, plugins, and themes update automatically overnight when new versions are released. Combined with daily backups (Step 4), if an auto-update breaks something, you can restore in minutes.
Post-hardening validation
After completing all 7 steps, verify:
- Try logging in with a wrong password 5 times. Wordfence should lock you out on the 5th attempt (proves rate limiting works).
- Try logging in as “admin”. Should fail because the user no longer exists.
- Try logging in with correct password but no 2FA code. Should be denied at the 2FA step.
- Check Appearance menu. Theme File Editor should be missing.
- Run manual backup. Verify UpdraftPlus or host backup completes without error, and the backup lands in remote storage (Google Drive, Dropbox, etc.).
- Scan with Wordfence. Go to Wordfence → Scan → Start New Scan. Should complete with 0 or few findings.
All 6 checks passing means your site is materially harder to attack than 90 percent of WordPress sites out there.
Common security mistakes to avoid
Mistake 1: Using “admin” as username plus a weak password. Every automated attacker tries this combo first. Change username AND set a strong password (16+ characters, generated by a password manager).
Mistake 2: Installing too many plugins. Every plugin is a potential vulnerability. Audit your plugin list every 3 months and delete anything you do not actively use. Keep total plugin count under 20 for a typical site.
Mistake 3: Installing “nulled” (pirated) premium plugins. Nulled plugins are the single biggest source of WordPress malware. The “free” version has backdoors baked in. Either buy the legitimate premium plugin or use a free alternative.
Mistake 4: Not backing up before major changes. Always take a fresh backup before installing a new plugin, updating multiple plugins at once, or making theme changes. Backups are cheap insurance.
Mistake 5: Ignoring Wordfence alerts. Wordfence emails you when it detects suspicious activity. Read those emails within 24 hours. Most alerts are informational, but a few need action (blocked IP requesting to be unblocked, unexpected admin login from new location).
Bottom line
WordPress security in 2026 is not about being paranoid. It is about closing the 7 obvious doors that automated attackers try every day. The 7-step checklist in this guide takes about an hour to complete and blocks roughly 95 percent of realistic threats.
The two steps that give the biggest security lift for the least effort are Step 2 (2FA on all admins) and Step 7 (auto-updates for core plus plugins plus themes). If you only have 15 minutes today, do those two. Come back for the rest this weekend.
We hope this checklist helps you sleep better knowing your WordPress site is properly hardened. Feel free to reach out via our contact page if you get stuck on any step, or comment below with your setup questions.
Official documentation
Quick step-by-step summary (click to expand)
- Change the default admin username. Create a new admin user with a non-obvious username, log in as new user, delete old “admin” user.
- Enable 2FA on all admin accounts. Install Wordfence Login Security, configure TOTP with authenticator app, save recovery codes offline.
- Install and configure a WAF plugin. Wordfence free tier is enough. Enable firewall, brute force protection, and rate limiting.
- Set up daily automated backups. UpdraftPlus with Google Drive or Dropbox remote storage, or use host backup. Retain 7 daily copies.
- Disable file editing in wp-config.php. Add DISALLOW_FILE_EDIT define to prevent dashboard file edits.
- Change the default database table prefix (new sites only). Use a custom prefix like itsc_ instead of wp_ during installation.
- Enable auto-updates for WordPress core, plugins, and themes. All 3 layers should auto-update to close vulnerabilities as soon as patches ship.
Tools for hardening your WordPress site (affiliate)
Some links below are affiliate links via Skimlinks. We may earn a commission at no extra cost to you. See our affiliate disclosure.
- Wordfence Premium, real-time threat intelligence upgrade for USD 119 per year
- Sucuri Website Security, cloud-proxy WAF alternative for USD 200 per year
- Cloudways, our top managed WordPress host with included daily backups
- UpdraftPlus Premium, adds incremental backups and more remote destinations
Frequently asked questions
Is Wordfence free enough or do I need Premium?
Wordfence free is enough for most small to mid-sized WordPress sites (under 100,000 monthly visits). Free tier updates lag 30 days behind Premium. Premium (USD 119 per year) gets real-time threat intelligence and country blocking. Upgrade to Premium if your site is business-critical or gets targeted attacks specifically at your brand.
Can I skip the database prefix step on an existing site?
Yes. Changing table prefix on an existing site carries real risk (potential broken plugins that hardcode wp_ prefix). If you did not set a custom prefix at installation, the safer path is to skip Step 6 and rely on Steps 1-5 plus 7 for security. Those 6 steps alone block over 90 percent of realistic attacks.
Should I enable auto-updates if my site is business-critical?
Yes, with a strong daily backup in place. The risk of an auto-update breaking your site is small (Wordfence data shows under 1 percent of auto-updates cause issues). The risk of an unpatched plugin vulnerability being exploited is much higher. Combined with daily backups (Step 4), auto-updates + fast rollback is the safest posture.
Do I need a paid SSL certificate?
No. Lets Encrypt (free SSL) is included on every reputable host (Cloudways, SiteGround, Bluehost, Hostinger, A2 all include it). Free SSL is functionally identical to paid SSL for encryption purposes. Paid SSL certificates from vendors like DigiCert or Sectigo are only needed for specific use cases like Extended Validation for e-commerce checkout pages (rare).
What should I do if my site gets hacked despite these steps?
First, take the site offline (contact your host to put it in maintenance mode). Second, restore from the most recent clean backup (before the hack). Third, run a full Wordfence scan to identify what vulnerability was exploited. Fourth, patch that vulnerability specifically (usually a plugin update or delete). Fifth, rotate all admin passwords and 2FA secrets. If you cannot handle this yourself, budget USD 300-500 to hire a WordPress security specialist for cleanup.
How often should I re-audit these settings?
Every 3 months. Set a calendar reminder. During each audit: verify Wordfence is still active and updated, check backup logs to confirm recent backups completed successfully, review plugin list and delete unused plugins, review admin user list and remove anyone who no longer needs access, test 2FA on your admin account. The full audit takes 15 minutes if nothing is wrong.

Caren Bautista
Technical Writer at PIES IT Solution
Responsible for crafting clear, well-structured, and beginner-friendly content across the platform. Handles the writing, proofreading, and editorial review of tutorials, guides, and documentation to ensure every article is accurate, readable, and easy to follow.
Expertise: Technical Writing · Content Creation · Documentation · Editorial Writing · JavaScript · TypeScript · Python · Python Errors · HTTP Errors · MS Excel · View all posts by Caren Bautista →