The Face Recognition Code In Python Using OpenCV was developed using Python Programming, this Face Detection In Python using Haar cascades is a machine learning based approach where a cascade function is trained with a set of input data.
OpenCV already contains many pre-trained classifiers for face, eyes, smiles, etc.. Today we will be using the face classifier. You can experiment with other classifiers as well.
About The Project
A Face Recognition Code in Python can detect faces of people in an images, faces contains a list of coordinates for the rectangular regions where faces were found.
We use these coordinates to draw the rectangles in our image. And also the Face Detection Using Python Project can detect also real time faces in a camera on your laptop or pc.
Similarly, the Face Detection In Python Using Opencv can detect faces in videos. As you know videos are basically made up of frames, which are still images. So we perform the face detection for each frame in a video.
The only difference here is that we use an infinite loop to loop through each frame in the video. We use cap.read() to read each frame.
The first value returned is a flag that indicates if the frame was read correctly or not. We don’t need it. The second value returned is the still frame on which we will be performing the detection.
Project Information’s
| Project Name: | Face Recognition In Python |
| Language/s Used: | Python OpenCV |
| Python version (Recommended): | 2.x or 3.x |
| Database: | None |
| Type: | Machine Learning |
| Developer: | IT SOURCECODE |
| Updates: | 0 |
In this Code For Face Detection In Python also includes a Face Recognition Project In Python With Source Code for free, just find the downloadable source code below and click to start downloading.
By the way if you are new to python programming and you don’t know what would be the the Python IDE to use, I have here a list of Best Python IDE for Windows, Linux, Mac OS that will suit for you. I also have here How to Download and Install Latest Version of Python on Windows.
To start creating a Face Recognition Code In Python Using OpenCV, make sure that you have installed Python in your computer.
Prerequisites
Before starting with this Python project with source code, you should be familiar with the computer vision library of Python that is OpenCV and Numpy.
OpenCV and Numpy are the Python packages that are necessary for this project in Python. To install them, simply run this pip command in your terminal:
pip install opencv-python numpySteps on How To Build Face Recognition Code In Python Using OpenCV
Time needed: 5 minutes
These are the steps on how to install face recognition in python
- Step 1: Download and unzip the zip file.
First, download the source code given below and unzip the zip file.
The project folder contains 4 files:
1.) detect_face_image.py – a python file for detecting face in an image.
2.) detect_face_video.py – a python file for detecting face in a camera.
3.) haarcascade_frontalface_default_default.xml – a file that load cascade from image.
4.) sample.jpg – sample image for experimenting in detecting face.
- Step 2: Creating code for detecting faces in an image.
Next, we want to create code for load cascade, read the input image and convert into grayscale, detect faces, draw rectangle around faces and display the output.
*Note: The code given below are already in a download source code.
- Step 3: Creating Code for detecting faces in a video.
Next, in the same process in step 2, we want to create a code for detecting faces in a video.
*Note: The code given below are already in a download source code.
- Step 4: Run detect_face_image python file.
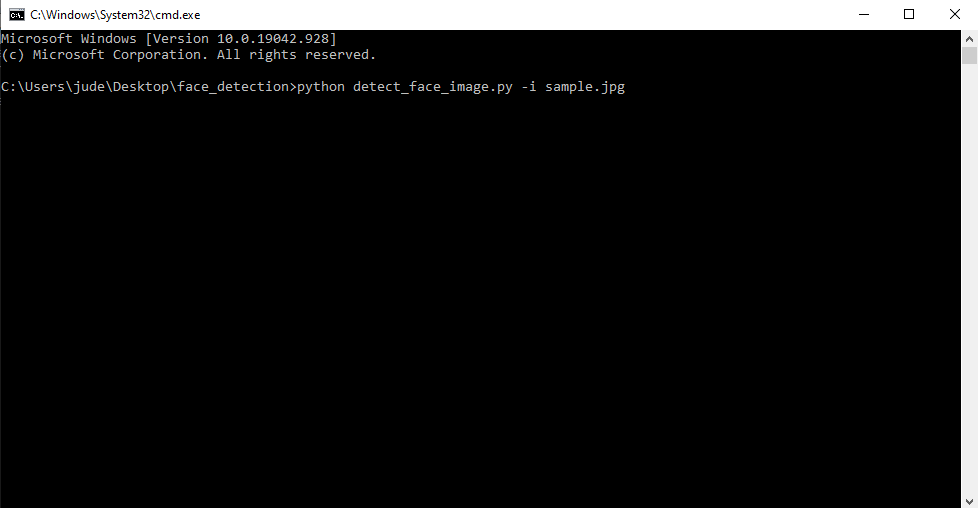
The beginner Python project is now complete, you can run the Python file from the command prompt. Make sure to give an image path using ‘-i’ argument.
If the image is in another directory, then you need to give full path of the image:
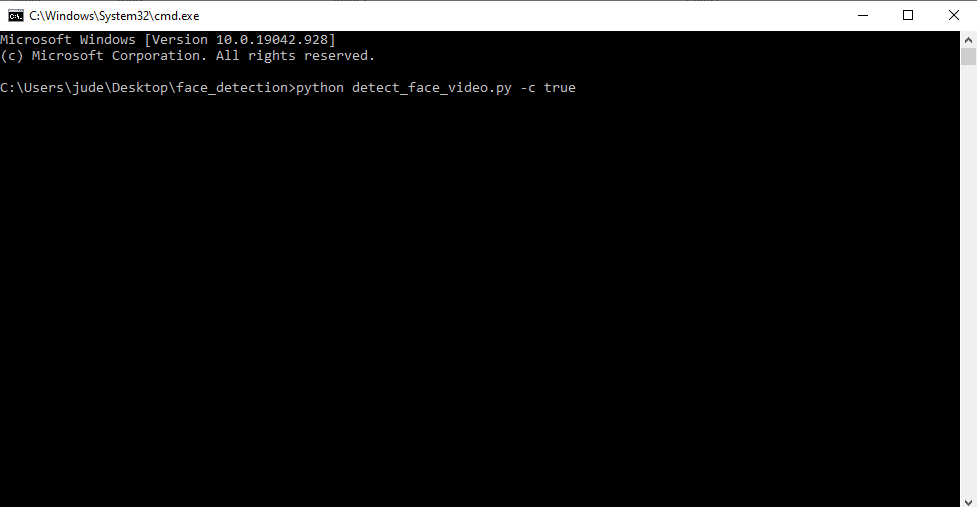
- Step 5: Run detect_face_video python file.
The beginner Python project is now complete, you can run the Python file from the command prompt.

Face Recognition In An Image
I have here the step by step program which can detect faces in an Image.
1. Import OpenCV
Code:
import cv2Explanation:
The code given above is the required libraries to be import.
2. Load Face Cascade Dataset
Code:
# Load the cascade
face_cascade = cv2.CascadeClassifier('haarcascade_frontalface_default.xml')
Explanation:
The code given above is the face_cascade dataset which can be extracted when we run the project to detect faces in an image.
3. Read The Input Image
Code:
# Read the input image
img = cv2.imread('sample.jpg')
Explanation:
The code given above is the function to read the input image.
4. Convert Image Into Grayscale
Code:
# Convert into grayscale
gray = cv2.cvtColor(img, cv2.COLOR_BGR2GRAY)
Explanation:
The code given above is the function to convert the image into grayscale.
5. Detect Faces
Code:
# Detect faces
faces = face_cascade.detectMultiScale(gray, 1.1, 4)
Explanation:
The code given above is the function to detect faces from the given image.
6. Draw Rectangle Around The Faces
Code:
# Draw rectangle around the faces
for (x, y, w, h) in faces:
    cv2.rectangle(img, (x, y), (x + w, y + h), (255, 0, 0), 2)
Explanation:
The code given above is the function to draw rectangle around the faces in an image.
7. Display The Output
Code:
# Display the output
cv2.imshow('img', img)
cv2.waitKey()
Explanation:
The code given above is the function to display the output.
Output
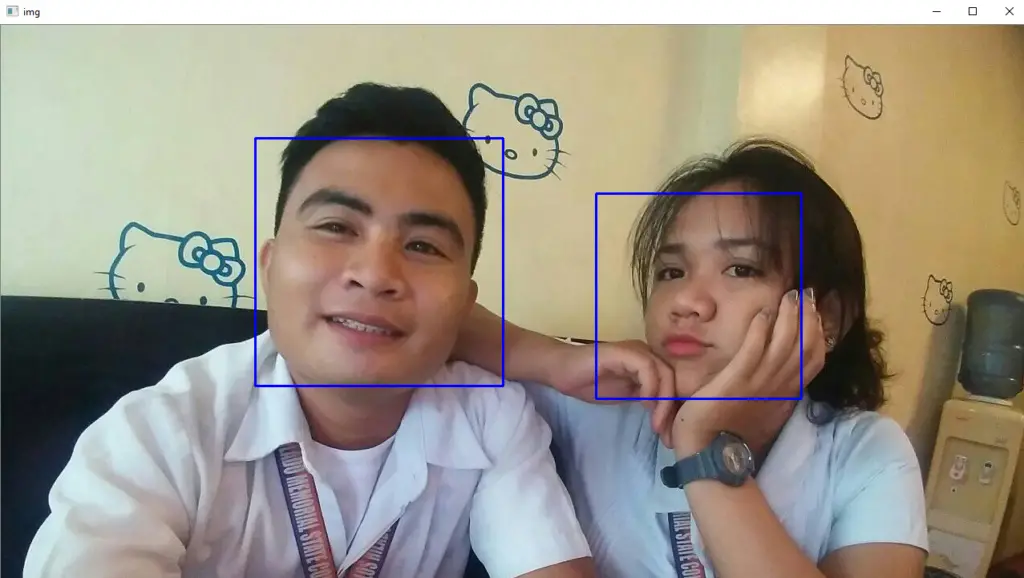
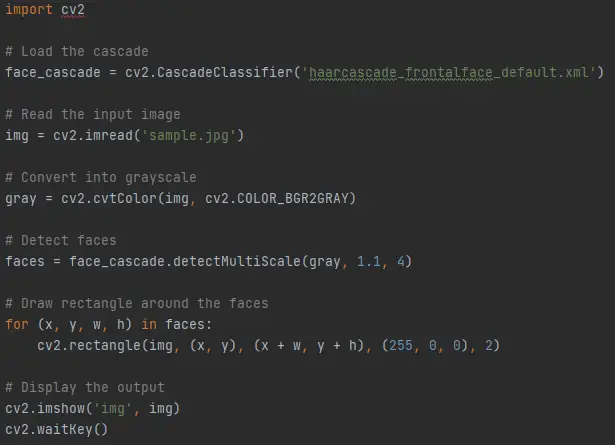
Complete Source Code of Face Recognition In An Image
import cv2

# Load the cascade
face_cascade = cv2.CascadeClassifier('haarcascade_frontalface_default.xml')

# Read the input image
img = cv2.imread('sample.jpg')

# Convert into grayscale
gray = cv2.cvtColor(img, cv2.COLOR_BGR2GRAY)

# Detect faces
faces = face_cascade.detectMultiScale(gray, 1.1, 4)

# Draw rectangle around the faces
for (x, y, w, h) in faces:
    cv2.rectangle(img, (x, y), (x + w, y + h), (255, 0, 0), 2)

# Display the output
cv2.imshow('img', img)
cv2.waitKey()
Real-Time Face Recognition Using Web Cam
Here’s the step by step program on How To Detect Faces In Real-Time using Web Cam.
1. Import OpenCV
Code:
import cv2Explanation:
The code given above is the required libraries to be import.
2. Load Cascade Dataset
Code:
# Load the cascade
face_cascade = cv2.CascadeClassifier('haarcascade_frontalface_default.xml')
Explanation:
The code given above is the face_cascade dataset which can be extracted when we run the project to detect faces in an image.
3. Capture Video From Web Cam
Code:
# To capture video from webcam.
cap = cv2.VideoCapture(0)
Explanation:
The code given above is the function to capture video from webcam.
4. Convert To Grayscale
Code:
# Read the frame
    _, img = cap.read()
    # Convert to grayscale
    gray = cv2.cvtColor(img, cv2.COLOR_BGR2GRAY)
The code given above is the function to convert video into grayscale.
5. Detect Faces
Code:
# Detect the faces
    faces = face_cascade.detectMultiScale(gray, 1.1, 4)
Explanation:
The code given above is the function to detect faces in the web cam.
6. Draw Rectangle Around The Faces
Code:
# Draw the rectangle around each face
    for (x, y, w, h) in faces:
        cv2.rectangle(img, (x, y), (x+w, y+h), (255, 0, 0), 2)
Explanation:
The code given above is the function to draw rectangle around the faces from the web cam.
Real-Time Face Recognition Output
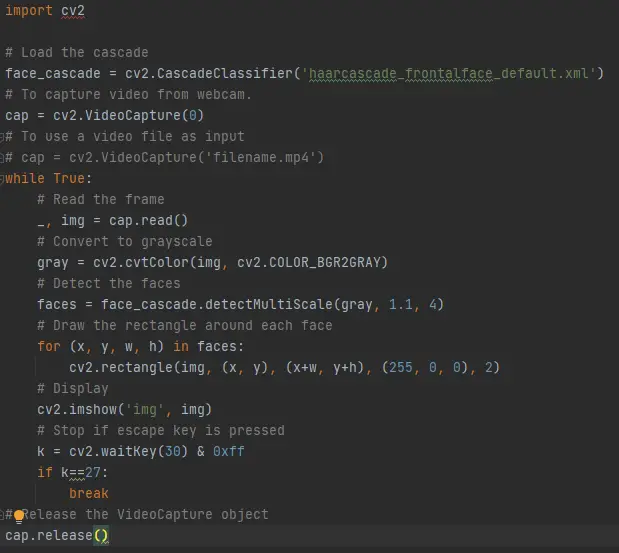
Complete Source Code of Face Recognition in Real-Time
import cv2

# Load the cascade
face_cascade = cv2.CascadeClassifier('haarcascade_frontalface_default.xml')
# To capture video from webcam.
cap = cv2.VideoCapture(0)
# To use a video file as input
# cap = cv2.VideoCapture('filename.mp4')
while True:
    # Read the frame
    _, img = cap.read()
    # Convert to grayscale
    gray = cv2.cvtColor(img, cv2.COLOR_BGR2GRAY)
    # Detect the faces
    faces = face_cascade.detectMultiScale(gray, 1.1, 4)
    # Draw the rectangle around each face
    for (x, y, w, h) in faces:
        cv2.rectangle(img, (x, y), (x+w, y+h), (255, 0, 0), 2)
    # Display
    cv2.imshow('img', img)
    # Stop if escape key is pressed
    k = cv2.waitKey(30) & 0xff
    if k==27:
        break
# Release the VideoCapture object
cap.release()
Download Source Code below
Summary
Facial detection is a powerful and common use-case of Machine Learning. It can be used to automatize manual tasks such as school attendance and law enforcement. In the other hand, it can be used for biometric authorization.
OpenCV uses machine learning algorithms to search for faces within a picture. Because faces are so complicated, there isn’t one simple test that will tell you if it found a face or not.
Instead, there are thousands of small patterns and features that must be matched. The algorithms break the task of identifying the face into thousands of smaller, bite-sized tasks, each of which is easy to solve.
Inquiries
If you have any questions or suggestions about Face Recognition Code In Python Using OpenCV With Source Code, please feel free to leave a comment below.



Hi
I see all the above source code focused on face detection and not face recognition, could you share the sample code or illustrate the steps for face recognition in a secured way using python