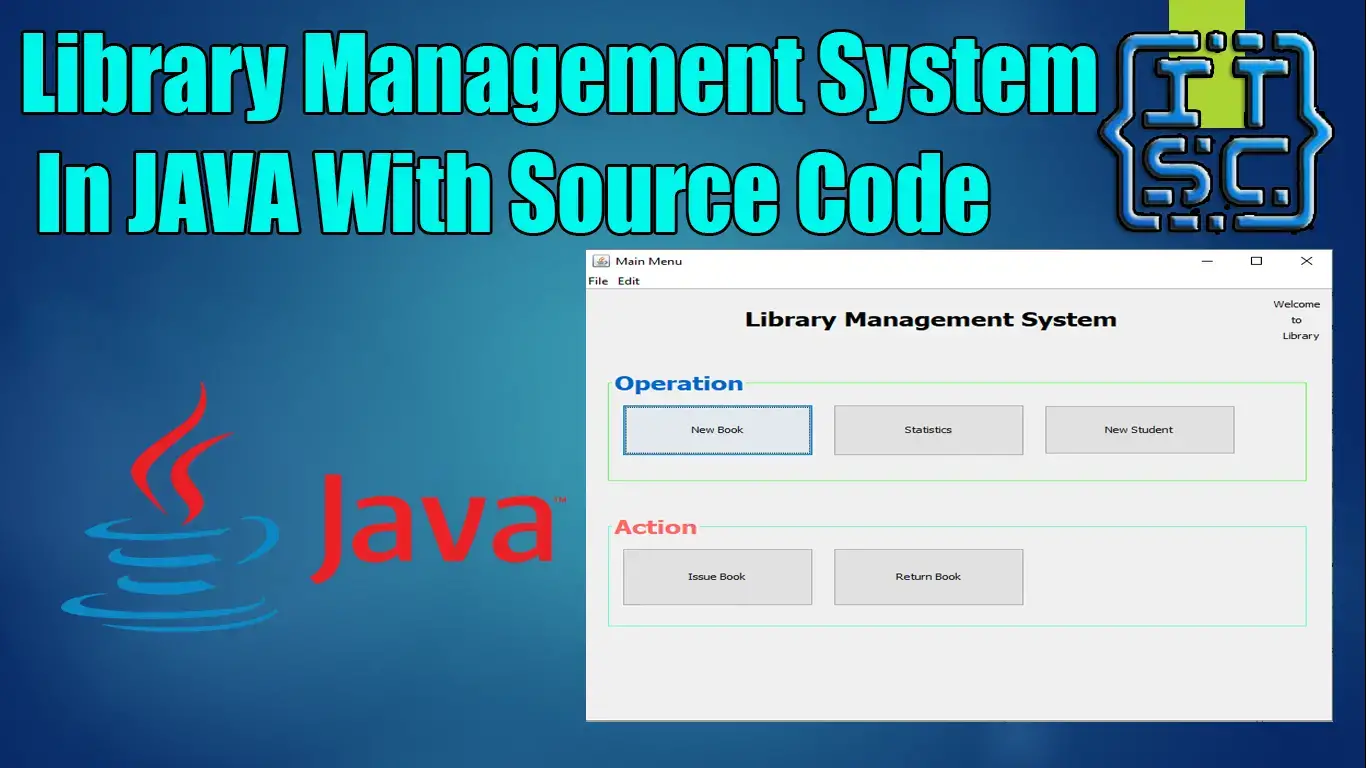
The Library Management System Project in Java is one of the many systems that have been made to meet the needs of modern libraries.
Library Management Systems are a great way to keep track of books, add them, update information about them, look for the right book, lend it out, and get it back when it’s time.

What is a Library Management System Project in Java?
In Java, the library management project is designed to organize and store information about books based on what students need.
The system helps both the students and the person in charge of the library keep track of all the books that are there.
It lets both the administrator and the student look for the book they want to read and borrow.
About The Library Management System In Java
| Project Name: | Library Management System |
| Language/s Used: | Java (Netbeans) |
| Database: | MySQL |
| Type: | Desktop Application |
| Developer: | IT SOURCECODE |
| Updates: | 0 |
What are the features of a Library Management System?
- User login – The name tells you exactly what this function does. It lets the user and the admin log in. The first login is always the administrator login, and the password is always admin.
- User menu – The user menu shows all of the books that the user has checked out or borrowed.
- Admin menu – The Administrator has access to everything in the system and can do things like add books and users, delete and edit books, return books, get information about users and books, and create and reset the database.
- Output menu – The answers to all your queries will be shown on the output menu. When you first log in, your ID and password will be for admin, and your username and password will also be for admin.
- View books – By choosing this option, you’ll see information about the books in the table, such as the title, genre, price, subject, author, copyright, publisher, edition pages, ISBN, and other information that may be in the database.
- View Members, Students, and Users – The system displays the users along with their information, including who would receive the books and their current status (issued, returned, and pending).
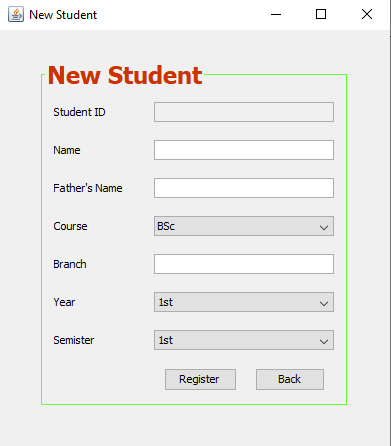
- Add user – To add a new user system, click “Add User” and choose whether the new user will be an administrator or a regular user. Under “view users,” you can see information about all of the users.
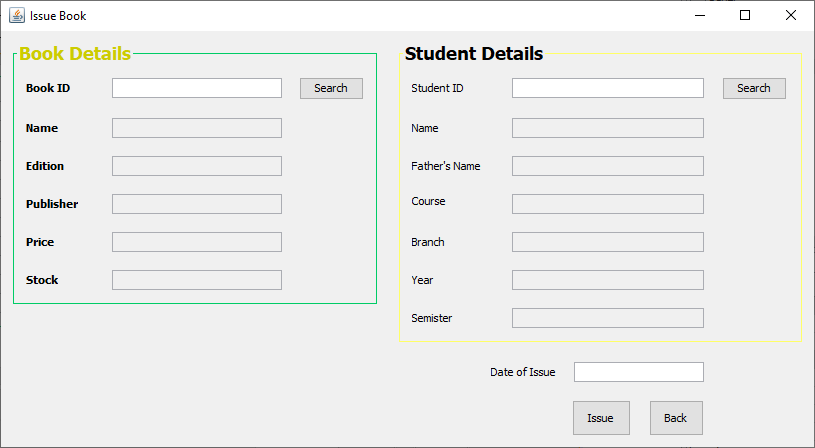
- Issue a book – To issue a student, member, or user a book, you must click the “issue book” button and enter the book’s details, such as the book’s id, the user’s id, the number of days the book can be used, the date it must be returned, etc. After putting in the necessary information, you click “submit,” which finishes the process.
- View issued books – After you issue the book using the steps in the previous paragraph, you can use this feature to see all the books that have been issued along with their details.
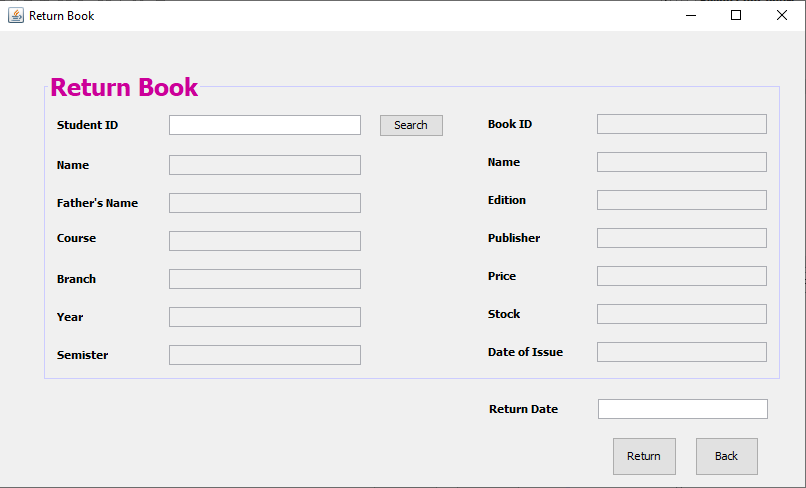
- Return books – After you choose the option to return books, you will need to enter the book’s ID and choose a date from the calendar.
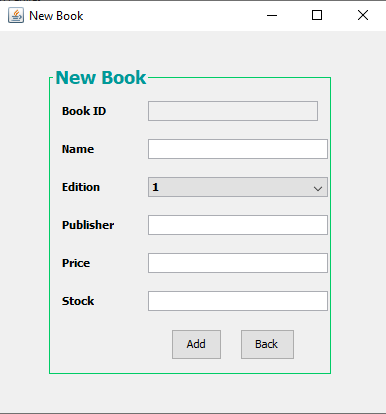
This can be said in two different ways: If the book is returned on time, the message “book returned” will be shown. If the book isn’t returned by the date given, the system will show a message about the fine and the amount that needs to be paid. - Add books – All the information about the book, like its name, price, and genre, can be added to the system here. After that, you can see it in the “view books” section.
More Advanced Features of Library Management System
- The right reports can be made with all the information needed to see updates and progress in real-time with a single click.
- Real-time error messages: There is a good way to show error messages so that the problem can be found and fixed quickly.
- A friendly user interface that lets people check out, return, and see the status of books should be easy to use so the person in charge can get the job done quickly. It’s set up so that even people who have never used the software before can use it well without knowing how it works.
- Authorized entries are not allowed. Each form has its own validation, which makes it less likely that wrong information will be entered.
How To Create A Library Management System Project In Java?
Time needed: 5 minutes
These are the steps on how to create a Library Management System Java Project With Source Code.
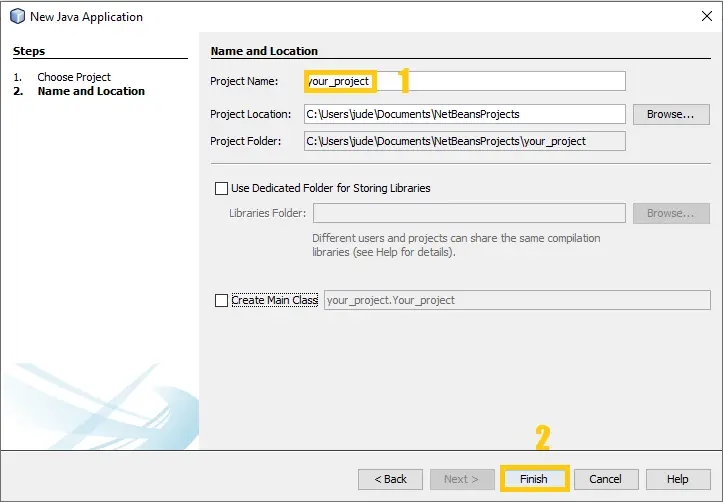
- Step 1: Create a project.
First, open the file and then click “project” to create.

- Step 2: Create a project name.
Second, name your project.

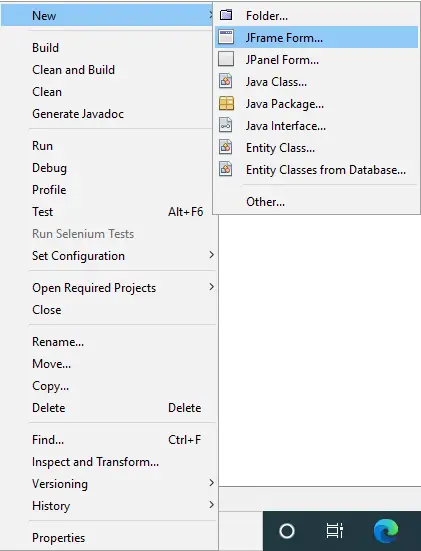
- Step 3: Create JFrame.
Third, create a “JFrame” form.

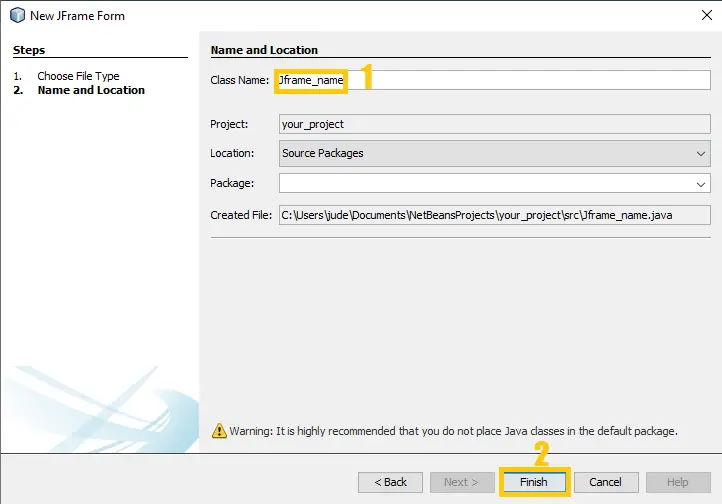
- Step 4: Create a JFrame name.
Fourth, name your JFrame form.

- Step 5: Project Design.
Fifth, The actual design of the project.

Project Output:
Downloadable Source Code Below
Summary
The Library Management System is built fully in Java and MySQL Database. It has a full-featured Graphical User Interface (GUI) with all the functionalities.
This article is a way to enhance and develop our skills and logic ideas which is important in practicing the Java programming language which is the most well-known and most usable programming language in many companies.
Related article below
- Library Management System Project In Python with Source Code
- Django Library Management System with Source Code
- Library Management System Project in NodeJS with Source Code
- Library Management System In ASP NET With Source Code
- Library Management System Project in Laravel With Source Code
Inquiries
If you have any questions or suggestions about the Library Management System Project In Java With Source Code, please feel free to leave a comment below.




php languaege
java.lang.nullpointerexception cannot invoke java.sql.connection.preparestatement(string) connection.con null
Showing This Error Please Help!
java.lang.nullpointerexception cannot invoke java.sql.connection.preparestatement(string) connection.con null
Please Help For this Error!