Today we will be creating a temperature monitoring system using Arduino.
This device can monitor the temperature of any environment using a digital humidity and temperature module and display it on the LCD. You can use this device as is or integrate it into other projects.
Temperature Monitoring System Using Arduino: Steps in Creating the Device
Here are the steps in creating Temperature Monitoring System using Arduino..
- Gathering the Components
The first thing to do is to collect the hardware components for the Arduino device.
Arduino Uno
DHT22 Humidity and Temperature Sensor
LCD with I2C interface
9 Volt D-size Battery - Connecting the Components
Connect the components to the Arduino Uno. Please refer to the wiring diagram below.
- Coding the Arduino
Third step is about coding the Arduino device to work with the components.
- Upload the Sketch
Lastly, upload the sketch to the Arduino.
Temperature Monitoring System Using Arduino: Detailed Explanation
To start this project, you need the following:
| Qty | Component |
| 1 | Arduino UNO |
| 1 | DHT22 Humidity and Temperature Sensor |
| 1 | Liquid Crystal Display with I2C Interface |
| 1 | 9-volt D-size Battery |
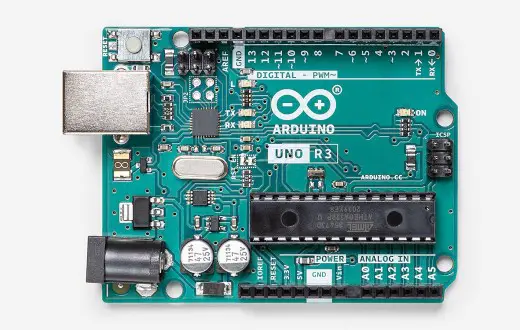
Arduino UNO
We will be using an Arduino Uno microprocessor board. Arduino Uno is suitable for any projects and is the cheapest and widely used microprocessor board in the Arduino family. This is great for all kinds of IoT projects.
Digital Humidity and Temperature Module
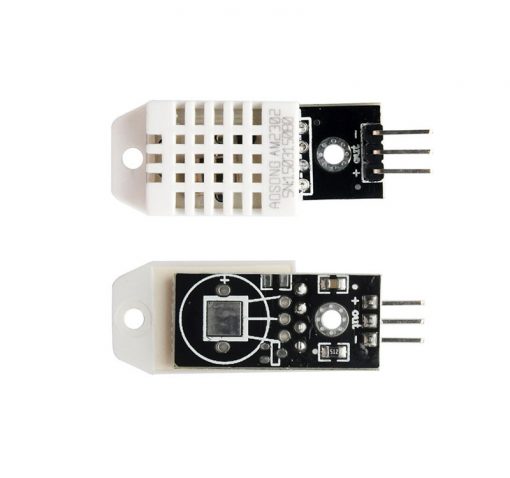
This project uses a DHT22 sensor. You can also use the DHT11 sensor module which is cheaper. Take note that the latter is less accurate.
DHT22 will read every 2 seconds for it to detect temperatures accurately. Be careful with the timing in the code.
16×2 Liquid Crystal Display with I2C
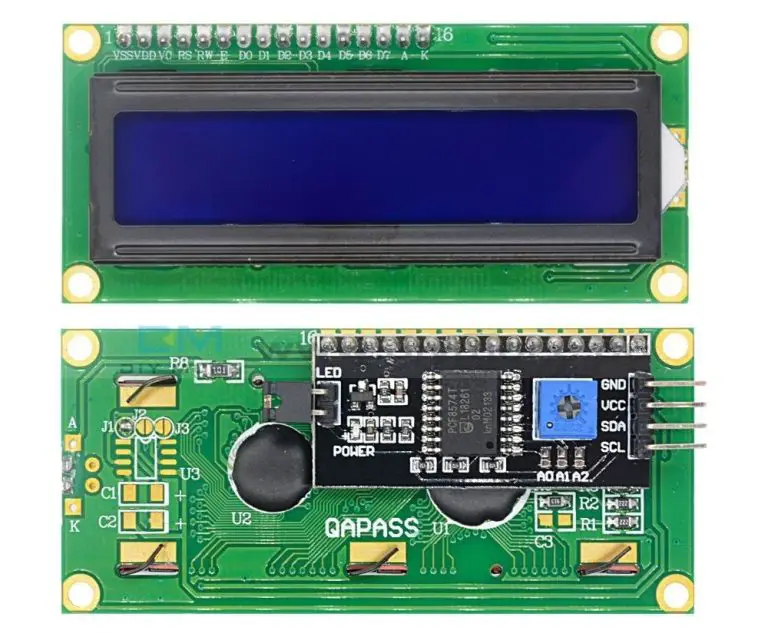
This is where we will display our readings. The LCD that we are using has 16 columns and 2 rows. Also, it comes with an I2C interface.
This means we will only need 4 connections for the power and display. This type of LCD is great if you are planning to connect more modules to the Arduino.
Power Source
To power the Arduino and the components, we will use a 9-volt battery which will be connected to the barrel port. You can also use a normal smartphone charger (5v 2amp).
Schematic Diagram
The DHT22 and the LCD will be powered using 5-volt pin of the Arduino and the temperature monitoring system will be powered by a 9-volt battery.

Code
First is to download the libraries needed for the project. These are the TinyDHT, LiquidCrystal_I2C, and Wire. After downloading, open the Arduino IDE and on the Sketch menu, click “Include Library” then “Add .ZIP Library”.
Locate the downloaded libraries and click “Open”. After that, go to “Sketch” and hover your cursor on “Include Library”. Choose your newly installed library in the list.
#include "TinyDHT.h"
#include <LiquidCrystal_I2C.h>
#include <Wire.h>
Next is to define the DHT22 connection and type using “#define”. The first line indicates where we attach the data pin of the module. The second line is the type of DHT module. These will be used later.
#define DHTPIN 2
#define DHTTYPE DHT22
Our next step is to create the DHT and LCD objects using the code below.
LiquidCrystal_I2C lcd (0x27, 16, 2);
DHT dht (DHTPIN, DHTTYPE);
After that, we will create variables for mode, temperature, and humidity. If the temperature mode is 0, that means it is on Degree Celsius while equating it to 1 will result to Fahrenheit mode. The other two variable will store the temperature reading and humidity.
int tempMode = 0;
int t;
int h;
Inside the void setup, we will initiate the DHT and the LCD. You can also add or remove the serial communication as its only purpose on this project is double checking results in your computer.
void setup() {
  dht.begin();
  lcd.init();
  lcd.backlight();
  lcd.clear();
}
Inside the void loop, we will read the temperature and humidity using the method “readTemperature” and “readHumidity” to our DHT object.
We will pass the temperature mode variable here. Then we will display it on the LCD. Delay should always be 2 seconds or 2000 milliseconds for an accurate reading.
void loop() {
  t = dht.readTemperature(tempMode);
  h = dht.readHumidity();

  lcd.setCursor(0,0);
  lcd.print("TEMP:");
  lcd.setCursor(7,0);
  lcd.print(t);
  lcd.setCursor(9,0);
  lcd.print("*C");


  lcd.setCursor(0,1);
  lcd.print("HUMIDITY:");
  lcd.setCursor(10,1);
  lcd.print(h);
  lcd.setCursor(12, 1);
  lcd.print("%");

  delay(2000);
}
Upload
Now, it’s upload time. To upload your code to the Arduino Uno, attach the USB cord to your computer. Let your computer detect the Arduino Uno.
After that, go to Tools>Board and make sure to select Arduino Uno. Also, make sure to select the COM port that is listed on Tools>Port. The COM Port should say Arduino Uno beside it.
Click the “Upload” button to upload your sketch to the board.
Output
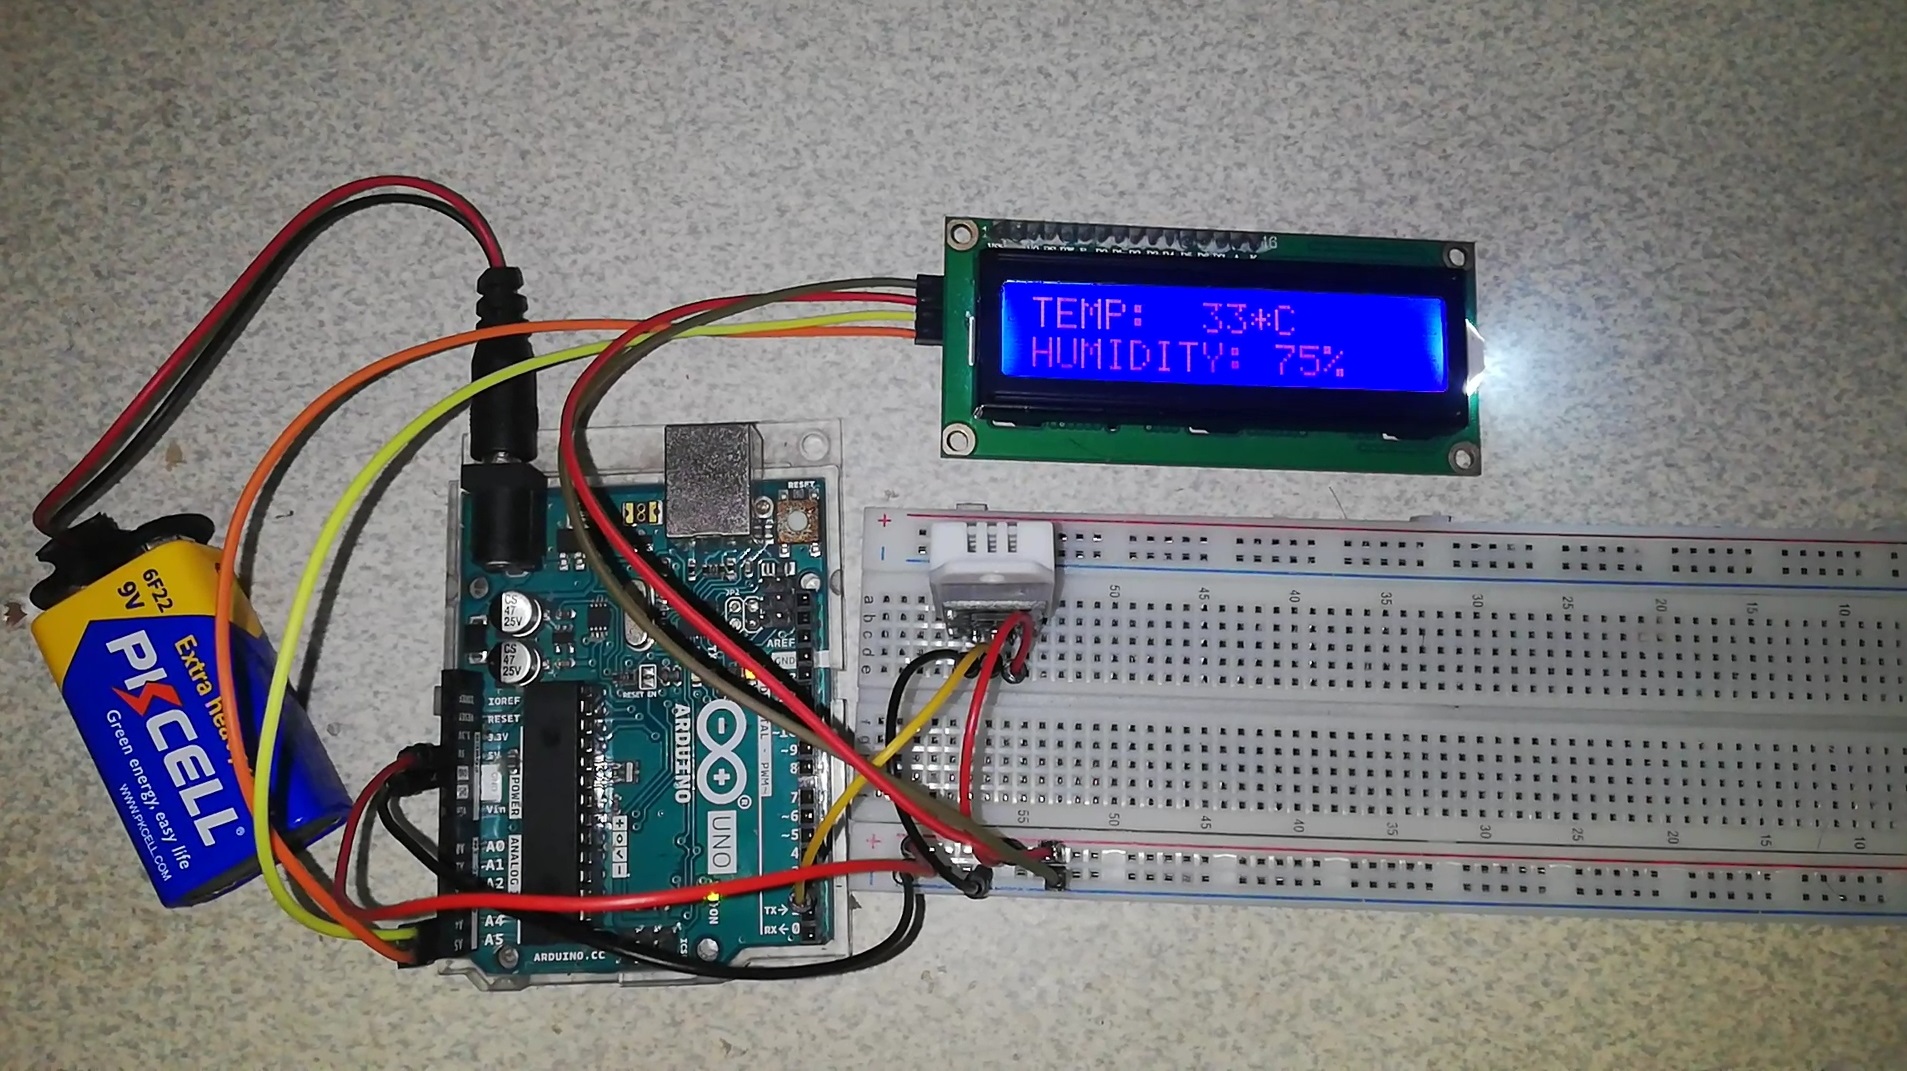
Download
Click the button below to download the source code.
Summary
So there you have it – a Temperature Monitoring System using Arduino. This device is simple to create and can be used in other projects as well. You can always add more sensors to the device, upgrading it to a much-sophisticated device.
Related Articles
Inquiries
Feel free to write your questions about the Temperature Monitoring System at the comments below.