
In this article, I will show you how to interface an ultrasonic sensor in Arduino with Source Code.
This sensor measure distances using sound waves bouncing back to itself. Many projects and devices use this type of sensor.
Using an ultrasonic sensor is cheap and easy. You can buy it online for a very cheap price. Also, an updated library makes it easier to code.
Ultrasonic Sensor in Arduino: Steps in Creating the Device
Here are the steps in creating RFID Door Lock Arduino Project with Data Logging in Python.
- Gathering the Components
The first thing to do is to collect the hardware components for the Arduino device.
Arduino Uno
HC-SR04 Ultrasonic Sensor - Connecting the Components
Connect the components to the Arduino Uno. Please refer to the wiring diagram below.
- Coding the Arduino
Third step is about coding the Arduino device.
- Upload the Sketch
Final step is uploading the sketch to the Arduino.
Ultrasonic Sensor in Arduino: Detailed Explanation
Step 1: Gathering the Components
To start off, this project will have two parts: the Arduino Device and the Program. First thing to do is to collect the hardware components and make the device. To do that, you will be needing the following:
| Quantity | Components |
| 1 | Arduino Uno |
| 1 | Ultrasonic Sensor |
Arduino UNO
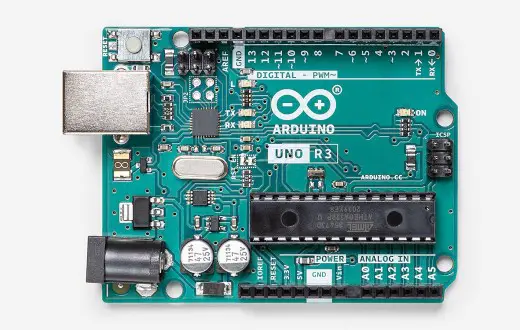
You will be using Arduino Uno for this project. It is an easy to use microprocessor board. Arduino Uno is suitable for any projects and is the cheapest and widely used microprocessor board in the Arduino family. This is great for all kinds of IoT projects.
Ultrasonic Sensor
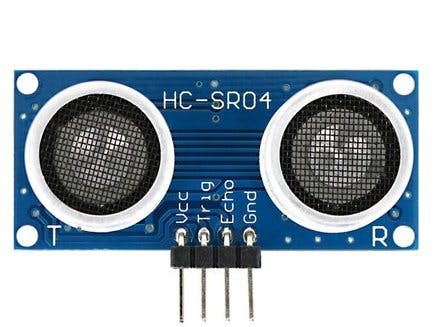
This is an ultrasonic sensor. It has 4 pins – GND, Vcc, TRIG, and ECHO. TRIG pin is the one that transmits ultrasonic pulse though the air. Once those pulses hit a solid object, it will bounce back to the sensor. The ECHO pin will receive this signal as HIGH.
Step 2: Connecting the Arduino Components
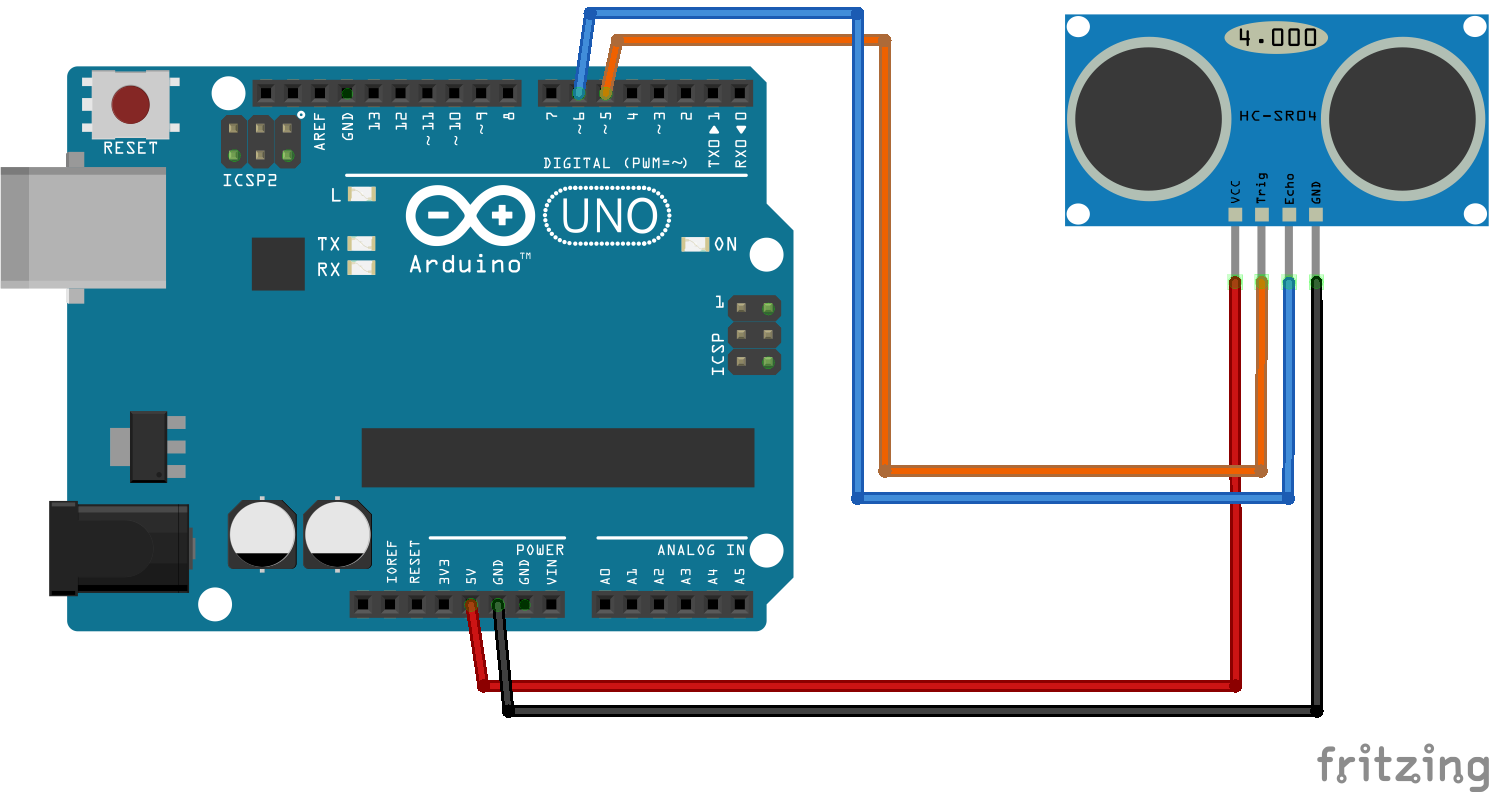
Now you are ready to connect the components to the Arduino Uno. Connect the power and the ground pin to 5V and GND. Next is to connect the TRIG pin to digital pin 5 and ECHO to digital pin 6.
Step 3: The Arduino Code
First thing to do is install the library. There are many libraries out there you can use but Ultrasonic_hc_sr04 works best for this. Download the library and install it using the library manager of the Arduino IDE.
Go to the official guide on installing libraries in Arduino for more info.
//adds the library
#include "Ultrasonic.h"

//declaration where to connect the pins
#define TRIG_PIN 5
#define ECHO_PIN 6

//declaration of baudrate in serial monitor
#define BAUDRATE 115200

//creating an instance of the ultrasonic sensor
Ultrasonic us(TRIG_PIN, ECHO_PIN);

//variable declarations
float dt;
int startTime;

void setup() {
//initialize serial communication
  Serial.begin(BAUDRATE);
  while(!Serial)
    ;

  startTime = millis();
}

void loop() {

//the measure method tells the sensor to pulse and receive the pulses
  us.measure();

  dt = millis() - startTime;
  dt /= 1000;

//converts the values to inch and centimeters with 3 decimal places
  Serial.print(us.get_inch(), 3);
  Serial.println(" in");
  Serial.print(us.get_cm(), 3);
  Serial.println(" cm");

  delay(500);
}
Now upload the sketch to the Arduino.
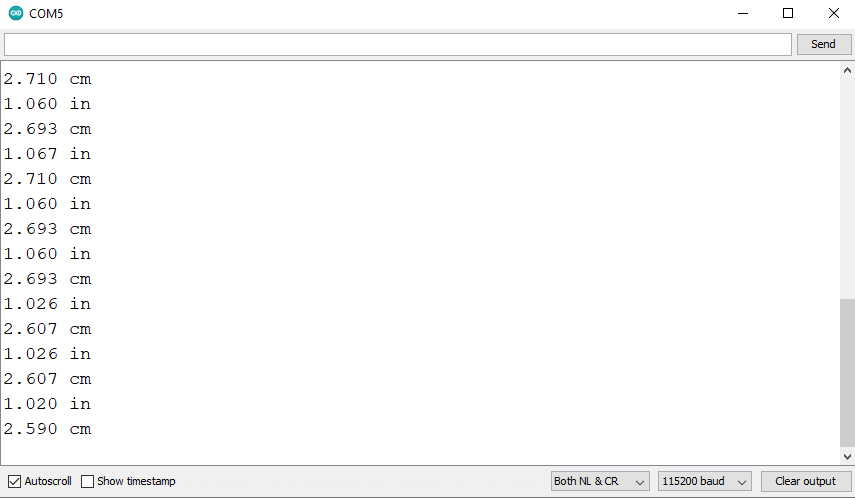
Step 4: Open the Serial Monitor
After you successfully upload the sketch, open the serial monitor of the Arduino. Try to put an object in front of the sensor. It will identify the distance in centimeters or in inches.
Conclusion
So there you have it! Ultrasonic Sensor in Arduino with Source Code. This project is intimidating at first but you will see that it is fairly easy to do. You can combine this to other Arduino projects and build an awesome system!
Download
click the button below to download the sketch.
Related Articles
Inquiries
Feel free to write your questions about this at the comments below.