
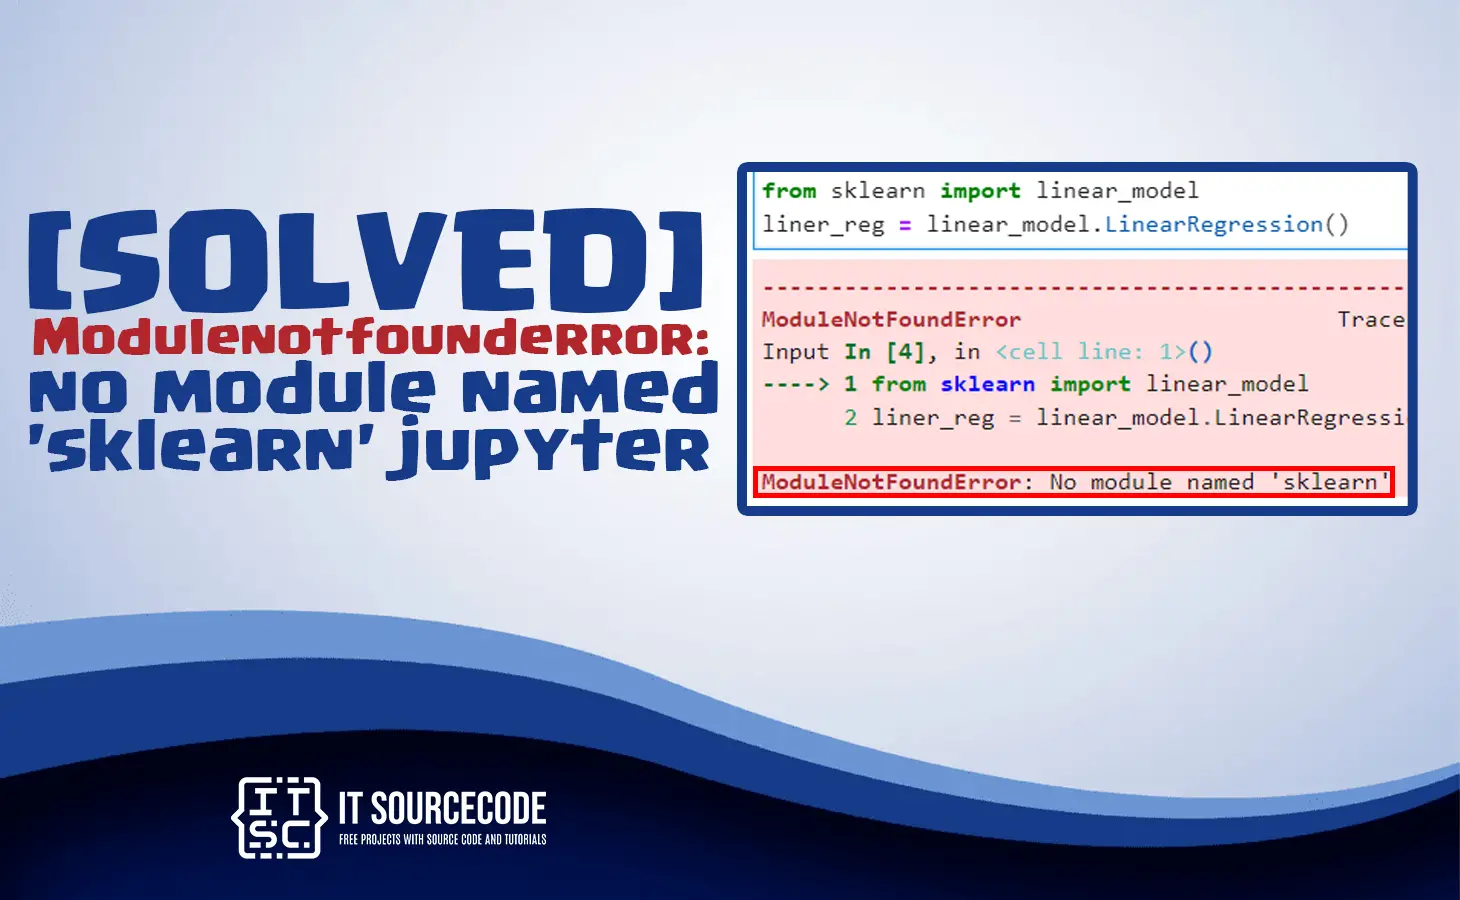
Discover the solution for modulenotfounderror no module named ‘sklearn’ jupyter notebook that is raised while you are running your program.
This error happens when Jupyter cannot find the scikit-learn library, which is required for running the program.
In this article, we will discuss what this error means, possible causes, and how to fix it immediately.
Let’s start to figure out this error no module named ‘sklearn’ in jupyter notebook.
What is the modulenotfounderror no module named ‘sklearn’ jupyter error?
The modulenotfounderror no module named ‘sklearn’ jupyter is an error that developers or programmers were facing.
It occurs when Jupyter cannot find the scikit-learn library that is really needed for machine learning in Python.
In addition to that, this error happens when you are trying to import the scikit-learn library also known as (sklearn).
But it is not installed in your system so that is why Jupyter unable to it.
What are the causes of modulenotfounderror no module named ‘sklearn’ jupyter error?
1. Scikit-learn (sklearn) is not installed
When the scikit-learn library is not installed on your system, yet you are trying to import the required library.
It will throw an error because the Python interpreter won’t be able to find the library.
Jupyter depends on Python libraries to execute code, and if the required library is missing, the program will be interrupted.
2. Incorrect installation
When you install the scikit-learn library and it is not installed correctly or is corrupted.
In some instances, there are conflicting versions of the library that you must check and remove to run the program smoothly.
3. Path Issues
When you did not set the path correctly this error occurred.
The reason is that Jupyter cannot find the scikit-learn library because path is not set up properly.
How to fix modulenotfounderror no module named ‘sklearn’ jupyter error?
Here are the effective solutions for modulenotfounderror no module named ‘sklearn’ in Jupyter.
Just follow the following command until you have successfully fixed the error.
1. Check Installation
You can check if the scikit-learn (sklearn ) library is installed on your system.
By executing the following command in your Jupyter Notebook:
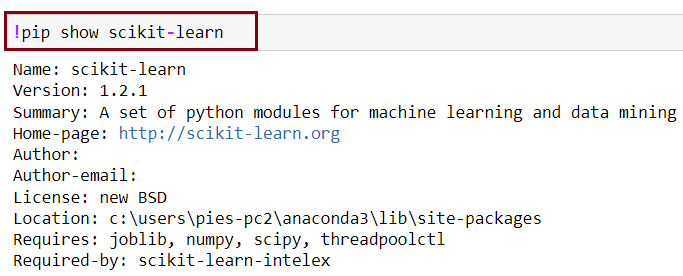
If the scikit-learn (sklearn) library is not installed, proceed to step 2.
2. Install sklearn Library
If the scikit-learn (sklearn) library is not installed, you have to install it to be able to solve the error.
You can use the following command:

or

3. Verify Installation
When the scikit-learn (sklearn) library is installed, you can verify if it is installed correctly.
To do this, use the following command in your Jupyter notebook:
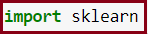
When this command executes without any errors, it means the scikit-learn library is installed correctly.
4. Check sklearn Path
If the error still exists when the scikit-learn library is installed and already verified.
You should check the path because maybe that’s the reason.
You can simply check the path using the following command in your Jupyter Notebook:

This command will display a list of paths where Python looks for libraries.
Ensure that the path where the scikit-learn library is installed is included on this list.
Note: If you still get the modulenotfounderror no module named ‘sklearn’ jupyter error , you should try reinstalling the library.
Conclusion
This article already gives you a set of solutions to resolve the error modulenotfounderror no module named ‘sklearn’ in a Jupyter notebook.
By following the guide that we created, you’ll be able to run your program smoothly without encountering any errors in your Jupyter Notebook.
We also have solutions if you encounter an error like modulenotfounderror: no module named ‘_gdal’.
Thank you very much for reading until the end of this article.
Related Python Tutorials
- Modulenotfounderror No Module Named Torch Solved
- Modulenotfounderror No Module Named Mlxtend Solved
- Modulenotfounderror No Module Named Sqlalchemy Solved
- Modulenotfounderror No Module Named Attrdict Solved
- Modulenotfounderror No Module Named Pyodbc Solved
- Modulenotfounderror No Module Named Pymysql Solved
Root causes of Modulenotfounderror no module named ‘sklearn’ jupyter
- Package not installed. The module you’re importing was never installed in the current environment. Fix: pip install <package-name>.
- Wrong virtual environment active. You installed in one venv but running from a different environment. Verify with which python and which pip.
- Multiple Python versions. pip installs for one Python, but you’re running a different version. Use python -m pip install <package> to force it.
- Typo in module name. Case-sensitive imports. Beautiful_Soup vs beautifulsoup4 vs bs4. Check the actual import name in the package docs.
- Package uninstalled or corrupted. Try pip install –force-reinstall <package> to freshen the install.
Step-by-step debugging
- Verify Python path. import sys; print(sys.executable) shows which Python is running.
- Check installed packages. pip list | grep <package> confirms it’s actually installed.
- Match environment. Confirm the terminal that ran pip install is the same environment your code runs in.
- Reinstall cleanly. pip uninstall <package> then pip install <package>.
- Try python -m install. python -m pip install <package> avoids PATH mismatches.
Working install pattern
# Create fresh environment (recommended for any new project)
python -m venv myenv
source myenv/bin/activate  # Windows: myenv\Scripts\activate

# Install requirements
pip install --upgrade pip
pip install <package-you-need>

# Verify install
pip list | grep <package>
python -c "import <package>; print(<package>.__version__)"
When the error persists
- Check for typos. Module names can differ from PyPI names (opencv-python vs cv2, beautifulsoup4 vs bs4).
- Update Python or downgrade the package. Some packages have version-specific compatibility.
- Restart the interpreter or kernel. Jupyter and IDEs cache import state.
- Check for conda/pip conflicts. If using Anaconda, prefer conda install <package> over pip.
Official documentation
Frequently Asked Questions
What Python version does this tutorial target?
How do I install Python for this tutorial?
Do I need pip and virtual environments?
Can I use this in a Jupyter notebook or Google Colab?
Where can I find more Python practice projects?

Caren Bautista
Technical Writer at PIES IT Solution
Responsible for crafting clear, well-structured, and beginner-friendly content across the platform. Handles the writing, proofreading, and editorial review of tutorials, guides, and documentation to ensure every article is accurate, readable, and easy to follow.
Expertise: Technical Writing · Content Creation · Documentation · Editorial Writing · JavaScript · TypeScript · Python · Python Errors · HTTP Errors · MS Excel
· View all posts by Caren Bautista →