
Enhance your PowerPoint skills by learning how to make a Venn diagram in PowerPoint with this simple guide. Follow the step-by-step instructions for creating one below to help you with your presentation and make it look more engaging.
To start with, let’s enhance our understanding of a Venn diagram.
What is a Venn diagram?
A Venn diagram, also called a set or logic diagram, is a useful tool that illustrates the relationships and connections between different sets of data.
This was introduced by John Venn in 1880 in the Philosophical Magazine and Journal of Science. He called his invention “Eulerian Circles.” The term “Venn diagram” was first used in 1918 by Clarence Irving Lewis in his book. Then, the Venn diagram was further developed in the 20th century.
Now that we know what a Venn diagram is, let’s move on to our tutorial.
How to create a Venn diagram in PowerPoint
Here is a step-by-step guide to creating a Venn diagram in PowerPoint.
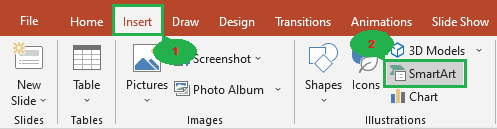
- Click the Insert tab, then SmartArt.
First, click the Insert tab, then select SmartArt in the Illustrations group.
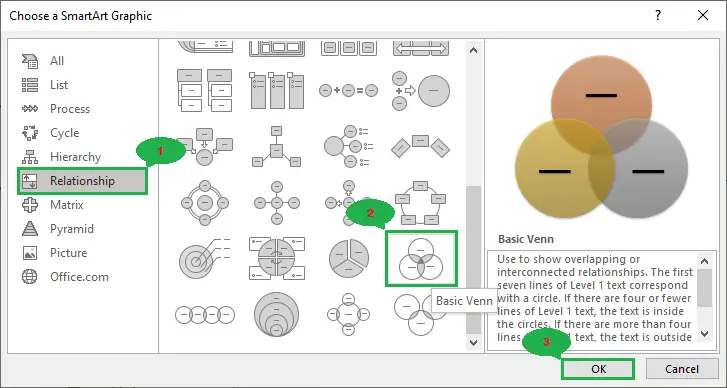
- Select Relationship > Basic Venn, then click OK.
In the Choose a SmartArt Graphic dialog box, select Relationship, then Basic Venn, and click the OK button.
- Result.

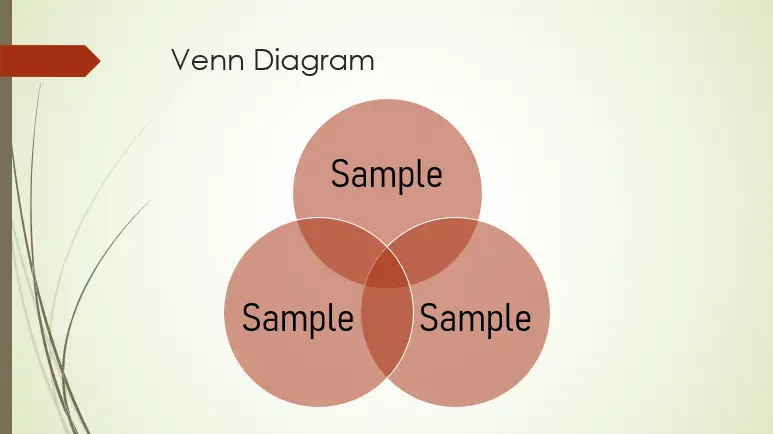
Note: You can remove one of the diagram's circles if you'd like to.Create a Venn diagram manually
The following are the simple steps for creating a Venn diagram in PowerPoint manually.
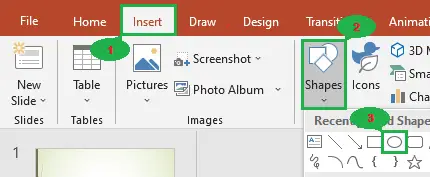
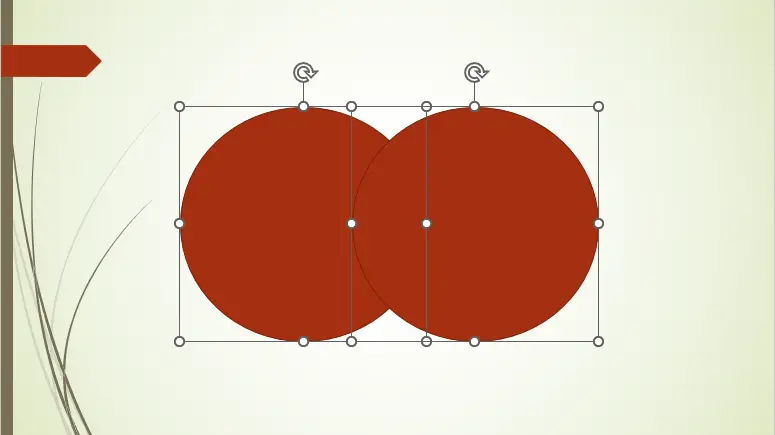
• The first step is to click the Insert tab, select Shapes in the Illustrations group, and then click the oval shape.
• Next, draw a circle using an oval shape. Copy the circle you created, then paste it (add another circle as you please).
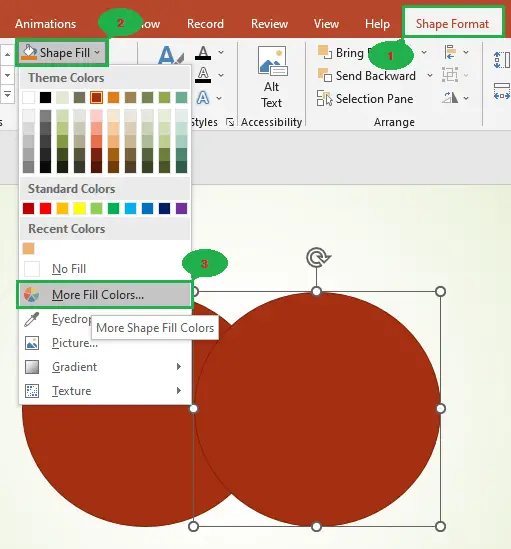
• Then, edit the transparency of the shape.
In editing the transparency of the shape, first click the shape, then the shape format. Next, select the Shape Fill in the Shape Styles, then click More Fill Colors.
• Lastly, after clicking More Fill Colors, adjust the transparency (you can adjust it as you please), then click the OK button.
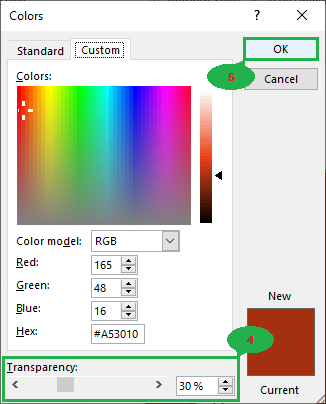
• Do the same with the other circle.

Result
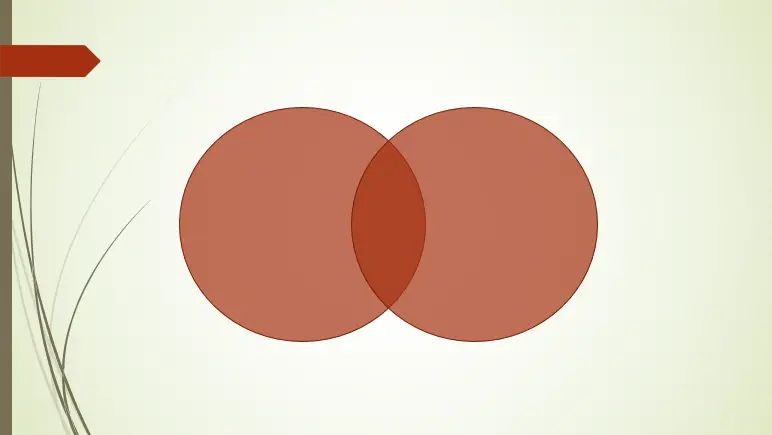
Tip: When adding text to your Venn diagram, go to the Insert tab, then click the textbox button in the text group. Draw a text box, then add text as you desire.Tips for Creating an Effective Venn Diagram in PowerPoint
- Keep the design plain and neat.
- Make sure it is viewer-friendly.
- Use different colors to differentiate your data.
- Label each set of data clearly and concisely.
Formatting
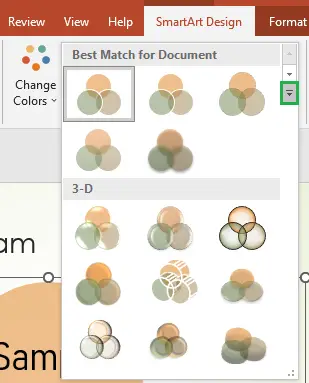
SmartArt Styles. You can change the styles for your diagram by first clicking your diagram, then the SmartArt Design tab.
In the SmartArt Design tab, you’ll see the SmartArt Styles group. There, you can change the style of your diagram and its color.
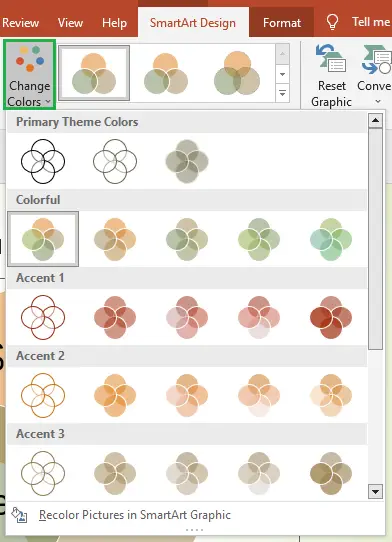
Click the More button to see different styles and choose what you desire. However, click the Change Colors button if you want to change the color of your diagram.
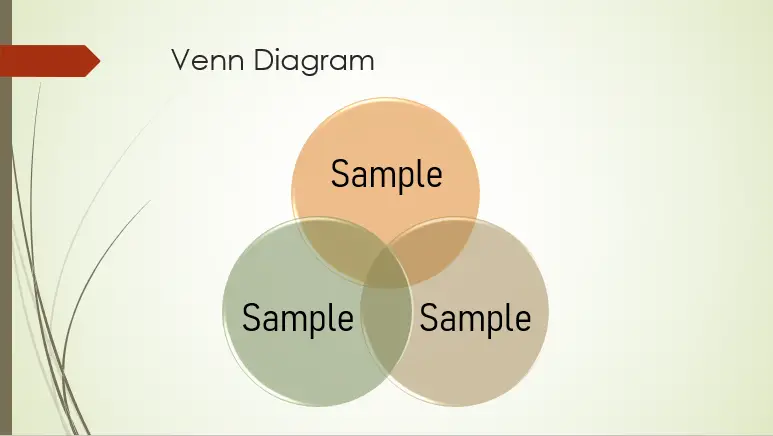
Here’s a sample result after changing the style and color of the diagram:
WordArt Styles. You can change the text styles on your diagram by first clicking your diagram, then the Format tab.
In the Format tab, you’ll see the WordArt Styles group. There, you can change the text style of your diagram, its color, and even its effects.

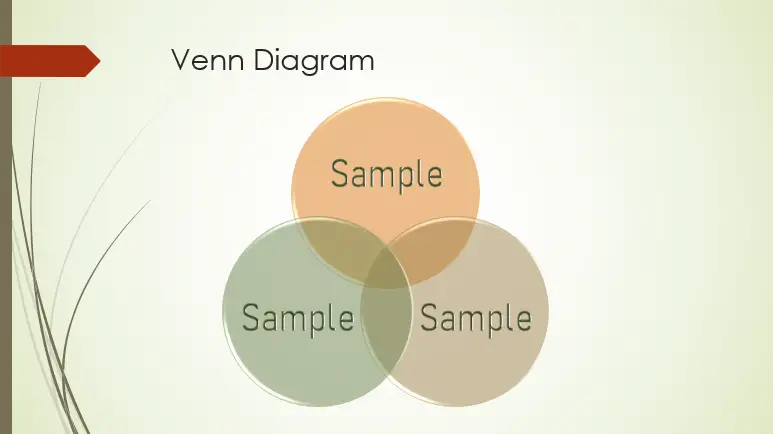
Here’s a sample result after changing the style and color of the text in the diagram:
Conclusion
In conclusion, making or creating a Venn diagram in PowerPoint is easy and quick. Learning how to do it is also an easy thing to do. By following the simple steps in this article, there’s no doubt that you’ll learn it quickly.
I believe that we’ve accomplished this tutorial. I hope you’ve learned something from this. Do not forget to share this with your friends. If you have any questions or suggestions, please leave a comment below, and for more educational content, visit our website.
Thank you for reading!

Elijah Galero
Programmer & Technical Writer at PIES IT Solution
Elijah Galero is a programmer and writer at PIES IT Solution, author of 175+ tutorials at itsourcecode.com. Specializes in Python error debugging (AttributeError, TypeError, ModuleNotFoundError), Python programming tutorials, and Microsoft Excel how-to guides for BSIT students and productivity learners.
Expertise: Python · Python Errors · Python AttributeError · Python TypeError · ModuleNotFoundError · MS Excel · MS PowerPoint · View all posts by Elijah Galero →