
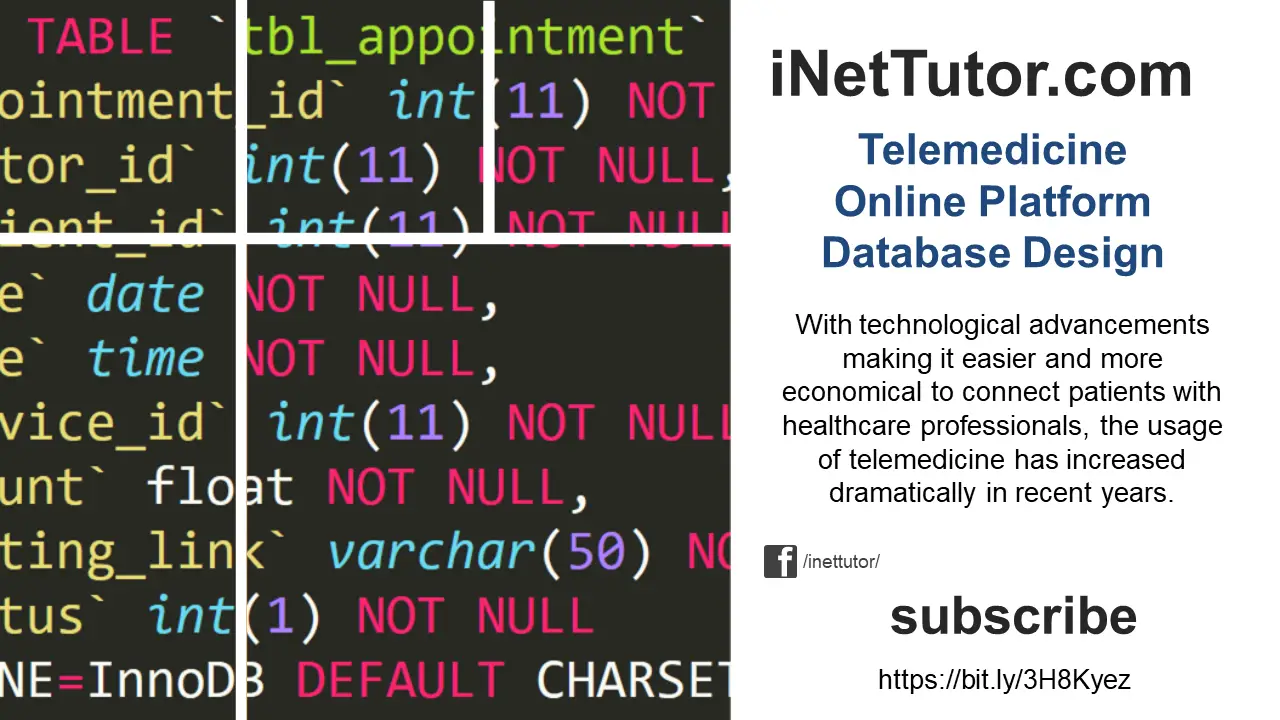
Telemedicine Online Platform Database Design
About the System
As a result of technological advancements, providing healthcare has become more intelligent. The researchers in this project devised yet another innovative method for providing high-quality healthcare to patients.
The capstone project, titled “Telemedicine Online Platform,” is intended to provide patients with remote medical health care via telecommunications.
The healthcare sector has considerably improved as technology continually changes and develops. The availability and accessibility of health care are critical for providing patients with efficient and high-quality care.
However, as the COVID-19 pandemic spread, healthcare became more difficult to obtain. We are unable to participate in outdoor activities or interact with other individuals due to the pandemic.
For those who require quick medical attention and health monitoring, this is a major worry. Several growing technologies go beyond face-to-face encounters with health professionals or doctors as a result of this. However, there is still a clear need for a quick and effective solution.
Database Tables
Let’s start by making the tables and columns. For a thorough tutorial, please watch the video.

tbl_patient – this table will store the information of the patients in the system.
- registration_id- primary key of the table. It is set usually to auto_increment (the database will automatically give this column a value starting from 1).
- full_name – the full name of the patient
- gender – the patient’s gender
- date_of_birth – the patient’s date of birth
- phone_number – the patient’s contact number, can be a cellphone or mobile number
- email – the email address of the patient
- address – the address of the patient
- profile_picture – this will hold the profile photo of the patient
- username- the desired username of the patient for his/her account, also used to login in the system
- password – the desired password of the patient for his/her account.
- account_status – the value of this column is 0 or 1, 0 means deactivated or inactive, 1 is activated or active.
Create SQL Statement – the statement below is used to create the tbl_patient, copy the sql statement and paste it in the sql manager/tab of your phpmyadmin.
CREATE TABLE `tbl_patient` (
`registration_id` int(11) NOT NULL,
`full_name` varchar(100) NOT NULL,
`gender` int(1) NOT NULL,
`date_of_birth` date NOT NULL,
`phone_number` varchar(15) NOT NULL,
`email` varchar(50) NOT NULL,
`address` varchar(200) NOT NULL,
`profile_picture` longblob NOT NULL,
`username` varchar(30) NOT NULL,
`password` text NOT NULL,
`account_status` int(1) NOT NULL
) ENGINE=InnoDB DEFAULT CHARSET=latin1;
tbl_doctor – the doctor’s information will be stored in this table in the system.
- doctor_id – primary key of the table. It is set usually to auto_increment (the database will automatically give this column a value starting from 1).
- full_name – the doctor’s full name
- gender – the gender of the doctor
- qualification – description of the doctor’s qualification
- profile_picture – this will hold the profile photo of the doctor in the system
- email – the email address of the doctor
- contact – the contact details of the doctor, can be a cellphone or mobile number
- clinic_map – the map of the doctor’s clinic
- username – the doctor’s preferred username for his/her account
- password – the doctor’s preferred password combined with the username to log in to the system.
- account_status – the value of this column is 0 or 1, 0 means deactivated or inactive, 1 is activated or active.
Create SQL Statement – the statement below is used to create the tbl_doctor, copy the sql statement and paste it in the sql manager/tab of your phpmyadmin.
CREATE TABLE `tbl_doctor` (
`doctor_id` int(11) NOT NULL,
`full_name` varchar(100) NOT NULL,
`gender` int(1) NOT NULL,
`qualification` varchar(500) NOT NULL,
`profile_picture` longblob NOT NULL,
`email` varchar(50) NOT NULL,
`contact` varchar(15) NOT NULL,
`clinic_map` varchar(100) NOT NULL,
`username` varchar(30) NOT NULL,
`password` text NOT NULL,
`account_status` int(1) NOT NULL
) ENGINE=InnoDB DEFAULT CHARSET=latin1;

tbl_services- this table will store the information of the services offered by the doctors.
- service_id – primary key of the table. It is set usually to auto_increment (the database will automatically give this column a value starting from 1).
- service_name – the name of the service
- amount – the amount to be paid for the service
- doctor_id – this is a foreign key that points out to the doctor who offers the service
Create SQL Statement – the statement below is used to create the tbl_services, copy the sql statement and paste it in the sql manager/tab of your phpmyadmin.
CREATE TABLE `tbl_services` (
`service_id` int(11) NOT NULL,
`service_name` varchar(30) NOT NULL,
`amount` float NOT NULL,
`doctor_id` int(11) NOT NULL
) ENGINE=InnoDB DEFAULT CHARSET=latin1;
tbl_payment_list – the payment’s list will be held in this table.
- payment_id – primary key of the table. It is set usually to auto_increment (the database will automatically give this column a value starting from 1).
- appointment_id – this is a foreign key that points out to the service appointment
- doctor_id- this is a foreign key that points out to the doctor
- patient_id – a foreign key that points out to the patient who will made the payment
- service_id – this a foreign key that points out to the service availed and to be paid
- amount – the amount to be paid
- proof_of_payment – the proof that the payment was made (receipt)
- status – this will determine if the amount was paid or unpaid
- remarks – additional information about the payment’s list
- processed_by – the name of the one who processed the payment list
Create SQL Statement – the statement below is used to create the tbl_payment_list, copy the sql statement and paste it in the sql manager/tab of your phpmyadmin.
CREATE TABLE `tbl_payment_list` (
`payment_id` int(11) NOT NULL,
`appointment_id` int(11) NOT NULL,
`doctor_id` int(11) NOT NULL,
`patient_id` int(11) NOT NULL,
`service_id` int(11) NOT NULL,
`amount` float NOT NULL,
`proof_of_payment` longblob NOT NULL,
`status` int(1) NOT NULL,
`remarks` varchar(100) NOT NULL,
`processed_by` int(11) NOT NULL
) ENGINE=InnoDB DEFAULT CHARSET=latin1;
tbl_appointment – this table will store the information of the patient’s appointment in the system.
- appointment_id – primary key of the table. It is set usually to auto_increment (the database will automatically give this column a value starting from 1).
- doctor_id- this is a foreign key the points out to the doctor
- patient_id – this is a foreign key that points out to the patient
- date – the date of the appointment
- time – the time of the appointment
- service_id – this is a foreign key that points out to the service appointed
- amount – the amount to be paid for the service
- meeting_link – the meeting link to be used
- status – either the appoint was done or not yet
Create SQL Statement – the statement below is used to create the tbl_appointment, copy the sql statement and paste it in the sql manager/tab of your phpmyadmin.
CREATE TABLE `tbl_appointment` (
`appointment_id` int(11) NOT NULL,
`doctor_id` int(11) NOT NULL,
`patient_id` int(11) NOT NULL,
`date` date NOT NULL,
`time` time NOT NULL,
`service_id` int(11) NOT NULL,
`amount` float NOT NULL,
`meeting_link` varchar(50) NOT NULL,
`status` int(1) NOT NULL
) ENGINE=InnoDB DEFAULT CHARSET=latin1;
tbl_user – this table will store the information of personnel who can access the records of the system.
- user_id – primary key of the table. It is set usually to auto_increment (the database will automatically give this column a value starting from 1).
- username – username of the personnel used to login together with the password.
- password – password of the personnel used to login together with the username.
- avatar – this will hold the profile image of the user.
- fullname – the complete name of the personnel or user.
- contact – contact number of the personnel (mobile/cellphone number).
- email – email address of the personnel/user.
- status – the value of this column is 0 or 1, 0 means deactivated or inactive, 1 is activated or active.
Create SQL Statement – the statement below is used to create the tbl_user, copy the sql statement and paste it in the sql manager/tab of your phpmyadmin.
CREATE TABLE `tbl_user` (
`user_id` int(11) NOT NULL,
`username` varchar(30) NOT NULL,
`password` text NOT NULL,
`avatar` longblob NOT NULL,
`fullname` varchar(100) NOT NULL,
`contact` varchar(15) NOT NULL,
`email` varchar(50) NOT NULL,
`status` int(1) NOT NULL
) ENGINE=InnoDB DEFAULT CHARSET=latin1;
Summary
Telemedicine is a broad phrase that refers to a wide range of healthcare treatments that can be provided from a remote location. Diagnostic services, treatment services, care coordination services, and patient education are some of the services that can be provided. With technological advancements making it easier and more economical to connect patients with healthcare professionals, the usage of telemedicine has increased dramatically in recent years.
Patients can contact with healthcare providers using a telemedicine online platform (TP), which is a web-based technology that allows them to receive remote medical treatments from them. TP systems are intended to improve the quality of care provided by physicians and other healthcare providers by offering patients with access to a broader range of health information, resources, and tools than would otherwise be available.
Please watch the video tutorial on how to prepare and create the different tables of the database of our project.
You may visit our Facebook page for more information, inquiries, and comments. Please subscribe also to our YouTube Channel to receive free capstone projects resources and computer programming tutorials.
Hire our team to do the project.
Related Topics and Articles:
Telemedicine Online Platform Free Bootstrap Template
IPO Model Conceptual Framework of Pharmacy Stocks Management System
Doctor Appointment App in Flutter Free Source Code
Medicine Delivery Web App Free Download Template in PHP and Bootstrap
List of 45 Best Nursing and Health Related IT Capstone Project
Official documentation
Frequently asked questions
What is a ER diagram used for in BSIT capstone?
An ER diagram shows the database schema: entities (tables), attributes (columns), and relationships (foreign keys, cardinality). It goes in Chapter 3 alongside the class diagram to communicate the data storage design.
What tool should I use to draw the ER diagram?
Free options: draw.io (browser-based, saves to Google Drive), Lucidchart free tier, PlantUML (text-based, version-controllable), StarUML (30-day trial then reduced feature set), Visual Paradigm Community Edition. Paid options: Microsoft Visio, Lucidchart pro, Enterprise Architect. For BSIT capstones, draw.io is the most commonly used free tool.
How detailed does the ER diagram need to be for capstone defense?
Panel members expect the diagram to match the actual system implementation. Include every major class/use case/entity relevant to the system. Omit trivial helper classes. Every diagram element should have a clear justification. Aim for 1-2 diagrams that fully cover the system, not many partial ones.
Should I use black-and-white or colored diagrams?
Black-and-white is standard for capstone documentation to match the thesis format. Use color only if it improves clarity (e.g., grouping subsystems). Ensure text is readable at printed size (10pt minimum for labels).
Where does this diagram go in the capstone documentation?
Chapter 3 (System Design and Methodology) typically holds all UML diagrams. Introduce each diagram with a 1-paragraph description explaining what it shows and how to read it. Reference specific elements in the surrounding text so panel members can follow the design rationale.

Mary Grace G. Patulada
Programmer & Technical Writer at PIES IT Solution
Mary Grace G. Patulada (pen name ‘Nym’) is a programmer and writer at PIES IT Solution with a BSIT background from Carlos Hilado Memorial State College, Binalbagan Campus. Authored 370+ UML diagram tutorials and capstone documentation guides at itsourcecode.com. Specializes in UML (class, use case, activity, sequence, component, deployment), DFD, and ER diagrams for BSIT capstone projects.
Expertise: UML Diagrams, DFD, ER Diagrams, Use Case Diagrams, Activity Diagrams, Capstone Documentation, PHP · View all posts by Mary Grace G. Patulada →