How to Add Columns and Rows in the Datagridview in C#
 This time, I’m going to teach you how to add columns and rows in the Datagridview programmatically using C#.Net. This is a step by step guide and easy to follow for adding columns and rows in the Datgridview. I will use Microsoft Visual Studio 2008 for my IDE
So, let gets started.
Step 1. Open Microsoft Visual Studio 2008 and Create a new windows form application.
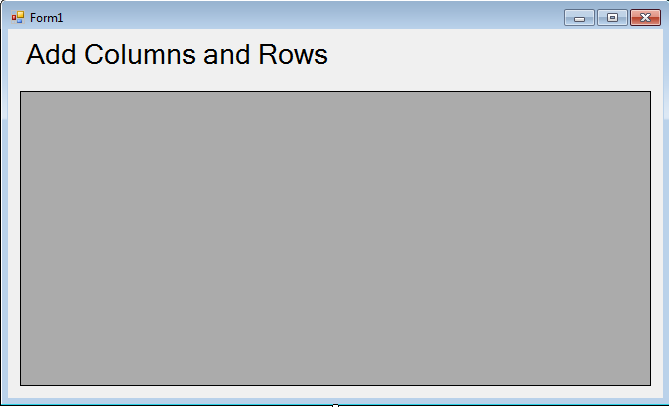
Step 2. Add a Label and a Datagridview in the Form. See the figure1 as follows.
Step 3. Double-click the Form and do the following codes for adding Columns and Rows in the Datagridview.
//Setting up columns to be added.
dataGridView1.ColumnCount = 5;
//Set the columns name
dataGridView1.Columns[0].Name = "ID";
dataGridView1.Columns[1].Name = "Product";
dataGridView1.Columns[2].Name = "Price";
dataGridView1.Columns[3].Name = "Quantity";
dataGridView1.Columns[4].Name = "Sub-Total";
//Set a value to be added in a row
string[] row = new string[] { "1", "Product 1", "500", "2", "1,000" };
//adding row
dataGridView1.Rows.Add(row);
//Set a value to be added in a row
row = new string[] { "2", "Product 2", "1,000", "3", "3,000" };
//adding row
dataGridView1.Rows.Add(row);
//Set a value to be added in a row
row = new string[] { "3", "Product 3", "2,000", "4", "8,000" };
//adding row
dataGridView1.Rows.Add(row);
//Set a value to be added in a row
row = new string[] { "4", "Product 4", "3,000", "5", "15,000" };
//adding row
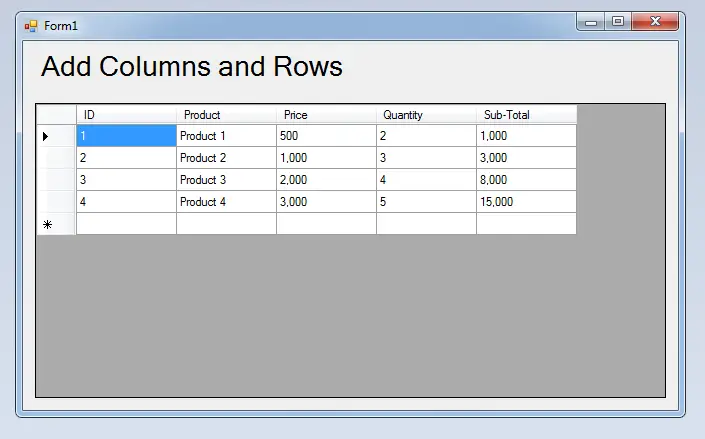
dataGridView1.Rows.Add(row);Output :
| ABOUT PROJECT | PROJECT DETAILS |
|---|---|
| Project Name : | How to Add Columns and Rows in the Datagridview |
| Project Platform : | C# |
| Programming Language Used: | C# Programming Language |
| Developer Name : | itsourcecode.com |
| IDE Tool (Recommended): | Visual Studio 2019 |
| Project Type : | Desktop Application |
| Database: | None |
| Upload Date and Time: | August 5, 2016- 10:21 am |