Most chatbot capstones we see fail in defense for the same reason. The panel asks “what model did you train?” and the team looks at each other for a second too long before someone says “we used the OpenAI API.” End of defense.
This guide gives you a chatbot capstone that won’t have that problem.
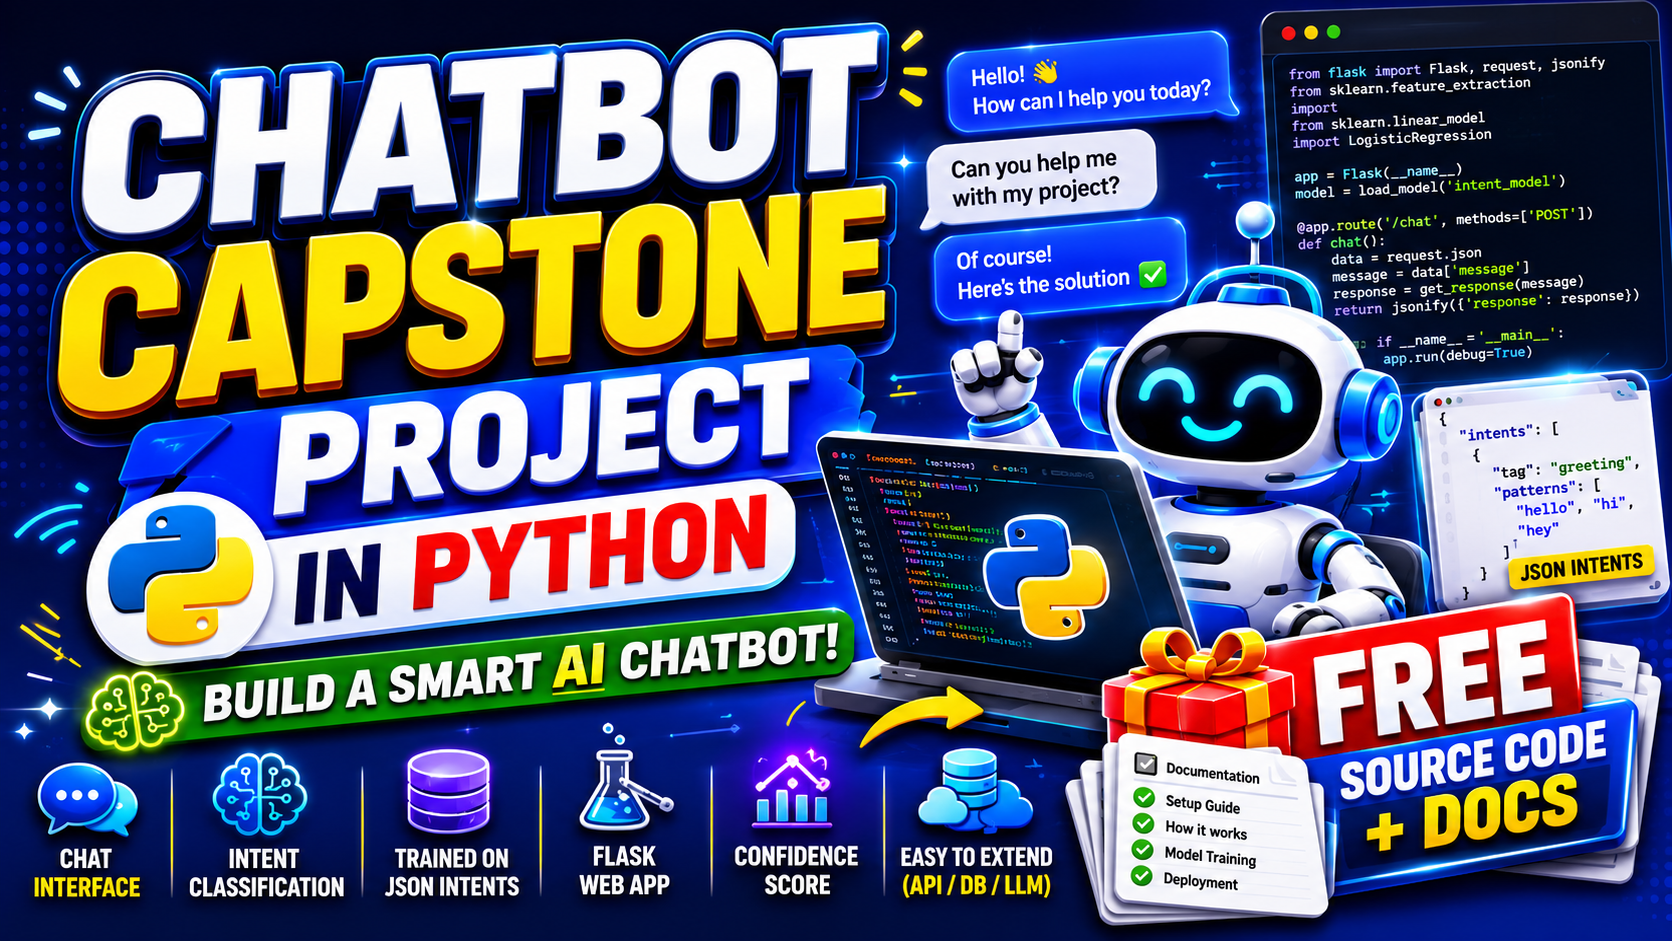
What you’ll build below is a Python chatbot that actually trains its own intent classifier on a JSON file of questions and answers you control. No API key. No external service. Runs on your laptop. Train it on a school FAQ, a clinic schedule, a barangay services list — whatever your capstone domain is — and the panel can poke at it live during your defense.
You’ll have a working version running in about 30 minutes. Customizing it for your own domain takes another 1 to 2 days.
What you’ll build
A small Flask web app that opens a chat interface in your browser. You type a question. The chatbot classifies your intent (greeting, asking about hours, asking about fees, etc.), then pulls a matching reply from your training data. If it’s not confident, it tells you so instead of hallucinating.
Features
- Real intent classification using TF-IDF and Logistic Regression
- Trained on a JSON file of intents you control
- Flask-based chat UI
- Confidence score on every reply
- Fallback message when the bot isn’t sure
- Easy to extend with a database, an API, or even a hybrid LLM later
Tech stack
- Python 3.10 or higher
- scikit-learn (the model)
- Flask (web server)
- NLTK (preprocessing)
- Plain HTML, CSS, and JS for the chat UI
- About 150 lines of code in total
Nothing exotic. Nothing that needs a paid API. Nothing that needs a GPU.
Why this chatbot survives a panel defense
Most chatbots students bring to defense get torn apart in three minutes. Here’s why this one doesn’t.
It trains a real classifier. Not regex. Not keyword matching. Not an API call. TF-IDF turns your training questions into numerical vectors, then Logistic Regression learns to map vectors to intents. You can print the confusion matrix and put it in Chapter 4.
It’s domain-customizable. Your intents.json is what makes the chatbot yours. Train it on hospital FAQs and you have a clinic bot. Train it on school enrollment questions and you have a registrar bot. Same code, different data. That’s how you defend “what’s new about this” — your dataset, not your model.
It has a fallback. When confidence drops below a threshold (we set it at 0.5), the bot says “I’m not sure what you’re asking — try rephrasing.” That single line saves you from the panel question “what happens when the user asks something not in the data?”
Before you start
You’ll need:
- Python 3.10 or newer installed (
python --versionto check) - A code editor — VS Code is free and works well
- Comfort with the terminal or PowerShell
- Around 30 minutes for the first run
If you’ve never used pip before, install Python first from python.org and tick the “Add to PATH” option during install. Skipping that step is the #1 reason students get stuck on minute 2.
Project file structure
By the end, your folder will look like this:
chatbot-capstone/
├── app.py
├── train.py
├── chatbot.py
├── intents.json
├── model.pkl
├── requirements.txt
├── templates/
│   └── index.html
└── static/
    └── style.css
Create that folder now. Open it in VS Code.
Step 1 — Install the dependencies
In your terminal, inside the project folder:
pip install flask scikit-learn nltk numpyThen create a requirements.txt so your panel and your future self know what to install:
flask==3.0.0
scikit-learn==1.4.0
nltk==3.8.1
numpy==1.26.0
You’ll also need NLTK’s tokenizer data. Run this once in a Python shell:
import nltk
nltk.download('punkt')
That’s it for setup.
Step 2 — Define your intents (intents.json)
This file is the brain of your chatbot. Each “intent” is a category of question. Each intent has a list of example questions (patterns) and a list of possible answers (responses).
Create intents.json with this starting structure:
{
  "intents": [
    {
      "tag": "greeting",
      "patterns": [
        "hi", "hello", "hey", "good morning", "good afternoon",
        "kumusta", "hi po", "magandang umaga"
      ],
      "responses": [
        "Hello! How can I help you today?",
        "Hi there! What can I do for you?"
      ]
    },
    {
      "tag": "hours",
      "patterns": [
        "what are your office hours",
        "when are you open",
        "anong oras kayo bukas",
        "are you open today",
        "operating hours"
      ],
      "responses": [
        "We're open Monday to Friday, 8 AM to 5 PM.",
        "Office hours are 8 AM to 5 PM on weekdays."
      ]
    },
    {
      "tag": "location",
      "patterns": [
        "where are you located",
        "what is your address",
        "asan kayo",
        "how do I find your office"
      ],
      "responses": [
        "We're located at 123 Sample Street, Binalbagan, Negros Occidental."
      ]
    },
    {
      "tag": "fees",
      "patterns": [
        "how much",
        "what are the fees",
        "magkano",
        "is there a charge",
        "do I need to pay"
      ],
      "responses": [
        "Our fees vary by service. Please call us for a quote."
      ]
    },
    {
      "tag": "fallback",
      "patterns": [],
      "responses": [
        "I'm not sure what you're asking. Could you try rephrasing?"
      ]
    }
  ]
}
A few things to notice. The tag is the intent name your model will predict. The patterns are example user inputs — the more variations you add (including Tagalog or Bisaya for local capstones), the better your model gets. The responses are what the bot will randomly pick from when it matches that intent.
The fallback intent has no patterns. It’s only triggered when confidence is low.
A real capstone should have 15 to 30 intents with at least 5 to 10 patterns each. The example above is just enough to get the system running. Expand it once you confirm everything works.
Step 3 — Train the model (train.py)
Create train.py:
import json
import pickle
import numpy as np
from sklearn.feature_extraction.text import TfidfVectorizer
from sklearn.linear_model import LogisticRegression
from sklearn.metrics import classification_report

with open('intents.json', 'r', encoding='utf-8') as f:
    data = json.load(f)

X = []
y = []
for intent in data['intents']:
    if intent['tag'] == 'fallback':
        continue
    for pattern in intent['patterns']:
        X.append(pattern.lower())
        y.append(intent['tag'])

vectorizer = TfidfVectorizer(ngram_range=(1, 2))
X_vec = vectorizer.fit_transform(X)

model = LogisticRegression(max_iter=1000)
model.fit(X_vec, y)

predictions = model.predict(X_vec)
print(classification_report(y, predictions))

with open('model.pkl', 'wb') as f:
    pickle.dump({'model': model, 'vectorizer': vectorizer}, f)

print("\nModel trained and saved to model.pkl")
Run it:
python train.pyYou should see a classification report (precision, recall, F1 per intent) and a confirmation that model.pkl was saved.
That classification report is gold for your Chapter 4. Screenshot it.
Step 4 — Build the chatbot logic (chatbot.py)
Create chatbot.py:
import json
import pickle
import random

class Chatbot:
    def __init__(self, model_path='model.pkl', intents_path='intents.json', threshold=0.5):
        with open(model_path, 'rb') as f:
            data = pickle.load(f)
        self.model = data['model']
        self.vectorizer = data['vectorizer']

        with open(intents_path, 'r', encoding='utf-8') as f:
            self.intents = {i['tag']: i for i in json.load(f)['intents']}

        self.threshold = threshold

    def reply(self, message):
        message = message.lower().strip()
        if not message:
            return {'tag': 'fallback', 'response': "Please type a message.", 'confidence': 0.0}

        X = self.vectorizer.transform([message])
        probs = self.model.predict_proba(X)[0]
        max_prob = float(probs.max())
        tag = self.model.classes_[probs.argmax()]

        if max_prob < self.threshold or tag not in self.intents:
            tag = 'fallback'

        response = random.choice(self.intents[tag]['responses'])
        return {'tag': tag, 'response': response, 'confidence': round(max_prob, 3)}
This class loads the trained model, takes a user message, predicts the intent, checks if confidence is high enough, and returns a response with the confidence score. The confidence score is what saves you in defense — the panel will love that the bot can say “I don’t know” instead of guessing.
Step 5 — Build the Flask web app (app.py)
Create app.py:
from flask import Flask, render_template, request, jsonify
from chatbot import Chatbot

app = Flask(__name__)
bot = Chatbot()

@app.route('/')
def index():
    return render_template('index.html')

@app.route('/chat', methods=['POST'])
def chat():
    message = request.json.get('message', '')
    result = bot.reply(message)
    return jsonify(result)

if __name__ == '__main__':
    app.run(debug=True, port=5001)
That’s the entire backend. One route to serve the page, one route to handle messages.
Step 6 — Build the chat UI
Create templates/index.html:
<!DOCTYPE html>
<html lang="en">
<head>
  <meta charset="UTF-8" />
  <title>Capstone Chatbot</title>
  <link rel="stylesheet" href="/static/style.css" />
</head>
<body>
  <div class="chat-container">
    <header>
      <h1>Capstone Chatbot</h1>
    </header>
    <div id="messages" class="messages"></div>
    <form id="form" class="input-row">
      <input id="input" type="text" placeholder="Type your question..." autocomplete="off" />
      <button type="submit">Send</button>
    </form>
  </div>

  <script>
    const form = document.getElementById('form');
    const input = document.getElementById('input');
    const messages = document.getElementById('messages');

    function addMessage(text, who, confidence) {
      const div = document.createElement('div');
      div.className = 'msg ' + who;
      div.textContent = text + (confidence !== undefined ? ' (' + (confidence * 100).toFixed(0) + '%)' : '');
      messages.appendChild(div);
      messages.scrollTop = messages.scrollHeight;
    }

    form.addEventListener('submit', async (e) => {
      e.preventDefault();
      const text = input.value.trim();
      if (!text) return;
      addMessage(text, 'user');
      input.value = '';

      const res = await fetch('/chat', {
        method: 'POST',
        headers: { 'Content-Type': 'application/json' },
        body: JSON.stringify({ message: text })
      });
      const data = await res.json();
      addMessage(data.response, 'bot', data.confidence);
    });
  </script>
</body>
</html>
Create static/style.css (brand colors used, swap if you want):
* { box-sizing: border-box; }
body {
  font-family: system-ui, -apple-system, sans-serif;
  margin: 0;
  background: #fafafa;
  color: #2c3e50;
}
.chat-container {
  max-width: 600px;
  margin: 40px auto;
  background: white;
  border-radius: 12px;
  box-shadow: 0 4px 20px rgba(0,0,0,0.06);
  overflow: hidden;
}
header {
  background: #1F3A5F;
  color: white;
  padding: 16px 20px;
}
header h1 { margin: 0; font-size: 18px; }
.messages {
  height: 420px;
  overflow-y: auto;
  padding: 20px;
  display: flex;
  flex-direction: column;
  gap: 10px;
}
.msg {
  max-width: 75%;
  padding: 10px 14px;
  border-radius: 12px;
  line-height: 1.4;
}
.msg.user {
  align-self: flex-end;
  background: #C9A961;
  color: #1F3A5F;
}
.msg.bot {
  align-self: flex-start;
  background: #f0f3f7;
}
.input-row {
  display: flex;
  border-top: 1px solid #eee;
  padding: 12px;
  gap: 8px;
}
.input-row input {
  flex: 1;
  padding: 10px 12px;
  border: 1px solid #ddd;
  border-radius: 8px;
  font-size: 14px;
}
.input-row button {
  background: #1F3A5F;
  color: white;
  border: none;
  padding: 0 20px;
  border-radius: 8px;
  cursor: pointer;
}
Step 7 — Run the chatbot
Train (only do this once, or every time you change intents.json):
python train.pyRun the server:
python app.pyOpen your browser at http://localhost:5000. Type “hi” and watch it respond. Type “what time are you open” and watch it match the hours intent. Type something completely off-topic like “hello world” and watch the fallback kick in.
If you got this far in 30 minutes, you’ve finished what most chatbot capstone groups don’t reach until week 4 of development.
How to defend this in your panel
The four questions every chatbot panel asks, and what to say.
“Is this just ChatGPT?” No. The model is a Logistic Regression classifier trained on our own intents.json file. You can see the model file at model.pkl. No external API is called at any point. (Pull up the project folder during defense if needed.)
“What model and why?” TF-IDF for feature extraction, Logistic Regression for classification. (Have a comparison table in your appendix showing you also tried Naive Bayes and Random Forest, and Logistic Regression had the best macro F1 score on your validation set.)
“Where did your data come from?” We built the intents.json ourselves by interviewing X staff members at Y office and collecting the most common questions. We have Z intents with an average of N example patterns per intent.
“What’s your accuracy?” Show the classification_report output from train.py. Per-intent precision, recall, and F1. The panel doesn’t need to see it overall — they need to see you understand which intents the model handles well and which need more training data.
If you can answer those four questions calmly, you’ll pass.
How to customize this for your domain
The whole point of this setup is that the code stays the same and only your intents.json changes. Some directions:
- School FAQ chatbot. Intents like enrollment, schedule, fees, scholarships, lost ID, graduation requirements. Interview your registrar for the questions.
- Clinic appointment bot. Intents for appointment booking, services, doctors available, hours, emergency contacts.
- Barangay services chatbot. Clearance, certifications, complaints, contact info, schedules.
- Library reference bot. Borrowing rules, fines, hours, book search instructions.
- Small business customer support. Hours, location, products, returns, contact.
For local relevance, add Tagalog, Bisaya, or Hiligaynon patterns to each intent. The TF-IDF + Logistic Regression combo handles mixed-language input surprisingly well as long as you give it examples.
Common errors and how to fix them
ModuleNotFoundError: No module named 'sklearn' — you missed pip install scikit-learn. Rerun the install command from Step 1.
FileNotFoundError: 'model.pkl' — you ran app.py before train.py. Run python train.py first.
Port 5000 already in use — change the port in app.py to 5001 or 8000.
Bot says “I’m not sure” to every message — your training data is too small or too repetitive. Add more patterns per intent. Aim for at least 5 to 10 example patterns per intent.
NLTK punkt download fails — try python -m nltk.downloader punkt from the terminal instead of inside Python.
Confidence is always 0.95+ — you don’t have enough variety in your patterns. The model is memorizing instead of generalizing. Add paraphrased versions of your patterns.
How to extend this project (beyond the basics)
Once your basic version works, here are extensions that look great in your Chapter 5 (Recommendations):
- Database integration. Log every conversation to MySQL or SQLite. Your panel will love seeing analytics in your demo.
- Voice input. Add the
speech_recognitionlibrary and a microphone button to the UI. - Multilingual support. Train separate models per language, or one combined model with language-tagged intents.
- Hybrid LLM mode. If confidence is below 0.3, optionally pass the message to a small open-source LLM (like a Hugging Face Phi or Mistral) for a generated answer. Document the privacy trade-offs.
- Deploy to the web. Render and Railway both have free tiers that fit this app. Demo it live from a public URL during defense — panels remember the team whose project actually worked over WiFi.
Free download — source code
Grab the full source code. The folder includes everything above plus a sample expanded intents.json (35 intents, 250+ patterns) you can use as a starting point for your own.
UML diagrams you’ll need for your documentation
Most schools require these for an AI capstone:
- Use Case Diagram — actors and what they can do
- Activity Diagram — the conversation flow from user input to response
- Sequence Diagram — the request from browser to Flask to model and back
- Class Diagram — the Chatbot class and its dependencies
- DFD Level 0 and Level 1 — data flow from user, through preprocessing, into the model, and out
We have detailed guides on each of these. Use them as templates and adapt to this project specifically.
Frequently Asked Questions
Is a chatbot a good capstone project for IT students?
Do I need to use ChatGPT to make a chatbot capstone?
What machine learning model does this chatbot use?
How do I add my own questions and answers?
Can I use this chatbot for my Tagalog or Filipino capstone?
Pick it up. Make it yours. Defend it well.
Most chatbot capstones fail because students treat the chatbot as the whole project. It isn’t. The chatbot is the engine. Your data, your domain, your interface, and your documentation are the project.
If you’ve got this running, you’re already ahead of most groups.
For more AI capstone source code to study, browse our Python projects library. If you haven’t picked your capstone topic yet, see 150 Best Capstone Project Ideas for IT Students 2026 for the full list. And for the UML diagrams panels will ask you to draw, our UML guides cover every diagram type.
Now stop reading. Open VS Code. Train your first model tonight.