HOW TO SEND A GROUP EMAIL IN GMAIIL – In this article, we will explore a series of step-by-step guides designed to enhance your Gmail and Google Contacts experience.
These instructions cover essential tasks, such as creating email labels, composing mass emails, and managing contact groups, making your email communication more organized and efficient.
How to Send a Group Email in Gmail? A Step-by-Step Guide
An Email group in Gmail is a feature that lets you send emails to multiple recipients at once using a single group email address.
The importance and benefits of email groups include streamlined communication, time-saving, error reduction, easy updates, privacy, and personalized messaging.
They are useful for organizing contacts, event planning, marketing, team collaboration, and more. Creating an email group in Gmail is simple, and it’s a valuable tool for efficient email communication.
How to create a group in Gmail to send Email?
Step 1: Sign in to your Gmail account and select the Google Apps icon.
From the ensuing dropdown list, opt for the Contacts option.
This dropdown menu includes various apps like Google Calendar and Google Docs that come with your Google or Google Workspace (formerly G Suite) account. Alternatively, you can establish Contact groups by visiting your Google Contacts page.
For those creating Gmail contact groups via the Gmail app on Android or iPhone, access the Contacts option in the app’s sidebar to create contact groups.

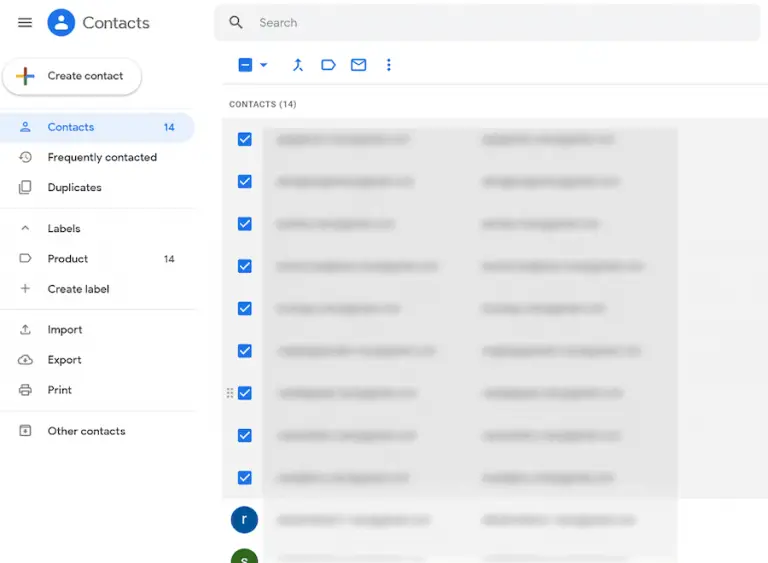
Step 2: Examine your Gmail contact list displayed on your screen. To compile your group email Gmail list, choose multiple contacts you wish to include in your new group by ticking the checkbox on the left side of each contact.
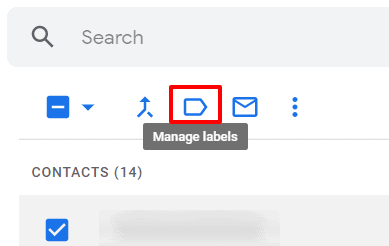
Step 3: Next, click on the Gmail labels icon to generate a Gmail group containing the selected email addresses.
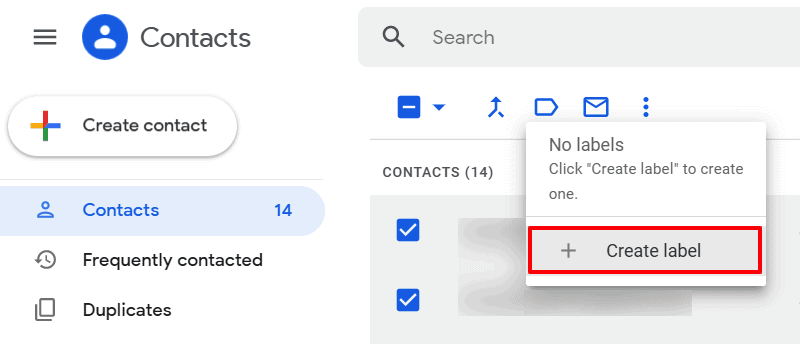
Step 4: In the ensuing drop-down menu, click on the “Create label” option to assign a name to your Gmail distribution list through a new label.
Step 5: In the pop-up window for creating a label, tailor the contact group label to your preferences. Once you’ve designated a name for your new label in the dialogue box, press “Save” to craft a Gmail group.

If you intend to construct a new label or group for your mass emails using another set of Gmail contacts, you can repeat this process. However, ensure that when utilizing the “Create label” button, you establish a new label for the distribution group to avoid confusion with your other groups.

How to Send a Group Email in Gmail?
Step 1: Launch Gmail and select the “Compose” button located above the left sidebar (as shown by the arrow in the screenshot below).

Step 2: Enter the group name into the To, CC, or BCC field of the new message.

Note: Upon pressing the enter key after inputting the group’s name, you will be able to view the individual email addresses of each group member.
Step 3: Craft your subject and the content of your new email message. Finally, click “Send” to dispatch the mass email.
How to Add Contacts to a Gmail Group
Step 1: Start by visiting the Google Contacts page and selecting the contacts from your Gmail contact list that you want to add to an existing group.

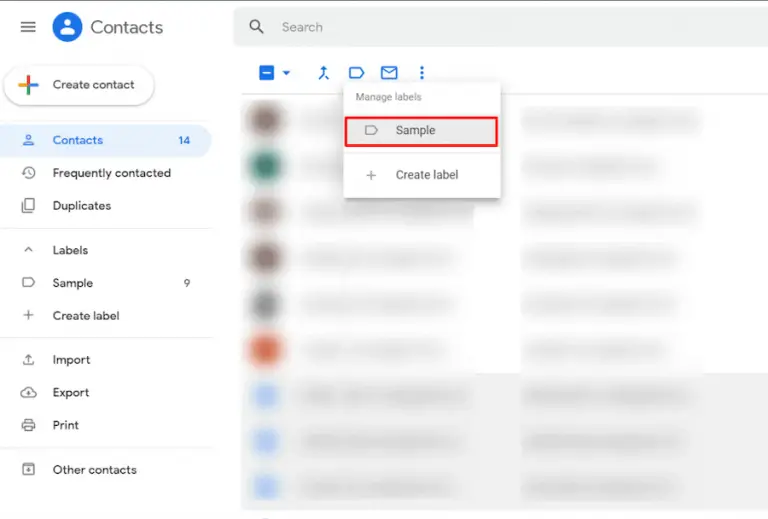
Step 2: Next, go to the “Manage labels” drop-down menu and select the pre-existing group to which you intend to assign the new contact.
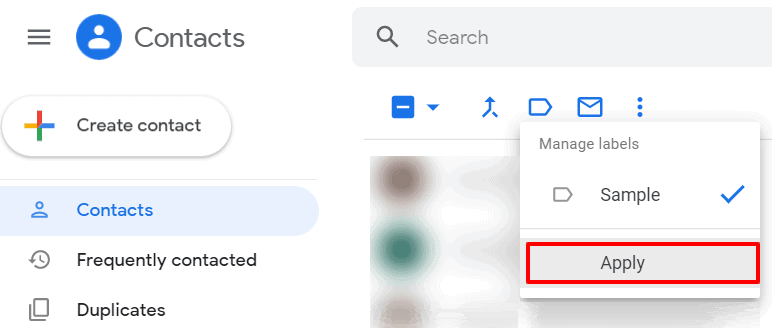
Step 3: Finally, click on “Apply” in the displayed drop-down menu.
How to Delete Contacts from a Gmail Group
Step 1: Begin by accessing your Google Contacts page and open the “Contacts” option (or “My Contacts” for users with older Gmail versions) from the sidebar. Then, choose the contacts you wish to eliminate from your email group.
Step 2: Click on the label icon, and in the displayed “Manage labels” drop-down menu, pick the name of the label (which corresponds to the group) from which you want to remove the contacts receiving mass emails.
This is where it can get a bit complex. While adding a new contact to a group, you initially had to mark the desired Gmail labels. However, the procedure reverses when removing contacts from the group’s email list.
After selecting the contacts, you’ll have to deselect the label linked to the group you wish to remove them from in the “Manage labels” menu.
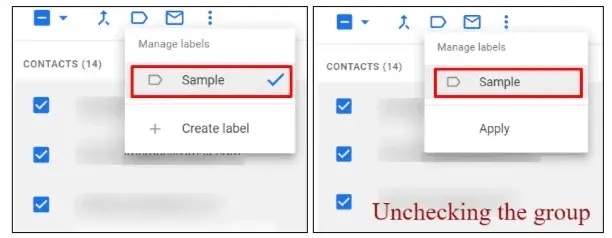
Step 3: Select “Apply” from the dropdown menu. Your selected contacts will be swiftly taken out of that email group.

Conclusion
In summary, the provided steps offer concise instructions for essential tasks within Gmail and Google Contacts:
In the first set of steps, you learn how to create a new email label in the Gmail mobile app, making it easier to manage and add contacts to the label for streamlined communication.
The second set of steps demonstrates how to compose a mass email in Gmail, with a focus on addressing it to a group by entering the group name and accessing individual email addresses when necessary.
Lastly, the final set of steps guides you in the process of removing contacts from an email group in Google Contacts, emphasizing the reversal of the labeling process to efficiently manage your contact lists.