This tutorial entitled “Save Data to MySQL in Java using Netbeans” will help you to understand on how you can create a program that can save data to MySQL database using Java.
Before we start, be sure that you understand on how to create a MySQL schema, entity, and attribute.
Create a new schema and entity and named it what you want. Create the following attribute in your entity. Add FirstName, LastName, Address, Contact, and Email in your entity/table.
The data types must set to “VarChar” so that it can accept multiple types of user input. This program uses jToolbar, jLabel, jPanel, jTextField, and jButton to create the UI of the program.
Save Data to MySQL using Java Steps
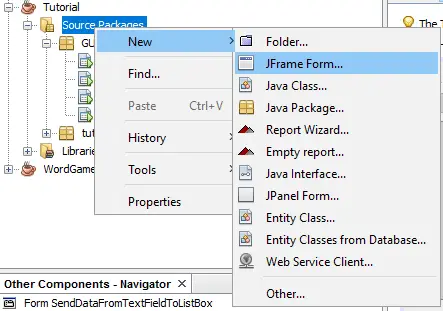
- Create/Add a new JFrame form.
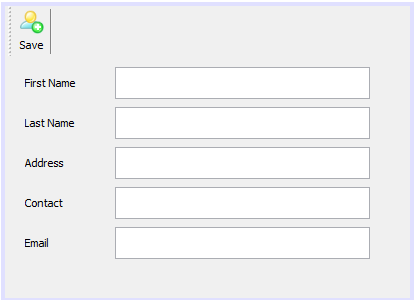
2. Design your JFrame just look like the image below. Just download the icon from the internet for save button. Be sure to rename the entire element added in your form.
3. Double click your button and add the following codes below. Our codes uses try catch exception and jOptionPane for user notification.
[java]try{
String str="INSERT INTO userinfo "
+ "(FirstName,LastName,Address,Contact,Email) "
+ "VALUES(?,?,?,?,?)";
pst=conn.prepareStatement(str);
pst.setString(1, jTextField1.getText());
pst.setString(2, jTextField2.getText());
pst.setString(3, jTextField3.getText());
pst.setString(4, jTextField4.getText());
pst.setString(5, jTextField5.getText());
pst.execute();
JOptionPane.showMessageDialog(null,"Successfully Save!");
}
catch (HeadlessException | SQLException e){
JOptionPane.showMessageDialog(this, e.getMessage());
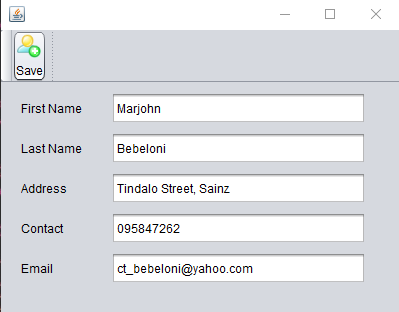
}[/java]4. Run your program and the output should look like the image below.

5. After hitting the button, a dialog box appears saying that the data is added into database.

About The LSave Data to MySQL In Java
<figure class="wp-block-table is-style-stripes">
<table>
<tbody>
<tr>
<td><strong>Project Name:</strong></td>
<td>Save Data to MySQL</td>
</tr>
<tr>
<td><strong>Language/s Used:</strong></td>
<td>JAVA</td>
</tr>
<tr>
<td><strong>Database:</strong></td>
<td>MySQL</td>
</tr>
<tr>
<td><strong>Type:</strong></td>
<td>Desktop Application</td>
</tr>
<tr>
<td><strong>Developer:</strong></td>
<td>IT SOURCECODE</td>
</tr>
<tr>
<td><strong>Updates:</strong></td>
<td>0</td>
</tr>
</tbody>
</table><figcaption><em><strong>Save Data to MySQL In Java</strong>– Project Information</em></figcaption></figure>
Related Articles You May Like: