
This tutorial is all about Progress Bar in WebBrowser Using VB.Net. In this tutorial you will learn about Progress Bar in WebBrowser Using VB.Net. So let’s get started:
This tutorial is a continuation of How to Make a Web Browser using VB.Net
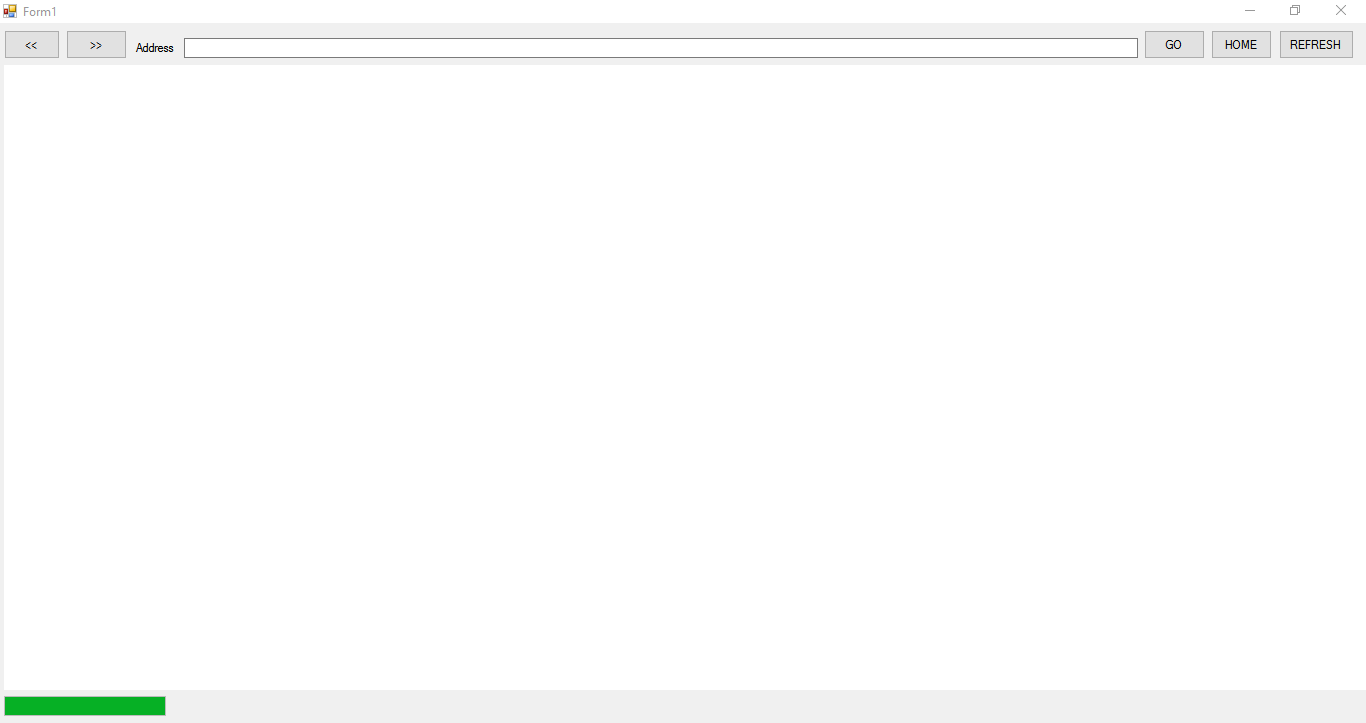
- So let’s design our form like this one just like what I’ve shown you below.
Add a Progress bar from the Toolbox.

- Change the Anchor property of the Progress bar to Bottom, Left. To do that, right click on the progress bar and go to properties. Scroll down to Anchor, and change to Bottom, Left.
- Then Right click on the web browser and click on properties. Click on the lightning icon in the properties window.
- Scroll down to Navigating. Double click on the empty Textbox and Add this code inside the navigating event
[vbnet]
Private Sub WebBrowser1_Navigating(ByVal sender As System.Object, ByVal e As System.Windows.Forms.WebBrowserNavigatingEventArgs) Handles WebBrowser1.Navigating
ProgressBar1.Visible = True
With ProgressBar1
.Minimum = 0
.Maximum = 50
.Step = 5
End With
For index As Integer = 0 To 50 Step 5
ProgressBar1.Value = index
System.Threading.Thread.Sleep(35)
Next
End Sub
[/vbnet]
<li>Right click on the web browser again and go to properties. Scroll down to DocumnetCompleted. Double click on the empty text box next to it. Add this code inside the Document Completed Event.<br></li>[vbnet]
Private Sub WebBrowser1_DocumentCompleted(ByVal sender As System.Object, ByVal e As System.Windows.Forms.WebBrowserDocumentCompletedEventArgs) Handles WebBrowser1.DocumentCompleted
ProgressBar1.Visible = False
End Sub
[/vbnet]<li>Finally Click F5 to run</li>Output
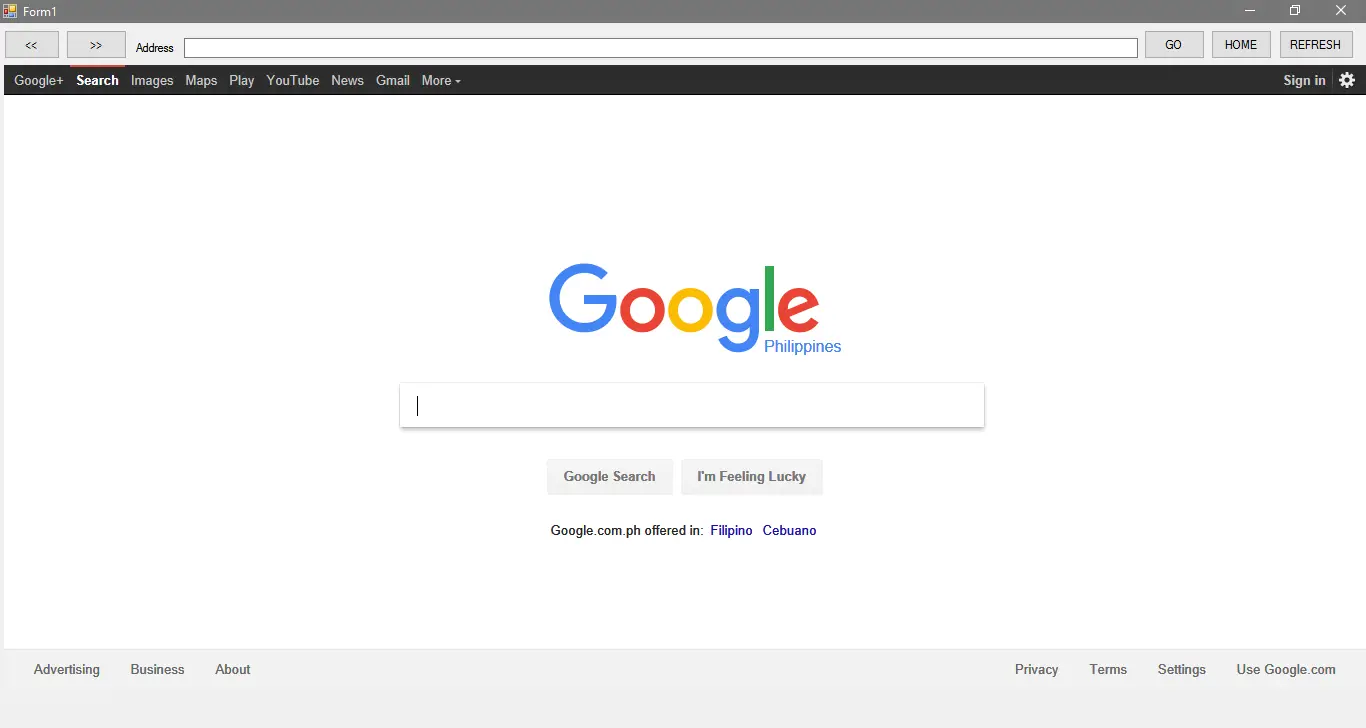
If you have any comments or suggestions about on Progress Bar in WebBrowser Using VB.Net, please feel free to contact our webpage.
Download Progress Bar in WebBrowser Using VB.Net Here
Other Articles Readers might read:
- Connecting Java to MySQL Database Java Tutotial
- Replace Character Using PHP for Creating Own Smiley Code
- Changing UI Application using Look and Feel in Java Tutorial
- Counting Links using Web Page in VB.Net
- How to Search items in Listbox Using VB.Net