
In this tutorial, we learn to modify rows and columns in excel, as well as its worksheets and cells. We will know how to add delete move and select it.
As we can see in the start screen of Microsoft Excel it displays data in a tabular format. Obviously, it indicates information that is in a table consisting of rows and columns.
These are the properties that make the table together and also the most important features in excel to manipulate and store data.
So, let us discuss their definition and how it works in the manipulation of data in excel.
What is a column in Excel?
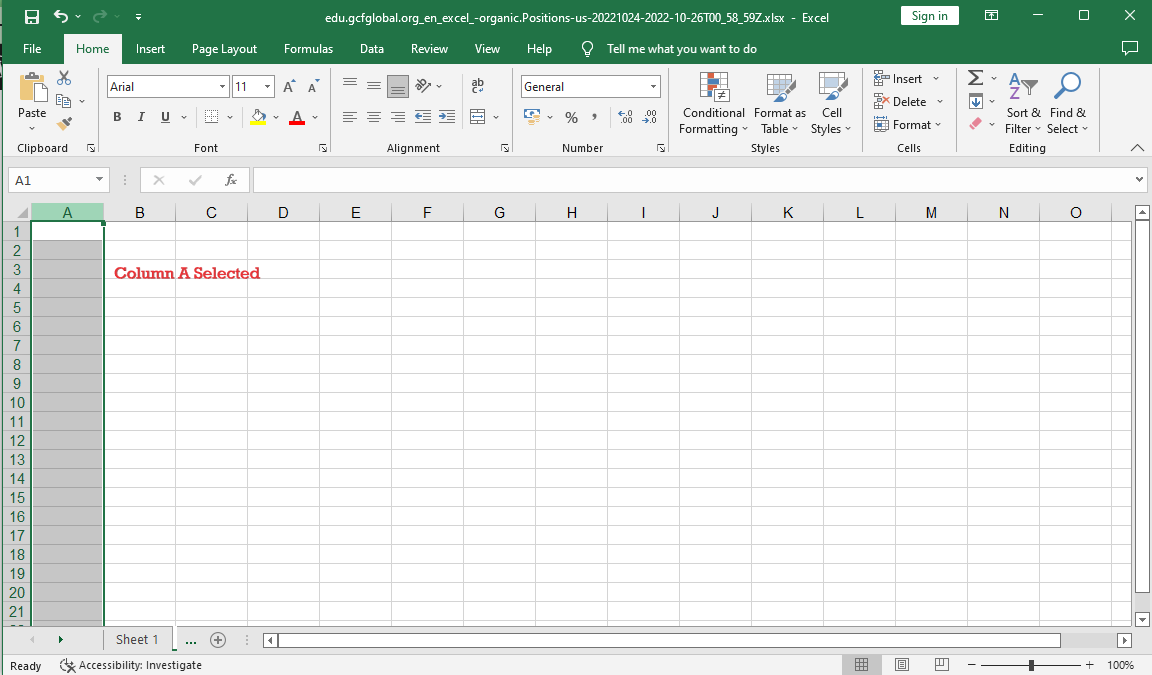
Columns in excel could be identified by a unique alphabetical order header letter at the of the worksheet. Additionally, it ranges from A-XFD which excel have 16, 384 columns in total, and its first column begin in Column A.
Specifically, it runs vertically from the worksheet where the data goes down from up.
Below is the example where you see the whole column A is selected by pressing or clicking the letter at the top.
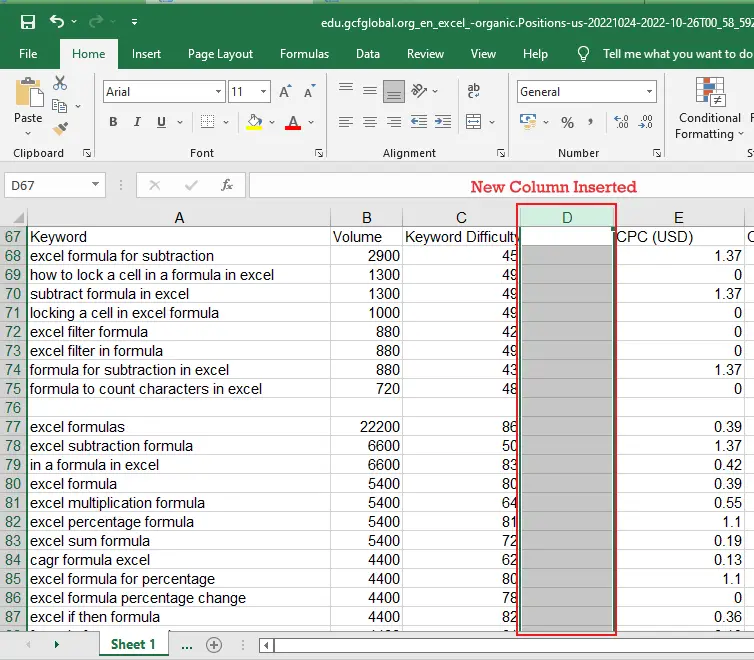
Insert Column in Excel
- Select the column heading to the right of where you want the new column to appear. For example, if you want to insert a column between columns C and D, select column D.

- Click the Insert command on the Home tab.

- The new column will appear to the left of the selected column.

- When inserting rows and columns, make sure to select the entire row or column by clicking the heading. If you select only a cell in the row or column, the Insert command will only insert a new cell.


What is a row in Excel?
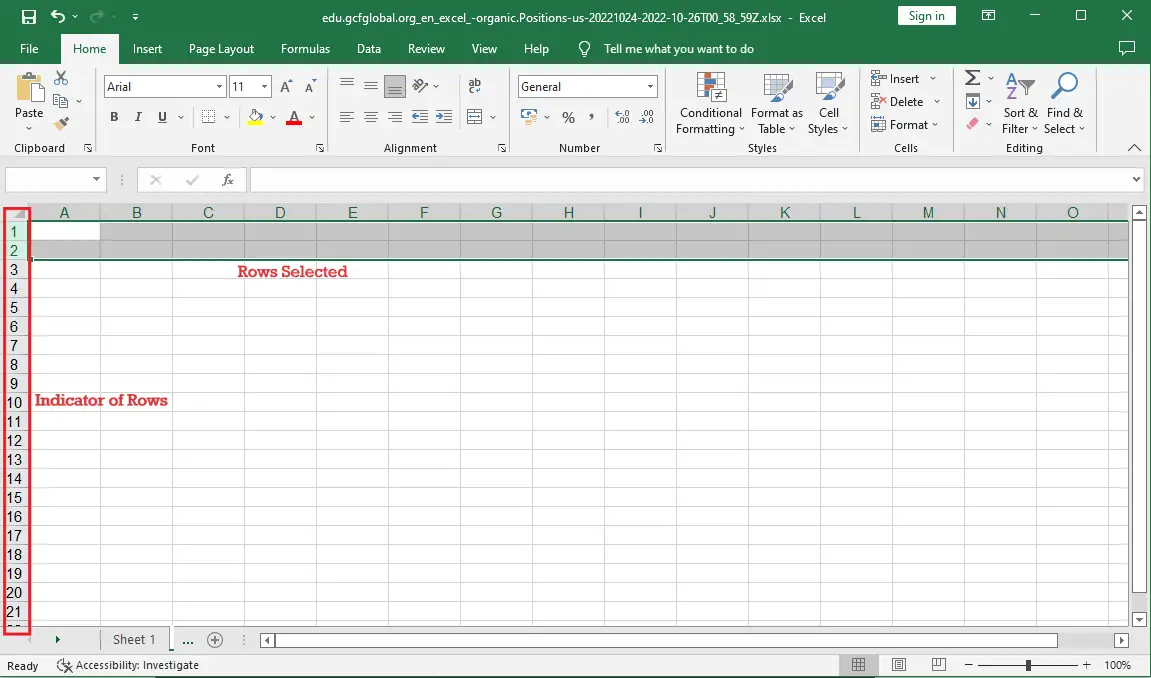
The excel row is indicated on the side of the worksheet and could be identified by its numeric value. Hence the rows are placed vertically which ranges from 1-1,048,576 which has a total of 1,048,576 rows. Apparently, rows are placed horizontally on the worksheet and input data went across from left to right.
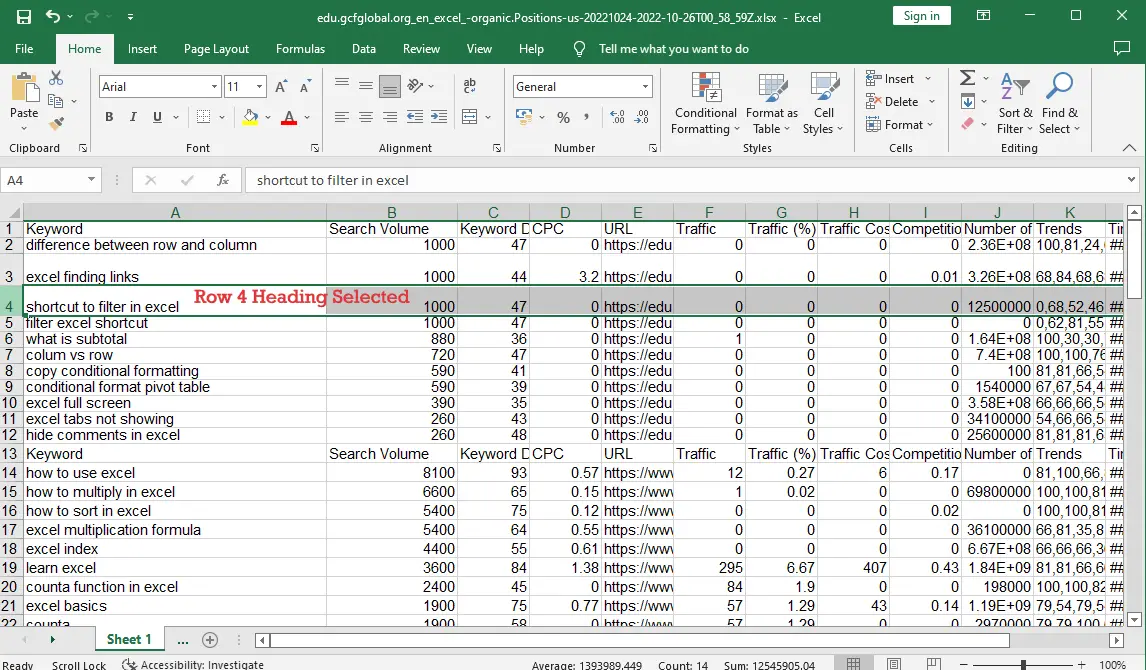
Insert Row in Excel
This time will give you an example and instructions on how to insert rows in Excel.
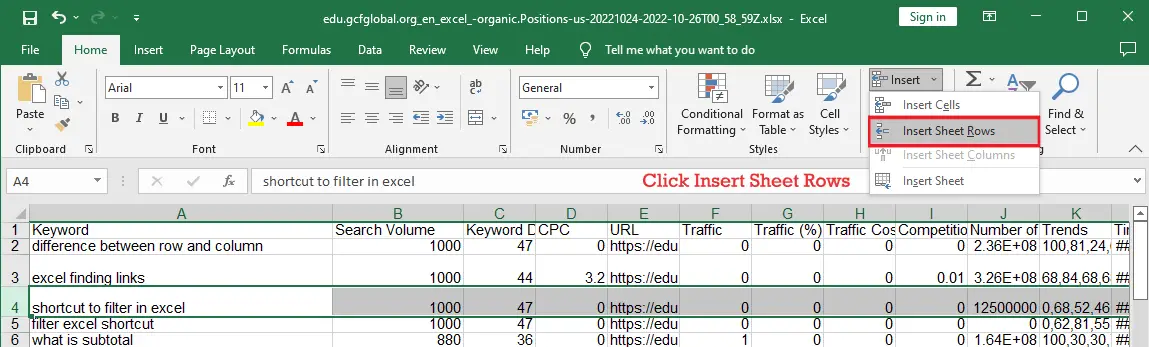
- First, select the row heading where you want to add rows. Here we will insert rows between 3 and 4 so, select row 4.

- Next, Click the Insert Command in the Home tab.

- Then the new row will appear.

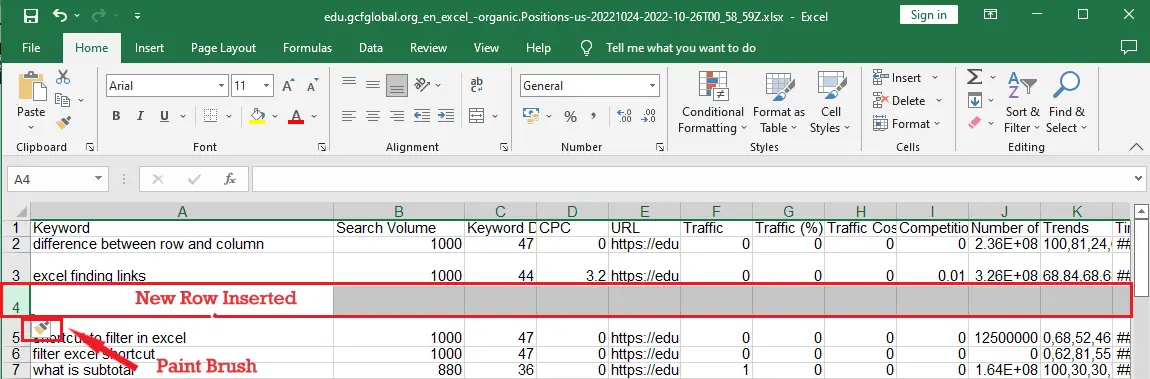
When you add new rows, columns, or cells, a paintbrush icon will show up next to the new cells. You can choose how Excel formats these cells by clicking this button. By default, Excel sets up inserted rows to look like the cells in the row above. Hover your mouse over the icon and click the drop-down arrow to see more options.
To delete a row or column
In excel it is easy to delete columns and rows which are no longer needed. To understand we will examine the instructions below where you can delete a row and column the same way.
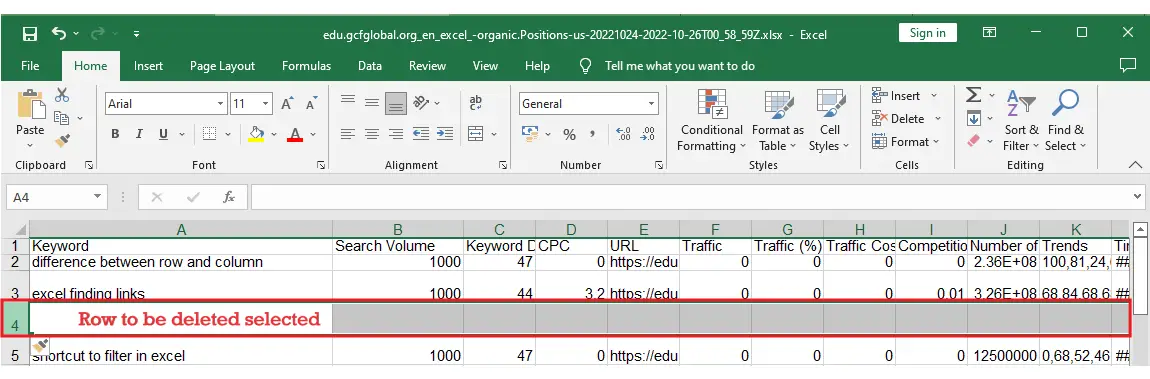
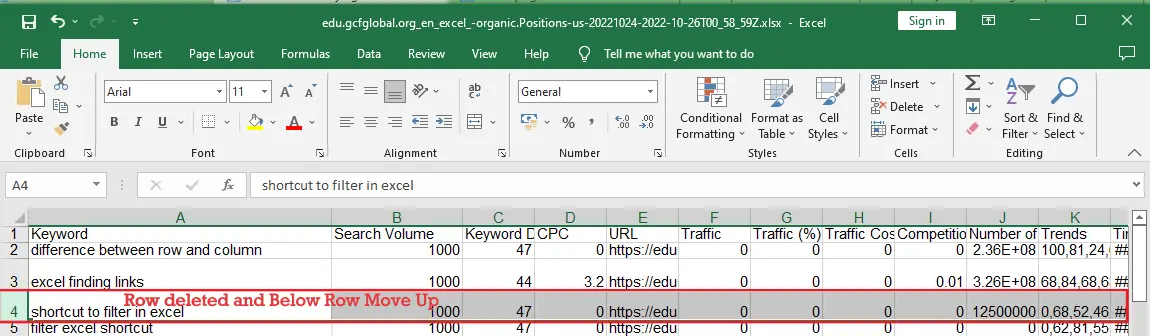
- Select the row you want to delete. In our example, we’ll select row 4.
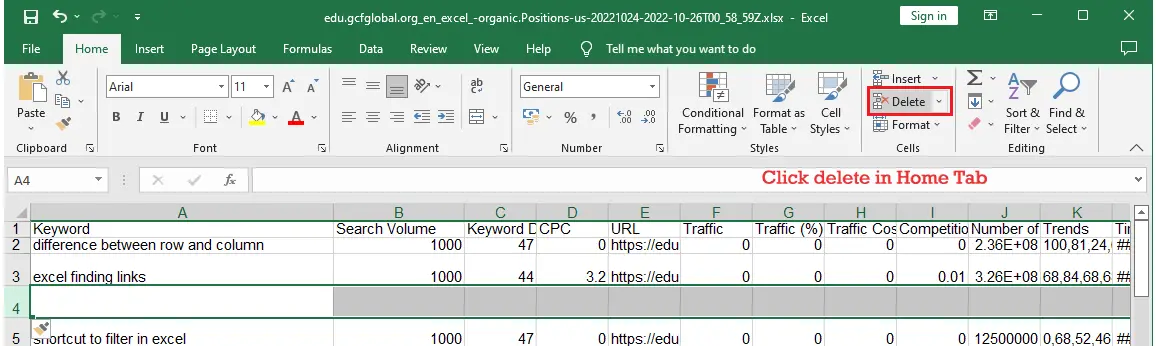
- Click the Delete command on the Home tab.

- The selected row will be deleted, and those around it will shift. In our example, row 5 has moved up, so it’s now row 4.

Note: Be aware of the difference between deleting rows and columns and clearing contents. Hence if you want to delete or remove the content without forcing the rows and column to shift, right-click a heading then select clear contents from the dialog box.
To move a row or column
In excel moving a row and column is inevitable especially if we want to arrange our data in a worksheet. So, we will give instructions and example figures on how to do it.
- First, select a column heading you want to move.
- Then, Click the cut command on the home tab or you can use the shortcut just press Ctrl+X.
- Select the column heading to the right where you want your column to be moved. For instance, we want to move a column between B and C, then select column C.
- Click the Insert button on the Home tab, and then from the drop-down menu, choose Insert Cut Cells.
- The column will be moved to the position you chose, and the other columns will move around it.
Tips: You may also access the Cut and Insert commands by right-clicking the mouse and selecting them from the menu that appears.
What is a cell in Excel?
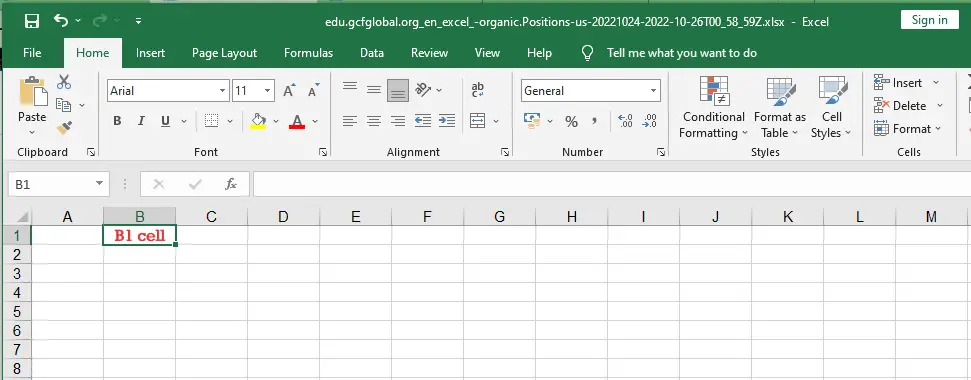
A cell in excel is an adjoined of row and column, it’s the result of a row and column intersection. It will be identified based on the number of rows and column header.
Clearly, it is a small rectangular box where you can enter data.
For example, below the selected cell is C3. It has a column header C and a row number 3.
We can also select an entire row or column from a cell.
- To select the whole row when in any cell, press
Shift Space. - To select the whole column when in any cell, press
Ctrl Space.
Summary
To sum up, we know now the definitions of columns and rows in Excel. We’ve also learned the main differences and how they work. In summary, information in a row is presented horizontally, whereas in a column information is vertically. In addition to that, we know how to manipulate them.
Thanks for reading!

Glay Eliver
Programmer & Technical Writer at PIES IT Solution
Glay Eliver is a programmer and writer at PIES IT Solution, author of over 600 tutorials at itsourcecode.com. Specializes in JavaScript tutorials, Microsoft Office how-tos (Excel, Word, PowerPoint), and Python error debugging covering ImportError, TypeError, AttributeError, ModuleNotFoundError, and JavaScript ReferenceError. Authored several of the site’s highest-traffic Excel and MS Office reference articles.
Expertise: JavaScript · MS Excel · MS Word · MS PowerPoint · Python · Python ImportError · Python TypeError · Python AttributeError · ModuleNotFoundError · JavaScript ReferenceError · Pygame · View all posts by Glay Eliver →