HOW TO MAKE A DISTRO OR DISTRIBUTION LIST IN GMAIL – In this article, we will delve into the significance of email distribution lists, often referred to as email distros, for streamlined communication within professional settings.
Additionally, we will explore the step-by-step process of creating distribution lists in Gmail to efficiently manage and communicate with specific groups of recipients.
What is an email distro?
An email distro, short for email distribution list, compiles multiple email addresses into a single list, streamlining communication in professional settings.
When an email is sent to the list’s address, it’s automatically forwarded to all the included recipients, making it efficient for disseminating information to specific groups.
Email distros ensure that relevant messages reach the intended recipients with ease.
What is the purpose of Gmail distribution?
Gmail distribution, through email lists, streamlines communication by enabling simultaneous emailing to multiple recipients, making messaging more efficient.
It is a valuable tool for businesses, aiding communication with specific groups and facilitating marketing efforts for consistent messaging.
Moreover, it simplifies email management by centralizing contacts for easy list organization and updates.
How to make a distribution list in Gmail
Time needed: 3 minutes
- Step 1
Access your Gmail account by signing in.
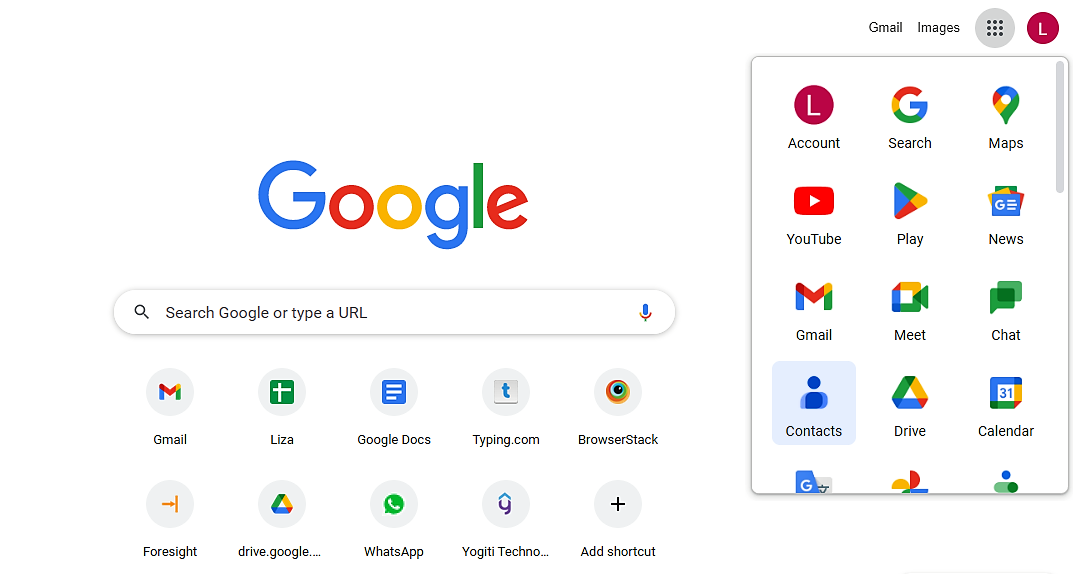
- Step 2
Navigate to the App Launcher (a menu represented by nine dots) and choose “Contacts.”

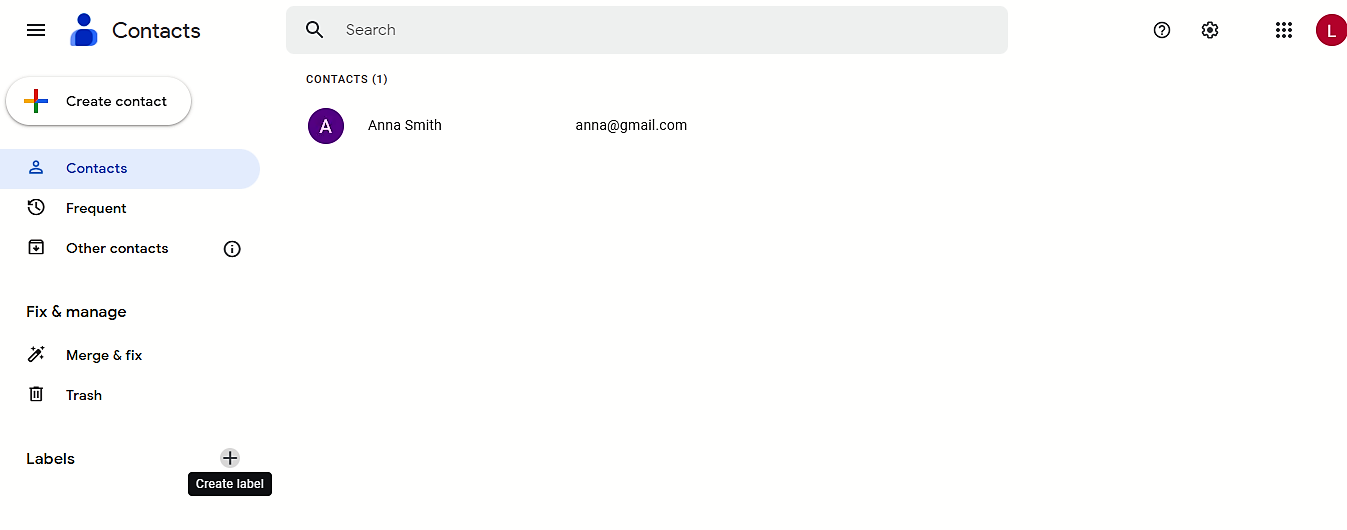
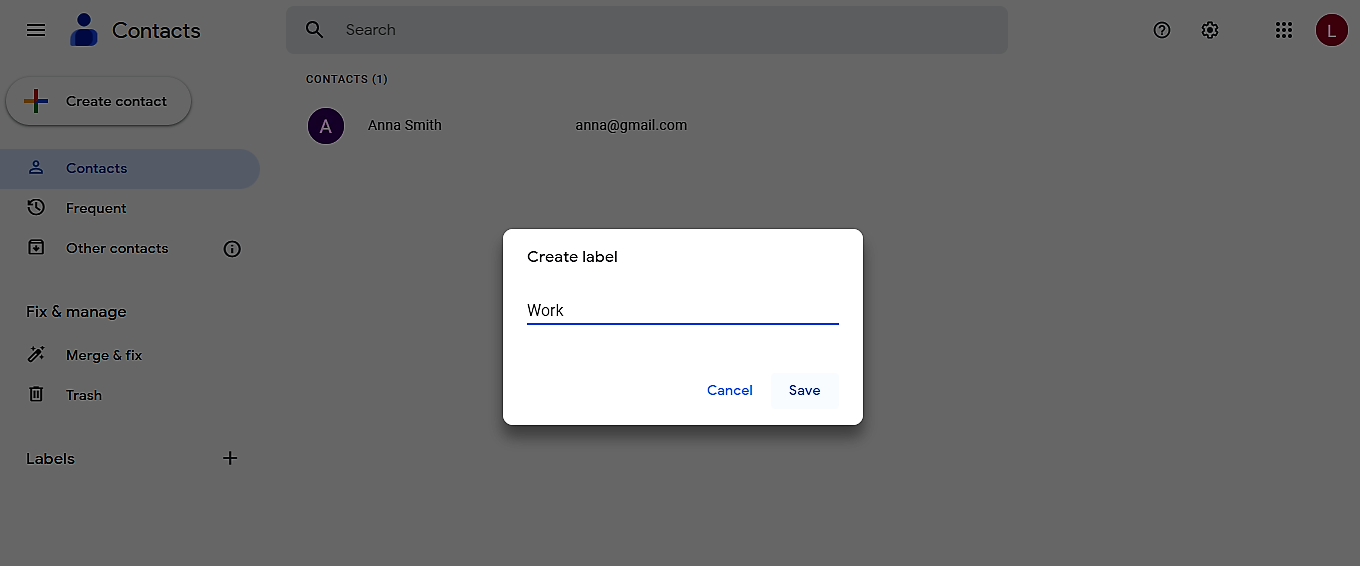
- Step 3
Opt for the “Create label” feature.

- Step 4
Provide a name for the recently established label and then save it.

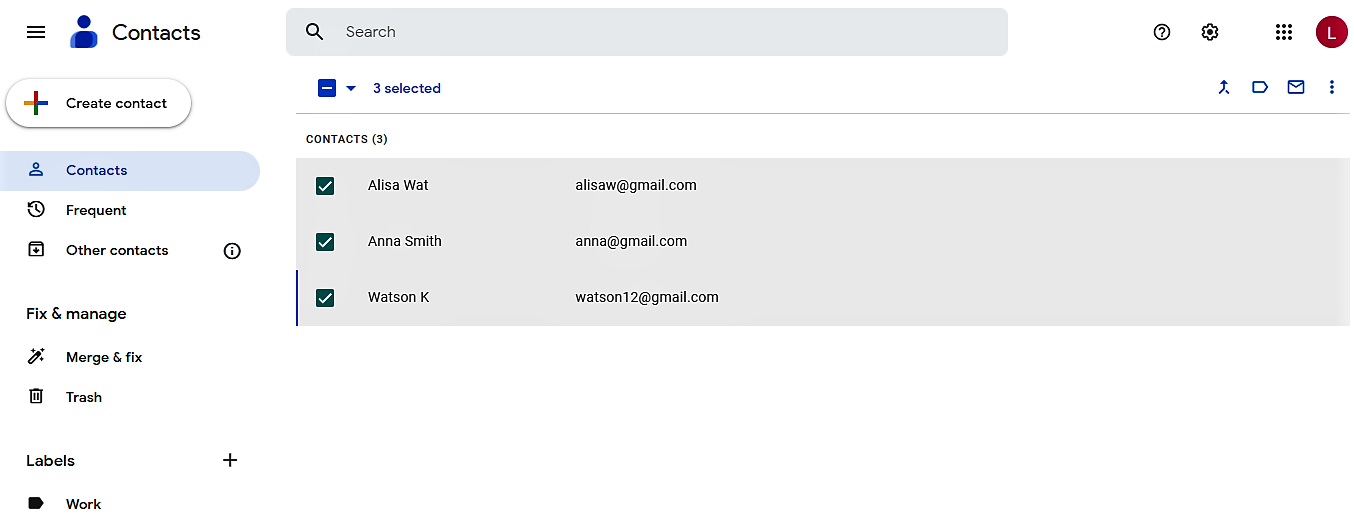
- Step 5
Head to your Contacts and mark the checkboxes beside the contacts you wish to include.

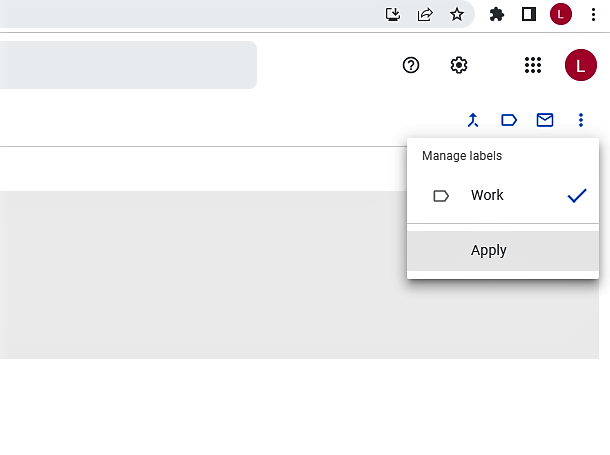
- Step 6
Click on “Manage labels” situated in the upper right corner.

- Step 7
Pick the name of the freshly generated label and press “Apply.”

- Step 8
Locate the contact’s name by selecting the label name.


Conclusion
In summary, an email distribution list, commonly known as an email distro, streamlines communication within organizations by compiling multiple email addresses into a single list.
This enables efficient messaging to specific groups, like project teams or subscribers. Gmail distribution, using these lists, serves several purposes: sending messages to multiple recipients simultaneously, facilitating communication within businesses, and aiding in marketing efforts.
To create a distribution list in Gmail, follow these eight steps: log in, access Contacts, create a label, name it, select contacts, manage labels, apply the label, and easily find contacts under the label.