HOW TO CHANGE THE DEFAULT TIME ZONE IN GMAIL – In this article, we’ll explore the reasons one might need to change their Gmail time zone and the steps to do so.
Whether you’re traveling, relocating, or coordinating with international contacts, adjusting your Gmail settings can enhance your user experience.

What are the reasons for altering the default time zone in Gmail?
You may need to alter your Gmail time zone for various reasons, including travel, relocation, or work requirements.
It can also help with international contacts and prevent scheduling confusion due to daylight saving time changes or personal preferences.
How to change the time zone in Gmail Calendar?
Step 1
You can adjust Gmail’s time zone settings by accessing them via Google Calendar, which can be opened from within Gmail.
Step 2
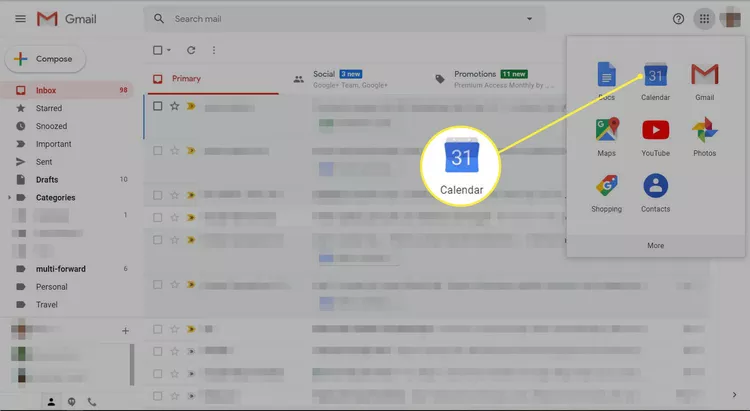
Click the Google menu (dot grid icon) in the upper-right corner and choose Calendar (you might need to select More at the bottom of the menu to find it).
Step 3
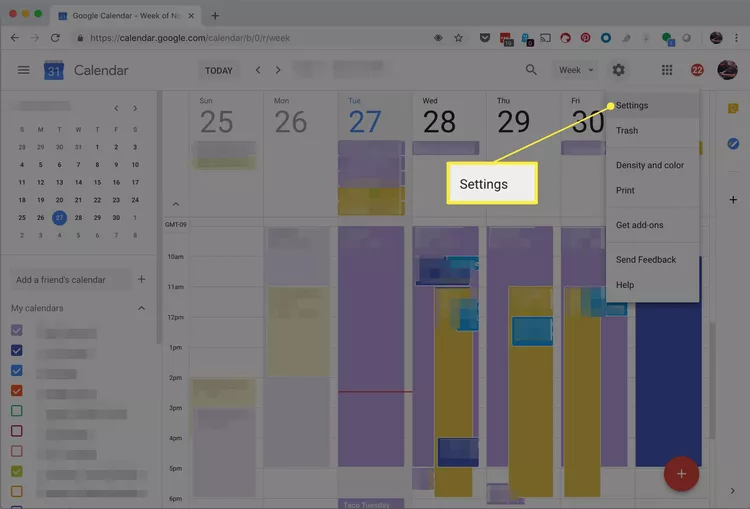
In Google Calendar’s upper-right section, click Settings (gear icon) and select Settings from the menu.
Step 4
On the left, if you don’t see the General menu, click General. Under General, select Time zone. In the main area, choose Primary time zone from the Time zone dropdown menu and select the correct time zone.

Step 5
Your settings are automatically saved and will take effect in Gmail.
Conclusion
In summary, you may need to change your Gmail time zone for various reasons, such as travel, relocation, work requirements, international contacts, or personal preferences.
To do so, open Gmail and access Google Calendar. Click on the Google menu, select Calendar, and navigate to Settings. Under General, choose Time zone, and set your Primary time zone to the correct one.
These changes will automatically apply to your Gmail settings, ensuring your emails and calendar events are synchronized with the chosen time zone.