HOW TO ADD SAFE SENDERS IN EMAIL LIST IN GMAIL – In this article, we delve into the crucial concept of safe senders in Gmail, where users can designate trusted email addresses or domains to ensure important communications reliably reach their inbox.
Understanding the significance of this feature and learning the step-by-step process to add contacts to the safe sender list can significantly enhance the efficiency and organization of your Gmail experience.
What is a safe sender in Gmail?
In Gmail, a safe sender refers to an email address or domain that the user designates as trustworthy.
Emails from these approved senders are less likely to be filtered into spam folders, ensuring they reach the recipient’s inbox.
Adding a contact to the safe sender list helps prioritize and recognize important communications.
How to add a safe sender list in Gmail using Desktop?
Time needed: 3 minutes
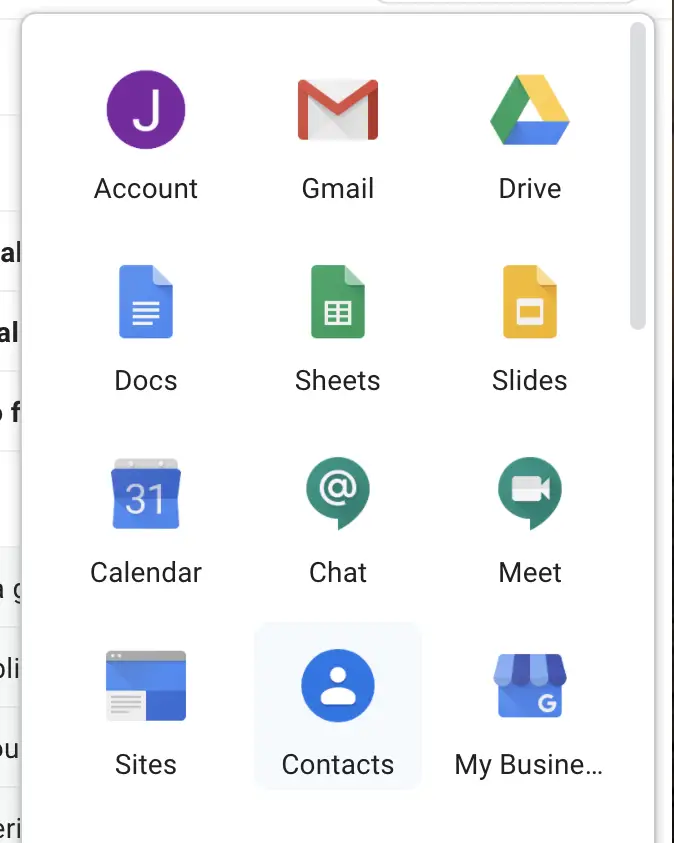
- Step 1: Find the “Contacts” Icon
To initiate the process of adding a trusted sender to your email contacts, locate the applications icon positioned in the upper right corner of the Gmail interface.
Next, click on the “Contacts” icon.
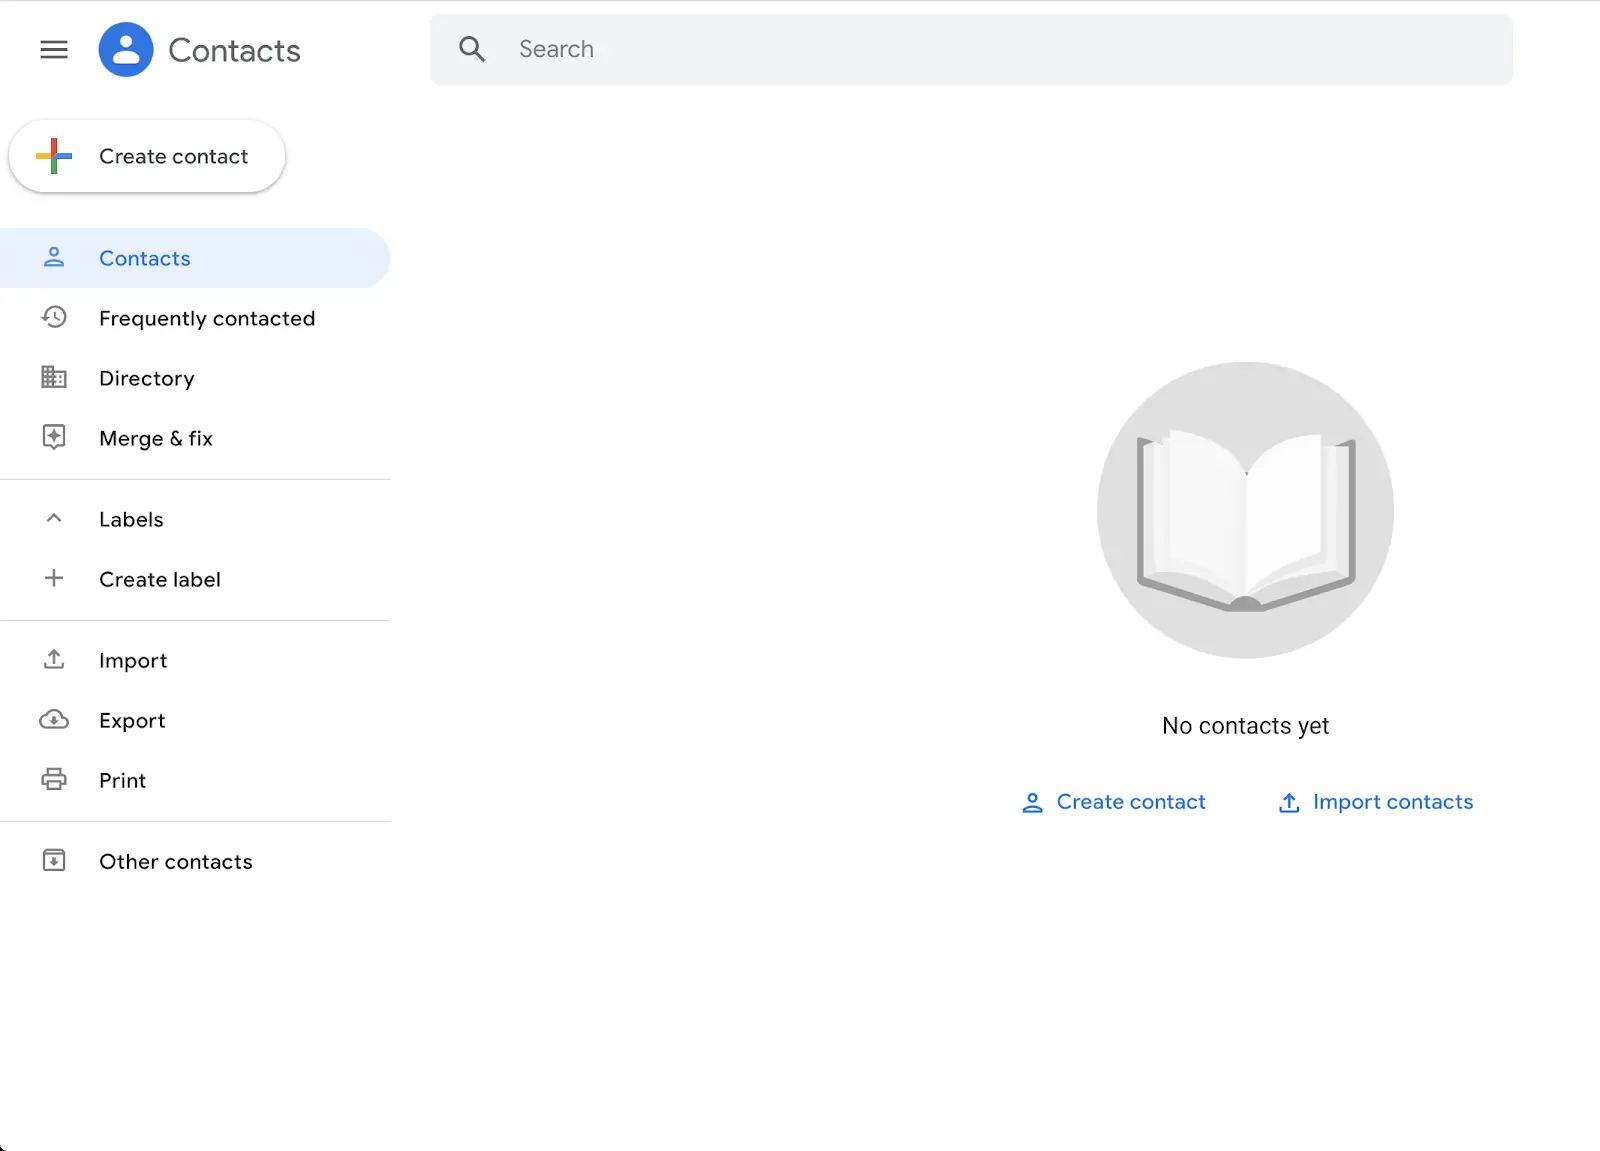
- Step 2: Choose “Create Contact”
Upon clicking the “Contacts” icon, you’ll be directed to your Gmail contact book.
In the upper left corner of the screen, identify and click on “Create Contact.”
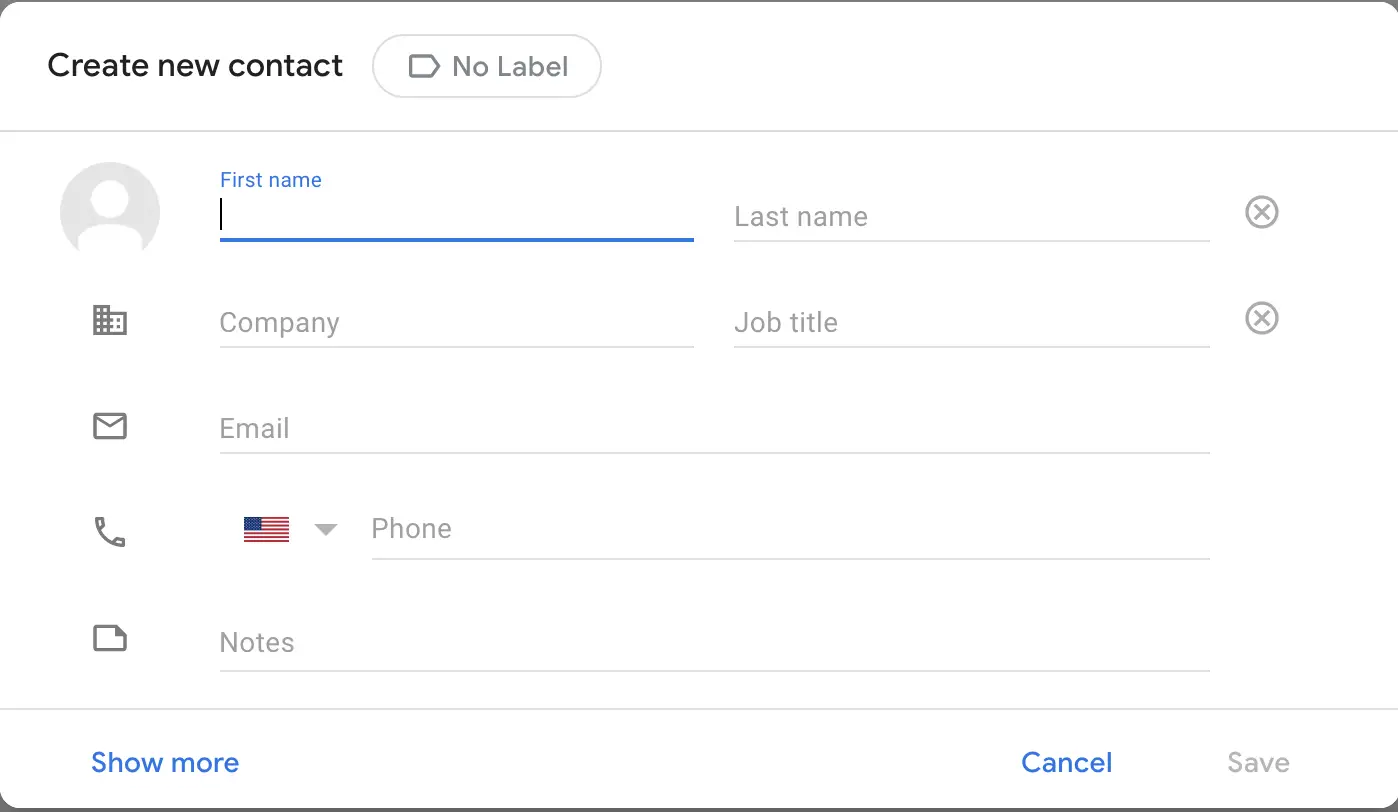
- Step 3: Input Appropriate Contact Details
Once “Create Contact” is selected, a pop-up box will appear on the screen, allowing you to input the relevant contact information linked to the email address you wish to add.
Fill in this information as accurately as possible.
- Step 4: Save the Desired Email Address as a New Contact
After providing the necessary information, ensure that you click on “Save” located in the bottom right corner of the box.
This action guarantees that the desired email address is correctly saved and included in your list of trusted senders.

How to add a safe sender list in the Gmail app?
- Launch the Gmail application on your device.
- Find and press the three horizontal lines situated in the upper-left corner to open the menu.
- Scroll down and click on “Settings.”
- Pick the account to which you wish to designate a safe sender.
- Select “Spam and phishing,” followed by “Add a trusted sender.”
- Input the email address or domain you intend to label as safe and save the modifications.
Conclusion
In summary, designating a safe sender in Gmail ensures that emails from trusted sources are prioritized and avoid being filtered into spam folders, guaranteeing their delivery to the recipient’s inbox.
By following the provided steps to add a contact to the safe sender list, users can easily manage and recognize important communications, enhancing the efficiency of their email experience.