This tutorial entitled Update Data using MySQL Database and Java with Netbeans IDE will teach you on how to update a data stored in MySQL Database using Java and Netbens IDE.
Before we start, be sure that you already follow and learned my last tutorial on how to Load Data into another form.
Update Data using MySQL Database and Java with Netbeans IDE Steps
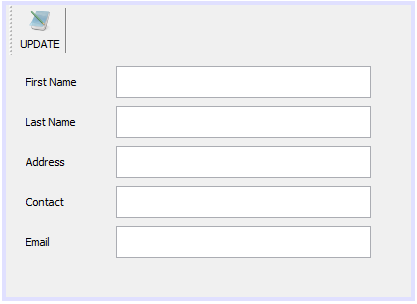
- In my last tutorial entitled Display Data from Selected Table Row to another Form in Java. We already created a new JFrame Form for our update function. The form should look like the image below.

2. Double click the button “UPDATE” and insert the following codes below.
[java]try{
String fname = jLabel1.getText();
String lname = jLabel2.getText();
String address = jLabel3.getText();
String contact = jLabel4.getText();
String email = jLabel5.getText();
String str="UPDATE userinfo SET "
+ "FirstName='" + fname + "',LastName='" + lname + "',Address='" + address + "',Contact='" + contact + "',Email='" + email + "'"
+ "WHERE idUserInfo='" + idn + "'";
pst=conn.prepareStatement(str);
pst.execute();
JOptionPane.showMessageDialog(null,"Data Successfully Updated!");
clear_fields();
}catch (HeadlessException | SQLException e){
JOptionPane.showMessageDialog(this, e.getMessage());
}[/java]
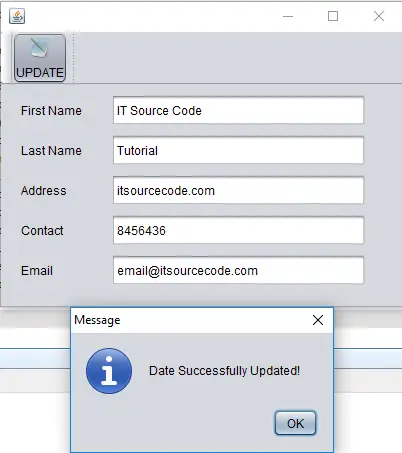
3. Run your program and the output should look like the image below. When I click the update button, a dialog box appear saying “Data Successfully Updated!”. It means that the update function is successfully executed.

About The Update Data using MySQL Database
<figure class="wp-block-table is-style-stripes">
<table>
<tbody>
<tr>
<td><strong>Project Name:</strong></td>
<td>Update Data using MySQL Database</td>
</tr>
<tr>
<td><strong>Language/s Used:</strong></td>
<td>JAVA</td>
</tr>
<tr>
<td><strong>Database:</strong></td>
<td>MySQL</td>
</tr>
<tr>
<td><strong>Type:</strong></td>
<td>Desktop Application</td>
</tr>
<tr>
<td><strong>Developer:</strong></td>
<td>IT SOURCECODE</td>
</tr>
<tr>
<td><strong>Updates:</strong></td>
<td>0</td>
</tr>
</tbody>
</table><figcaption><em><strong>Update Data using MySQL Database In Java</strong>– Project Information</em></figcaption></figure>
Related Articles You May Like:
