The share link has been copied to clipboard

Arduino Remote Control Light Switch with Code and Wiring Diagram | Arduino Projects with Source Code

2K views · Dec 13, 2021
Visit Channel:publisher-humix
Arduino Remote Control Light Switch with Code and Wiring Diagram | Arduino Projects with Source Code Follow me: Youtube: https://bit.ly/2YdWUxU​​​​​​​​​​​​​​​ Facebook: https://www.facebook.com/itsourcecode Website: https://itsourcecode.com/​​​​​​​​​​​​​​​ Download the complete source code here: https://bit.ly/3w3jsip Increase ad revenue 50-250% with Ezoic - https://bit.ly/2OIIPpD ---------- 
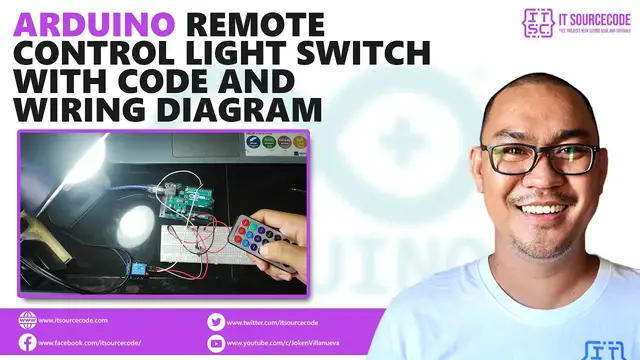
In this article, you will learn how to wire and code an Arduino-Controlled Light Switch. The project will let you control a lamp using an Infrared Remote control and a relay module. By pushing a button, you can turn on or off a lamp – just like a television. Here are the steps in creating the project. Arduino Remote Control Light Switch: Steps in Creating the Device Here are the steps in creating Temperature Monitoring System using Arduino.. 1. Gathering the Components The first thing to do is to collect the hardware components for the Arduino device. Qty Component 1 Arduino UNO 1 IR receiver and Remote 1 Single Channel Relay Module 1 LED bulb 2. Connecting the Components Here is the wiring diagram arduino remote control light switch. The red wire of the lamp is connected to the COM terminal and to NO terminal of the relay. The relay itself is powered using the 5V power of the Arduino. Signal pin of the relay is connected to the digital pin 6 of the Arduino. The IR receiver is connected to the digital pin 7 of the Arduino. 3. Coding the Arduino First is to download the library needed for the project. The “IRremote” library is used here and you can download it using the Arduino Library Manager. Open “Tools-Manage Libraries” and search for “IRremote”. Just install and wait for it to finish. For the code, objects for IRrecv and decode_results are created. Declare the data pin of the module and the IR . Then for the setup, simply set the pin mode of the declared variable to OUTPUT and enable the IR receiver. In the loop function, if the Arduino receives a signal for button “1”, the relay will switch to on. It will turn off the light by pressing “0”. 4. Upload the Sketch Lastly, upload the sketch to the Arduino. So there you have it – an Arduino Remote Control Light Switch. This device is simple to create and can be used in other projects as well. You can always add more sensors to the device, upgrading it to a much-sophisticated device. Feel free to write your questions about the project at the comments below. ---------- Song: Ikson - Stardust (No Copyright Music Vlog Library) Music promoted by No Copyright Music Vlog Library.
Show More

Comments

loading text loading
loading text
loading text loading
loading text
loading text loading
loading text
loading text loading
loading text