The share link has been copied to clipboard

Infrared Remote Control in Arduino Code and Wiring Diagram | Arduino Projects with Code and Wiring

623 views · Dec 13, 2021
Visit Channel:publisher-humix
Infrared Remote Control in Arduino Code and Wiring Diagram | Arduino Projects with Code and Wiring Subscribe here for More Source code & tutorials: https://bit.ly/2YdWUxU​​​​​​​​​​​​​​​ LIKE our FB PAGE: https://www.facebook.com/itsourcecode Official Website: https://itsourcecode.com/​​​​​​​​​​​​​​​ Download the complete source code here: https://bit.ly/35Zse6u Increase ad revenue 50-250% with Ezoic - https://bit.ly/2OIIPpD Song: Ikson - Do It (No Copyright Music Vlog Library) Music promoted by No Copyright Music Vlog Library. Intro made by Prince Ly Cesar Infrared (IR) remote controls are handheld devices that can control other devices using infrared light. IR remote controls need a line of sight to operate. This means someone needs to point the IR to the receiver for the signal to be decoded. 
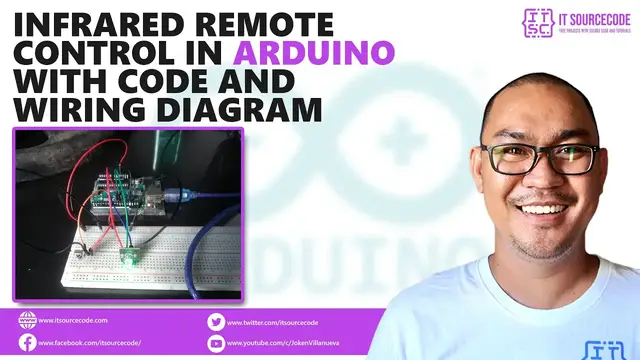
In this article, you will learn how to code an Infrared remote control in Arduino. To demonstrate how it works, this project will let you control an RGB LED using the remote. Infrared Remote Control in Arduino: Steps in Creating the Device Here are the steps in creating Temperature Monitoring System using Arduino. Gathering the Components The first thing to do is to collect the hardware components for the Arduino device. Arduino Uno IR Receiver IR Remote RGB LED Connecting the Components Connect the components to the Arduino Uno. Please refer to the wiring diagram below. Coding the Arduino The third step is about coding the Arduino device to work with the components. Upload the Sketch Lastly, upload the sketch to the Arduino. To start this project, you need the following: Qty Component 1 Arduino UNO 1 IR Receiver 1 IR Remote Control 1 RGB LED Arduino UNO We will be using an Arduino Uno microprocessor board. Arduino Uno is suitable for any project and is the cheapest and widely used microprocessor board in the Arduino family. This is great for all kinds of IoT projects. The IR receiver is is powered using the 5V pin of the Arduino. The signal pin is connected to Digital Pin 7. For the RGB, ad IR Remote Wiring Diagram IR Remote Wiring Diagram Code First is to download the library needed for the project. The “IRremote” library is used here and you can download it using the Arduino Library Manager. Open “Tools - Manage Libraries” and search for “IRremote”. Just install and wait for it to finish. For the code, objects for IRrecv and decode_results are created. Upload Now, it’s upload time. To upload your code to the Arduino Uno, attach the USB cord to your computer. Let your computer detect the Arduino Uno. After that, go to Tools - Board and make sure to select Arduino Uno. Also, make sure to select the COM port that is listed on Tools - Port. The COM Port should say Arduino Uno beside it. Click the “Upload” button to upload your sketch to the board. So there you have it – .Infrared Remote Control in ArduinoThis device is simple to create and can be used in other projects as well. You can always add more sensors to the device, upgrading it to a much-sophisticated device. Feel free to write your questions about the Infrared Remote Control in Arduino at the comments below.
Show More

Comments

loading text loading
loading text
loading text loading
loading text
loading text loading
loading text
loading text loading
loading text