This Tutorial is all about How to Copy a File using VB.Net. In this tutorial you will learn about How to Copy a File using VB.Net. So lets get Started:
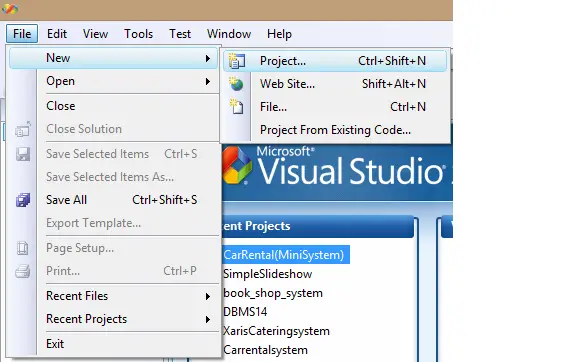
- First is open the Visual Basic, Select File on the menu, then click New and create a new project.
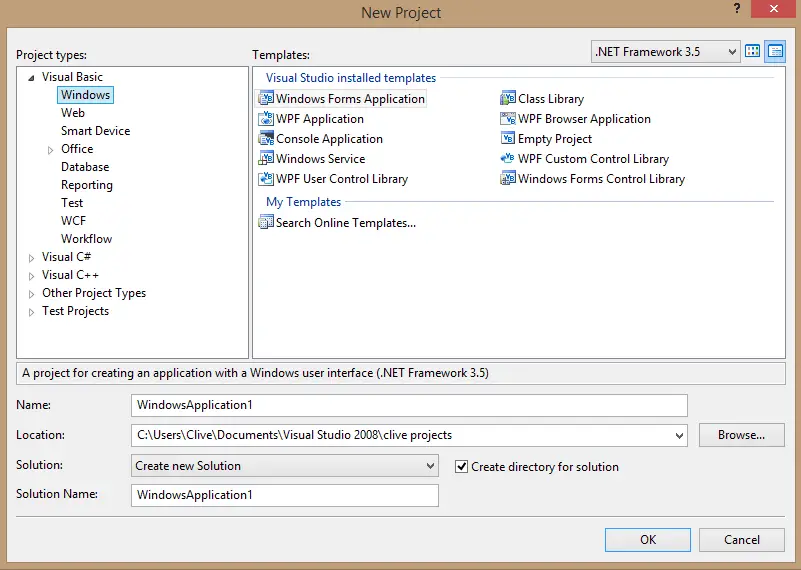
- Then a New Project Dialog will appear. You can rename your project, depending on what you like to name it. After that click OK
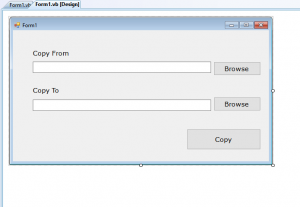
- Design your form like this just like what I’ve shown you below.
Add a Textbox, Button and Label.
- After that add this code to the Source Browse button.
[vbnet]
Dim fDialog As New OpenFileDialog
fDialog.ShowDialog()
txtsource.Text = fDialog.FileName
tempFileName = fDialog.SafeFileName
[/vbnet] - Add this code to the Destination Browse button.
[vbnet]
Dim fDialog As New FolderBrowserDialog
fDialog.ShowDialog()
txtdestination.Text = fDialog.SelectedPath & “\” & tempFileName
[/vbnet] - Then add this code to the Copy Button.
[vbnet]
If txtsource.Text.Length > 0 And txtdestination.Text.Length > 0 Then
My.Computer.FileSystem.CopyFile(txtsource.Text, txtdestination.Text)
MsgBox(“Successfully Copied”)
End If
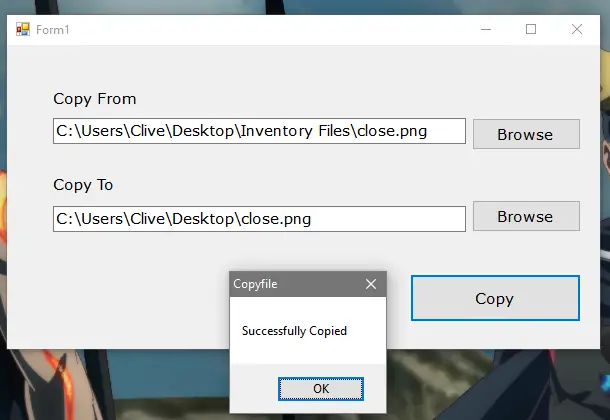
[/vbnet] - Finally Click F5 to run.

Output: