A Loan Management System Project In PHP is a digital platform that helps automate every step of the loan process, from application to closing.
The traditional way to manage loans is to be very careful, take a lot of time, and collect and check information about applicants’ trustworthiness and credibility.
About the Project
The Online Loan Management System Project In PHP Free Download is a simple system developed PHP MySQL database, Using HTML, CSS, Bootstrap, JavaScript, Ajax, J Query, and Modal.
This Loan Management System Using PHP is a simple project that manages loan data for a certain company or lending company. The project will organize all lists of data being used in a loan transaction.
A Loan Management System In PHP admin will populate the list of borrowers, type of loans, and the loan plan, this data will be used for determining and filtering the request and active loans.
Additionally, This Bank Loan Management System Project In PHP has the ability to calculate the monthly payment amount depending on loan plans.
Moreover, In this Loan Management System Project In PHP, the admin will only choose the desired plan and desired amount of the borrower.
After that, the admin can simply click the calculate button to view the monthly payment amount, total amount payable (this includes the interest), and monthly penalty amount for over dues.
Project Information
| Project Name: | Online Loan Management System Project In PHP and MySQL With Source Code |
| Language/s Used: | PHP |
| PHP version (Recommended): | 5.6.3, 7.4.12 |
| Database: | MySQL |
| Type: | Website, Web Application |
| Developer: | IT SOURCECODE |
| Updates: | 0 |
This Bank Loan Management System Project In PHP also includes a Downloadable Source Code For Free just find the downloadable source code below and click to start downloading.
Features
- Login Page – The page where loan management system users will submit their system credentials to access the features of the system and manage the data.
- Home Page – The page where the users will be redirected by default after logging into the loan management system. This page displays a summary of calculations of some data of the system.
- Loan Types Page – The page where the admin or staff of the system will manage the list of loan types or categories.
- Loan Plans Page – The page where an admin or staff will manage the plans of the loan their company offers.
- Borrowers Page – The page where all borrowers are listed and can be managed by the system users.
- Loans Page – The page where all list of loans are listed, including the loan applications. This is the page where the system user will manage the borrower’s loan data.
- Payment Page – The page where all payments are listed and can be managed.
- Users Page – The page where all loan management system users are listed and can be managed.
Screenshots


To start executing this PHP Project, make sure that you have sublime or any platform of PHP and MySQL installed on your computer.
How to Run the Online Loan Management System Project in PHP Free Download: A step-by-step Guide
Time needed: 5 minutes
These are the steps on how to run an Online Loan Management System Project In PHP Free Download.
- Step 1: Download the source code.
First, download the source code given below.

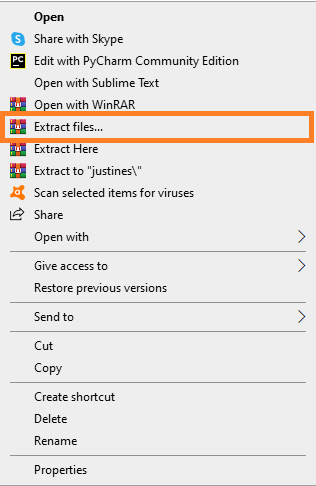
- Step 2: Extract file.
Second, after you finish downloading the source code, extract the zip file.
- Step 3: Copy the project folder.
Third, copy the project folder and paste it into the xampp/htdocs folder.

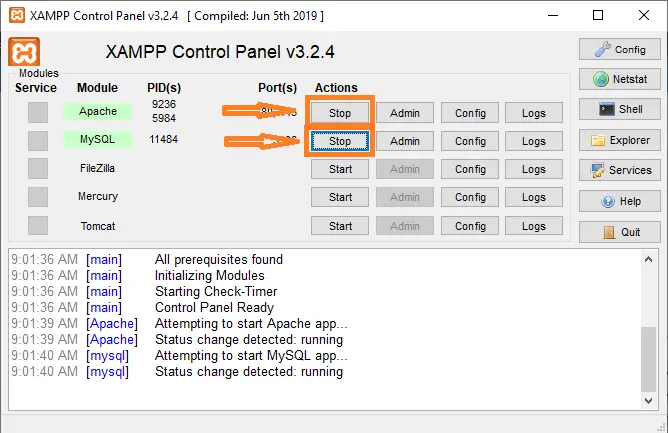
- Step 4: Open xampp.
Fourth, open xampp and start the Apache and MySQL.
- Step 5: Open the browser.
Fifth, Open a browser and go to the URL “http://localhost/phpmyadmin/”

- Step 6: Create a database.
Sixth, click on the databases tab and Create a database named “loan_db.”

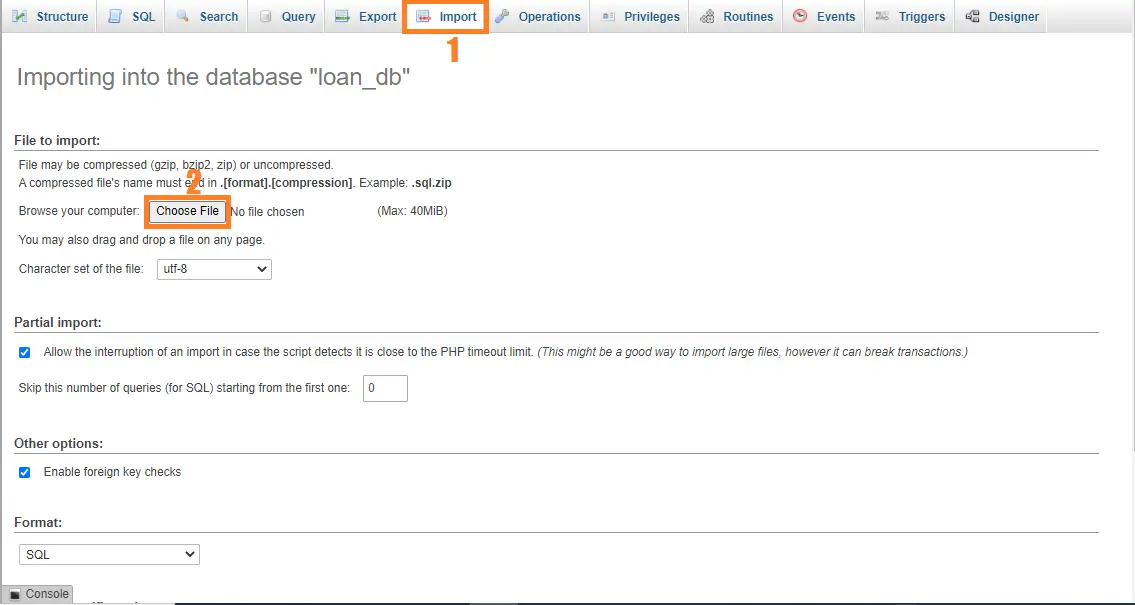
- Step 7: Import “loan_db.sql”.
Seventh, Click on browse the file and select “loan_db.sql” file which is inside the “database” folder, and after import click “go“.
- Step 8: Open the browser and type the folder name.
Eight, Open a browser and go to the URL “http://localhost/Loan/”.
- Step 9: Explore manipulating.
Final step, Login from the User’s login side. Just provide the Admin’s login details, and it will redirect you to the Admin panel.
Download the Source Code below
Anyway, if you want to level up your programming knowledge, especially PHP, try this new article I’ve made for you Best PHP Projects With Source Code Free Download.
Summary
The Project In PHP With Source Code was developed using PHP MySQL database, HTML, CSS, Bootstrap, JavaScript, Ajax, J Query, and Modal.
This Loan Management System is for educational use only and needs customization to automate and provide a certain lending business company the data and reports they want.
But, if you are starting to develop a full system project source for the lending company, this simple project can help you to ease the starting point of your development the source code itself is easy to understand and to modify.
Feel free to download and modify the source code in a way you want.
Inquiries
If you have any questions or suggestions about Loan Management System Project In PHP With Source Code, please feel free to leave a comment below.
please kindly contact me , i need this system for business
It does not log in page
Does it give a log in
dosent login
cant login the page
go to db_connect.php
on line 3 add where loan_db (1)
if you pay 2 times or 3 times and so on the amount of the monthly payment, how can you edit the code that it skips 2 or 3 dates in the loan_schedules table??
I need it urgently, can someone please answer me this question
Good day to you.
Can you please assist me in providing me with the correct password in order for me to log into your system. In your tutorial you only stipulate that i must log in as admin, but no password is provided. How do i proceed from here
why the db can not connect!!!
can u make same as for user login to take loan online
The user login is in the sql database.
cannot manage to login
you already import the sql database?
“http://localhost/Loan/”.
loan-login
This link is not working. Can’t login in the system.
It seems like you already delete it from the server.
Can’t even show the login page. The request is not founded.
Why it cant show?
Why does it just load all the time when i select “Complete” in edit in Loans Page?
can you kindly contact me to discuss some customizations on the program. here’s my viber number +63 960 4749727
What do you mean customization on the program? Which part of the Program? Can I ask i for project purposes or for company?
AM REQUESTING FOR USERNAME AND PASSWORD
username: admin
password: admin123
vroo ur id and pass is not working its coming incorrect pls help us tommr we have to summite this proj pls help ur my god