Infrared (IR) remote controls in Arduino are handheld devices that can control other devices using infrared light. IR remote controls need a line of sight to operate. This means someone needs to point the IR to the receiver for the signal to be decoded.
In this article, you will learn how to code an Infrared remote control in Arduino. To demonstrate how it works, this project will let you control a RGB LED using the remote.
Infrared Remote Control in Arduino: Steps in Creating the Device
Here are the steps in creating Temperature Monitoring System using Arduino.
- Gathering the Components
The first thing to do is to collect the hardware components for the Arduino device.
Arduino Uno
IR Receiver
IR Remote
RGB LED - Connecting the Components
Connect the components to the Arduino Uno. Please refer to the wiring diagram below.
- Coding the Arduino
Third step is about coding the Arduino device to work with the components.
- Upload the Sketch
Lastly, upload the sketch to the Arduino.
Infrared Remote Control in Arduino: Detailed Explanation
To start this project, you need the following:
| Qty | Component |
| 1 | Arduino UNO |
| 1 | IR Receiver |
| 1 | IR Remote Control |
| 1 | RGB LED |
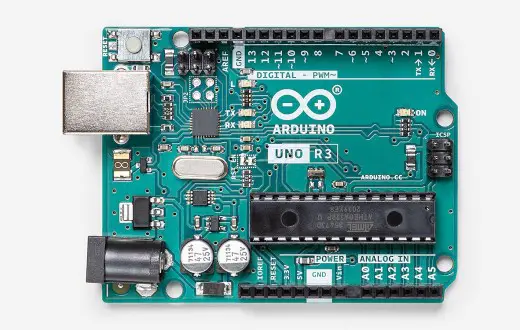
Arduino UNO
We will be using an Arduino Uno microprocessor board. Arduino Uno is suitable for any projects and is the cheapest and widely used microprocessor board in the Arduino family. This is great for all kinds of IoT projects.
IR Receiver
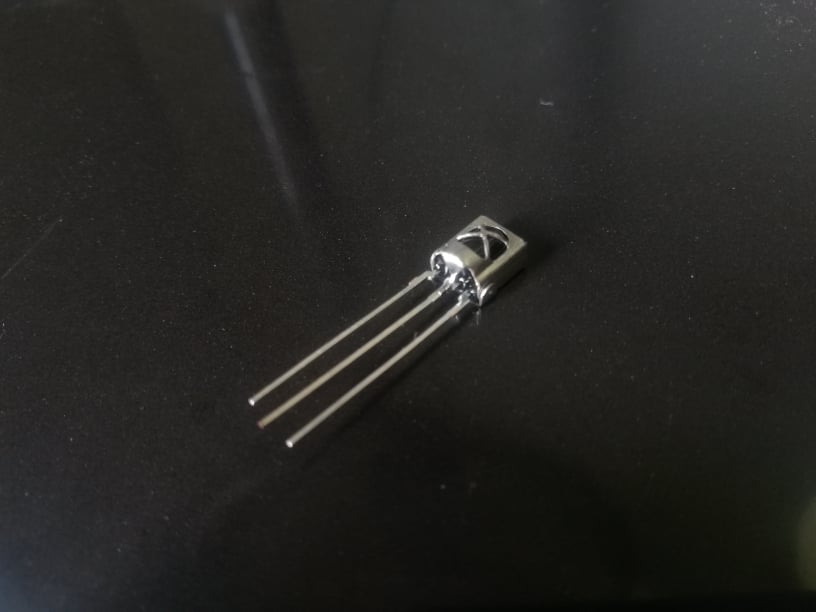
This project uses a standalone IR receiver diode. The first pin is connected to the digital pin of the Arduino. The long pin is the ground connection and the last pin is the Vcc.
IR Remote Control
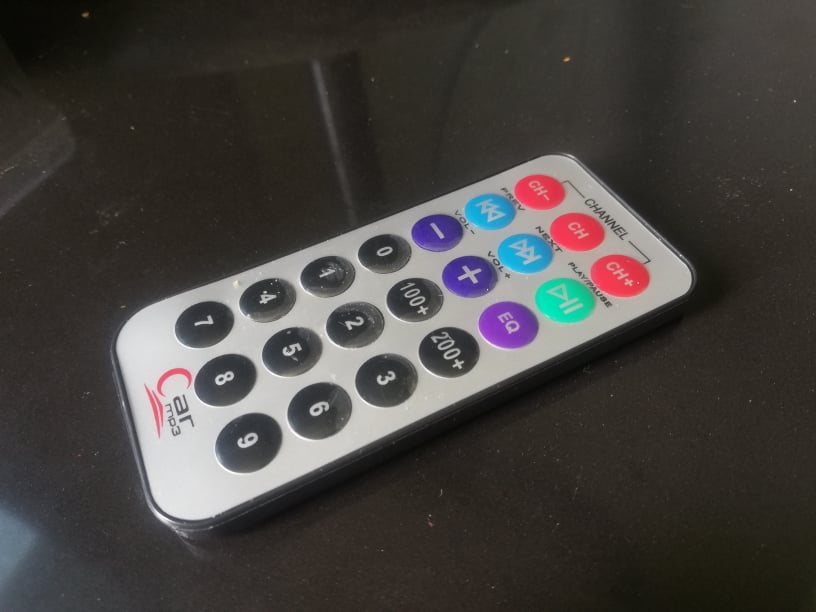
This is an IR remote control. IR pulses are transmitted by the remote that is converted to a HEX code. Each button has its own HEX code. If the button is pressed continuously, the HEX code will be 0xFFFFFFFF. Here are the codes for each button.
IR Remote Hex Codes
| Key | Code |
| CH- | 0xFFA25D |
| CH | 0xFF629D |
| CH+ | 0xFFE21D |
| << | 0xFF22DD |
| >> | 0xFF02FD |
| >|| | 0xFFC23D |
| – | 0xFFE01F |
| + | 0xFFA857 |
| EQ | 0xFF906F |
| 100+ | 0xFF9867 |
| 200+ | 0xFFB04F |
| 0 | 0XFF6897 |
| 1 | 0xFF30CF |
| 2 | 0xFF18E7 |
| 3 | 0xFF7A85 |
| 4 | 0xFF10EF |
| 5 | 0xFF38C7 |
| 6 | 0xFF5AA5 |
| 7 | 0xFF42BD |
| 8 | 0xFF4AB5 |
| 9 | 0xFF52AD |
RGB LED Module
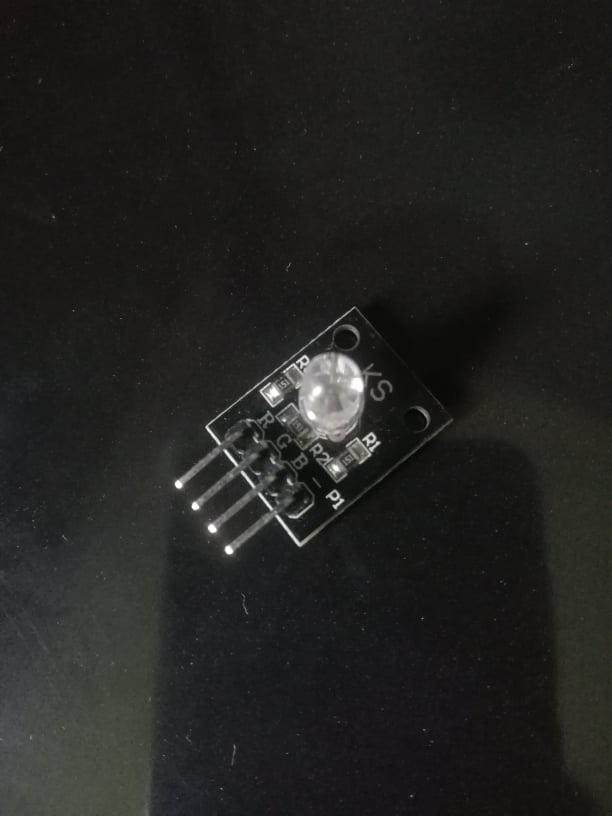
This is a RGB LED board used for this project. You can also use a standalone RGB LED. It has 4 pins – three for the Red, Green, and Blue diodes and the fourth is the GND pin.
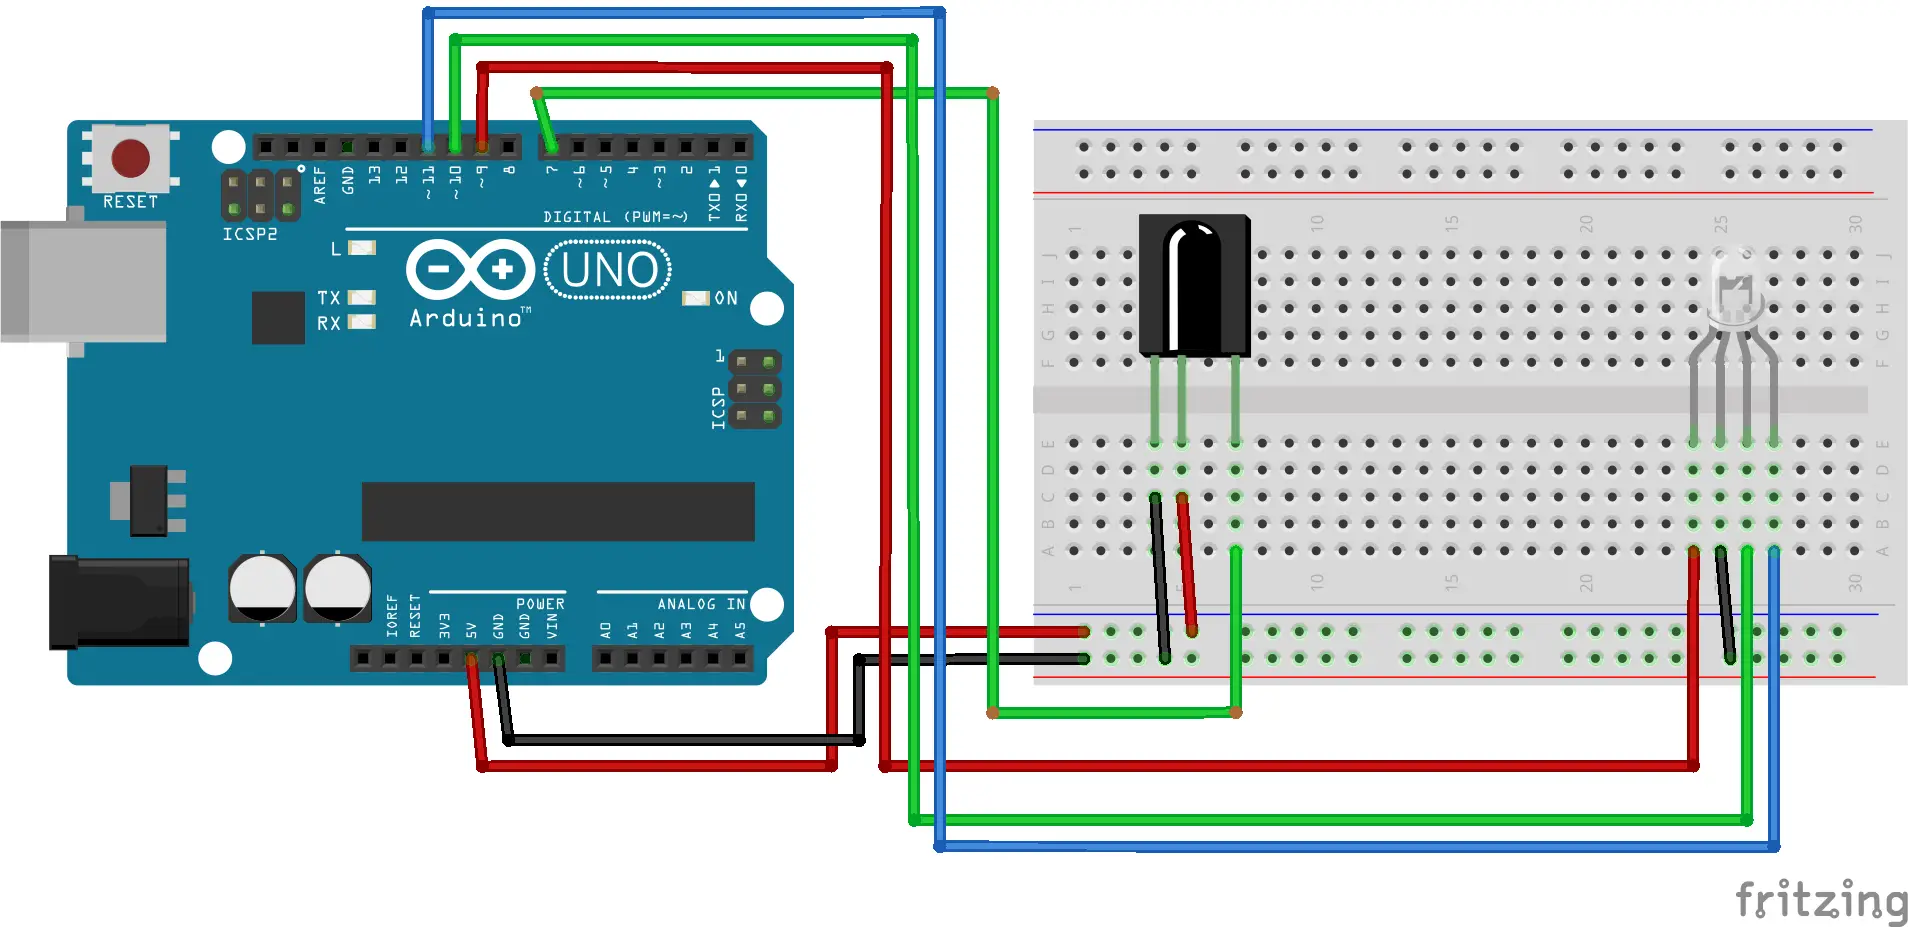
Schematic Diagram
The IR receiver is is powered using the 5V pin of the Arduino. The signal pin is connected to Digital Pin 7. For the RGB,
Code
First is to download the library needed for the project. The “IRremote” library is used here and you can download it using the Arduino Library Manager. Open “Tools>Manage Libraries” and search for “IRremote”. Just install and wait for it to finish.
Upload
Now, it’s upload time. To upload your code to the Arduino Uno, attach the USB cord to your computer. Let your computer detect the Arduino Uno. After that, go to Tools>Board and make sure to select Arduino Uno. Also, make sure to select the COM port that is listed on Tools>Port. The COM Port should say Arduino Uno beside it.
Click the “Upload” button to upload your sketch to the board.
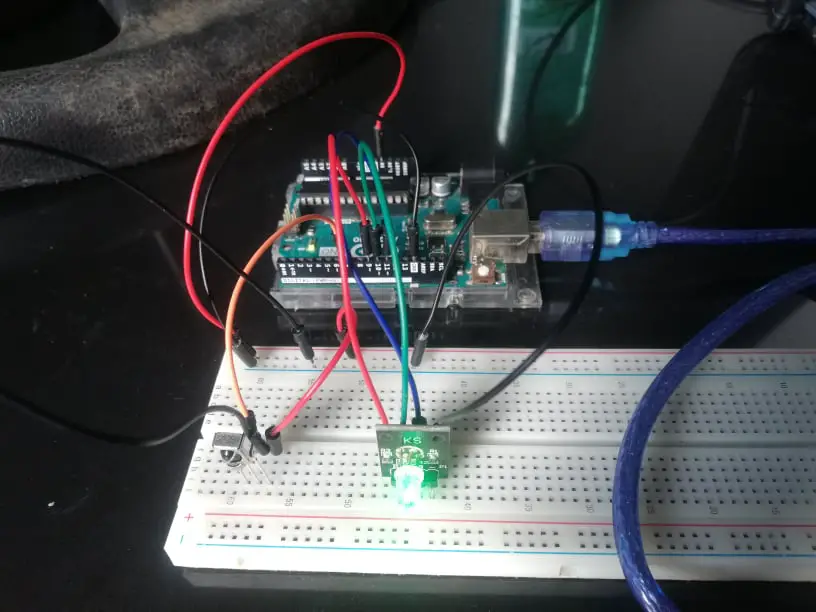
Output
Summary
So there you have it – .Infrared Remote Control in ArduinoThis device is simple to create and can be used in other projects as well. You can always add more sensors to the device, upgrading it to a much-sophisticated device.
Download
Click the button below to download the source code.
Related Articles
Inquiries
Feel free to write your questions about the Infrared Remote Control in Arduino at the comments below.