In this article, you will learn controlling Servo Motor Using IR Remote in Arduino. The project will let you control a mini servo using an infrared remote control . By pushing a button, you can turn the servo to the right or to the left.
Here are the steps in creating the project.
Controlling Servo Motor using IR Remote in Arduino: Steps in Creating the Device
Here are the steps in creating Temperature Monitoring System using Arduino..
- Gathering the Components
The first thing to do is to collect the hardware components for the Arduino device.
Arduino Uno
IR Receiver and remote
Mini Servo - Connecting the Components
Connect the components to the Arduino Uno. Please refer to the wiring diagram below.
- Coding the Arduino
Third step is about coding the Arduino device to work with the components.
- Upload the Sketch
Lastly, upload the sketch to the Arduino.
Controlling Servo Motor using IR Remote in Arduino: Detailed Explanation
To start this project, you need the following:
| Qty | Component |
| 1 | Arduino UNO |
| 1 | IR receiver and Remote |
| 1 | Mini Servo |
Arduino UNO
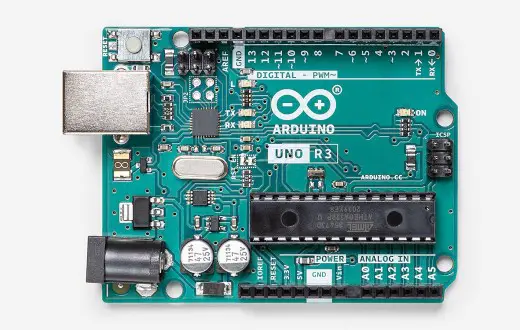
For this project, we will be using an Arduino Uno microprocessor board. Arduino Uno is suitable for any projects and is the cheapest and widely used microprocessor board in the Arduino family. This is great for all kinds of IoT projects.
IR Receiver
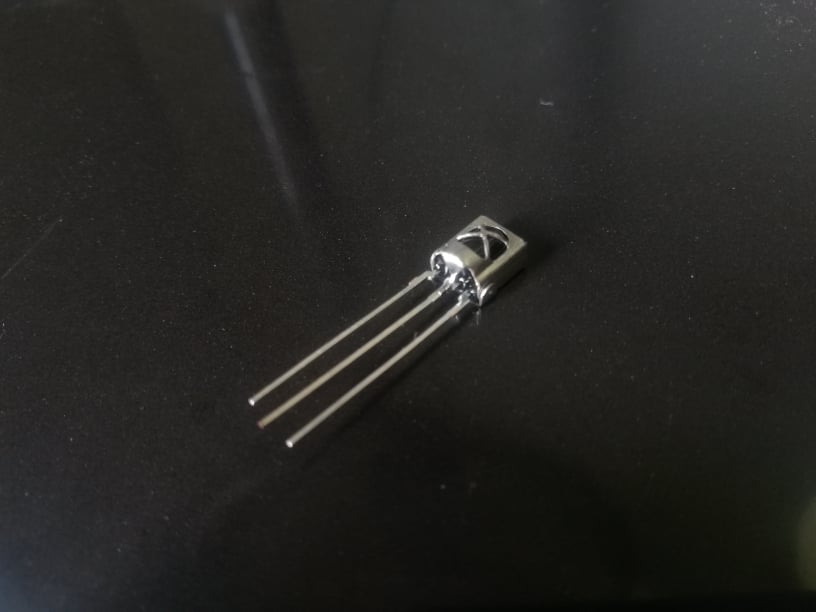
This project uses a standalone IR receiver diode. The first pin is connected to the digital pin of the Arduino. The long pin is the ground connection and the last pin is the Vcc.
IR Remote Control

This is an IR remote control. IR pulses are transmitted by the remote that is converted to a HEX code. Each button has its own HEX code. If the button is pressed continuously, the HEX code will be 0xFFFFFFFF.
For a complete guide in infrared remote control project, click here.
Mini Servo
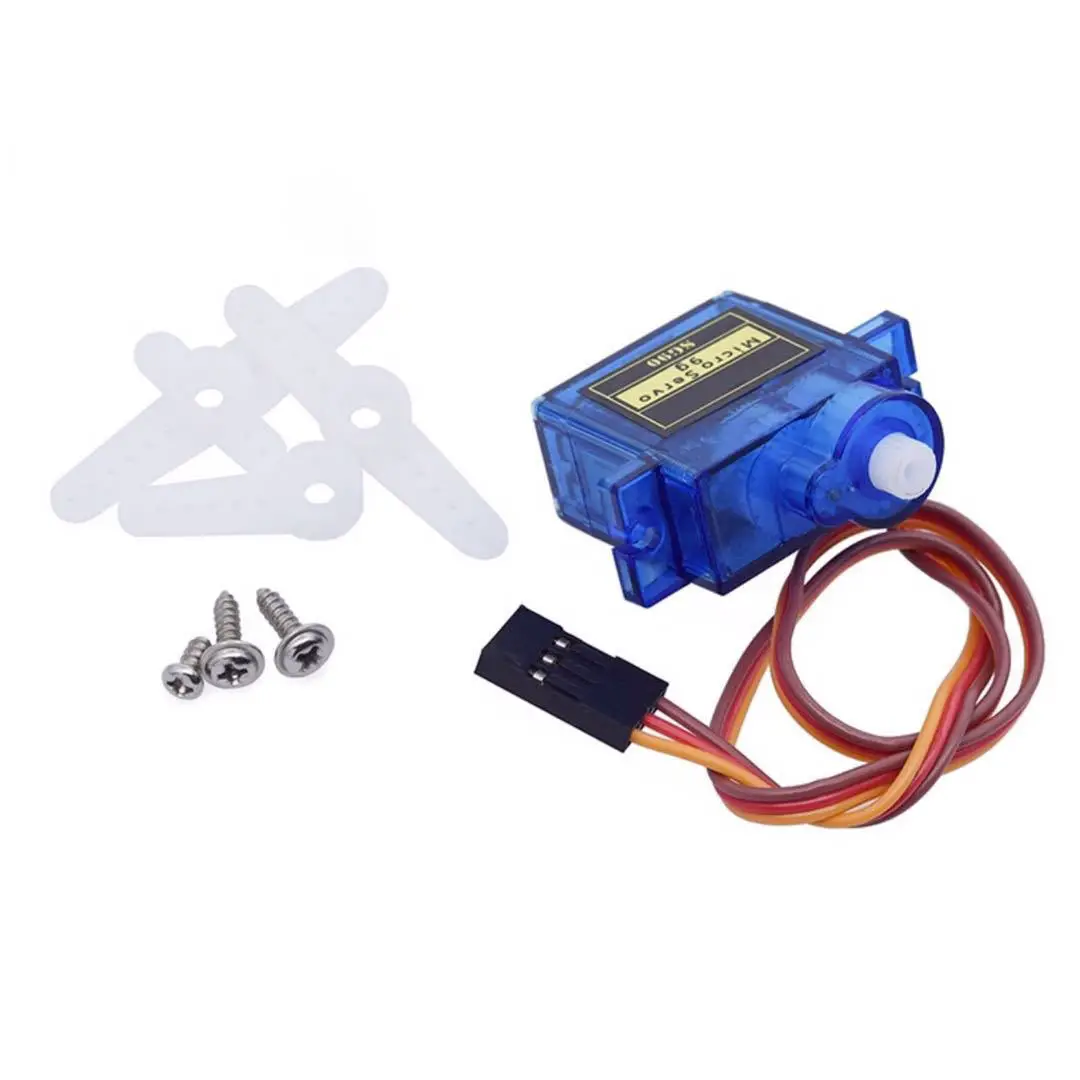
The mini servo you will be using requires 5V of power. You can connect this safely to the Arduino board.
Schematic Diagram
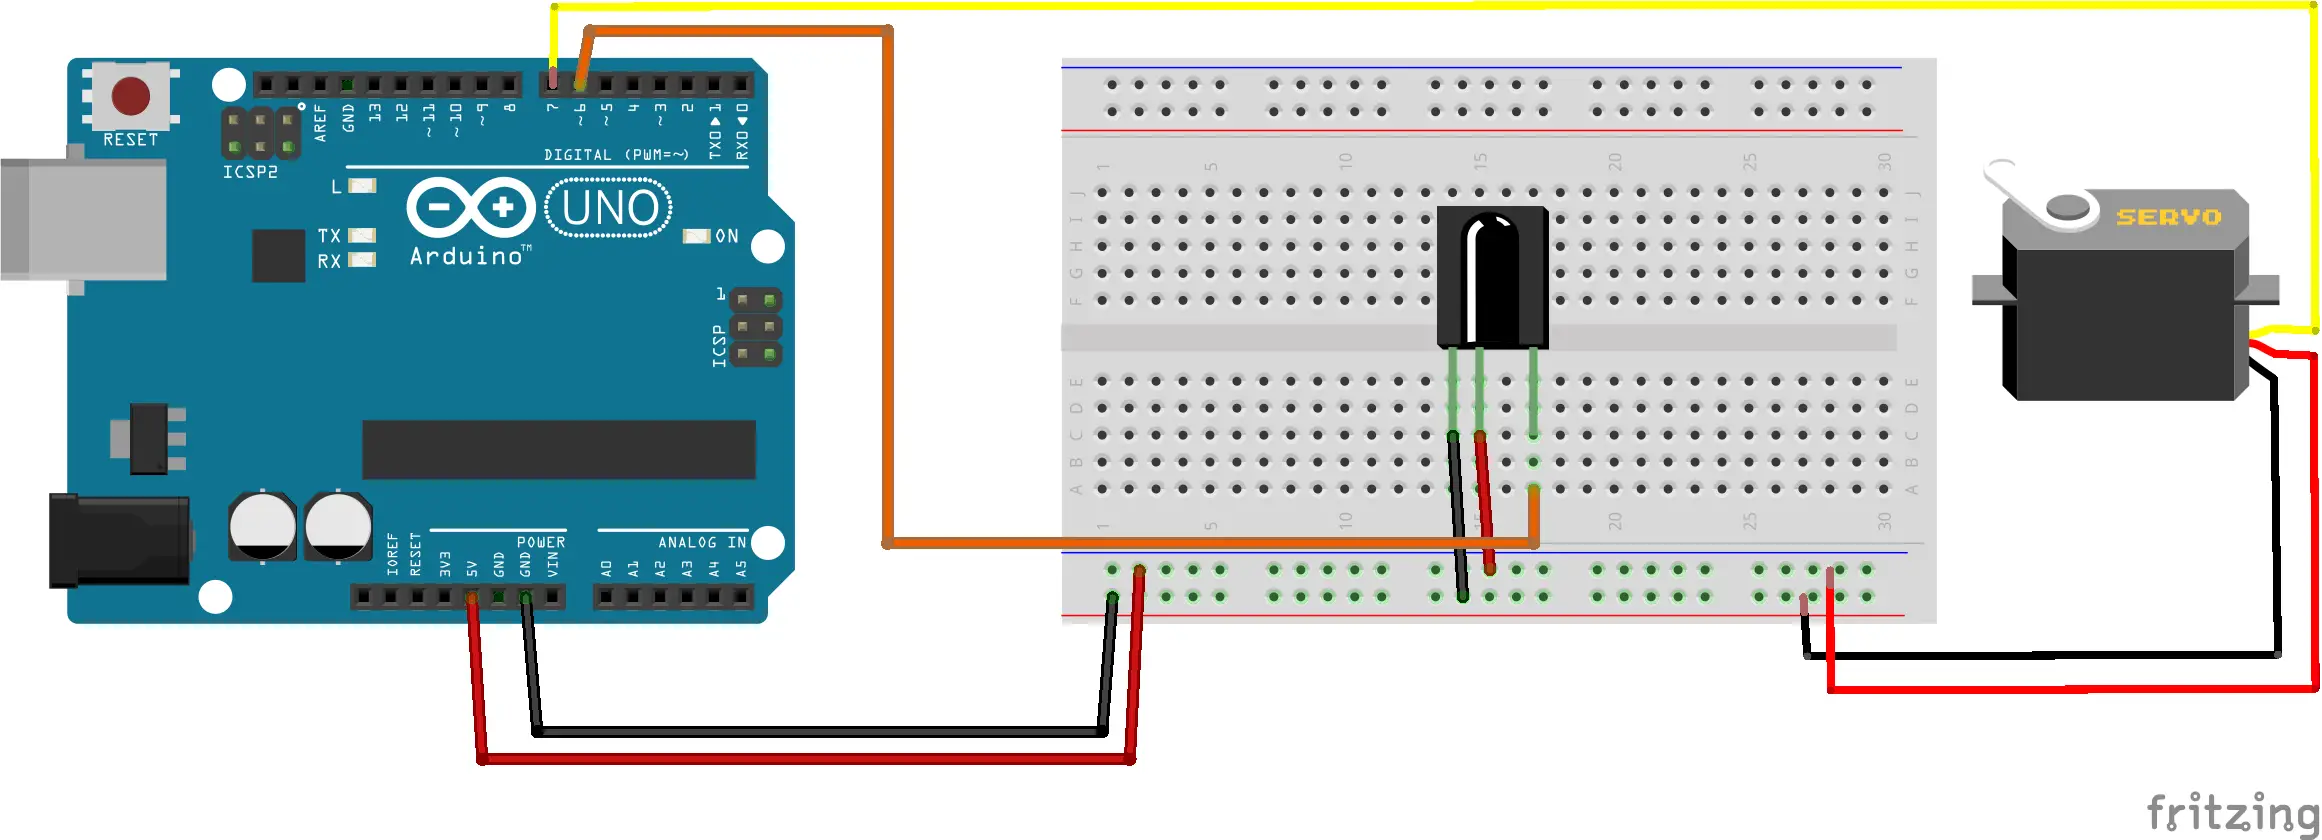
Here is the wiring diagram in controlling Servo Motor using IR Remote in Arduino. All components are powered using the 5V pin of the Arduino. The IR receiver is connected to the digital pin 6 and the servo’s data pin is connected to the digital pin 7.
Code
First is to download the library needed for the project. The “IRremote” library is used here and you can download it using the Arduino Library Manager. Open “Tools>Manage Libraries” and search for “IRremote”. Just install and wait for it to finish.
The Servo library is already pre-installed in the IDE.
For the code, objects for IRrecv and decode_results are created. Declare the data pin of the module and the IR . Then for the setup, simply set the pin mode of the declared variable to OUTPUT and enable the IR receiver. In the loop function, if the Arduino receives a signal for button “+”, the servo will turn to the right. It will turn to the left by pressing “-“.
#include <IRremote.h>
#include <Servo.h>


const int RECV_PIN = 6;

IRrecv irrecv(RECV_PIN);
decode_results results;

Servo myservo;
int pos = 0;
int cpos = pos;

void setup() {
  pos = 0;
 // Set RelayPin as an output pin
 Serial.begin(9600);
 irrecv.enableIRIn();
 myservo.attach(7);
}

void loop() {

  if (irrecv.decode(&results)){
    switch(results.value){
      case 0xFFA857: //Keypad button "+"
      Serial.println(results.value);

      for (pos = cpos; pos != cpos+10; pos += 1) { // goes from 0 degrees to 180 degrees
    // in steps of 1 degree
    myservo.write(pos);              // tell servo to go to position in variable 'pos'
    delay(15);                       // waits 15 ms for the servo to reach the position
      }
    }

    switch(results.value){
      case 0xFFE01F: //Keypad button "+"
      Serial.println(results.value);

      for (pos = cpos; pos != cpos-10; pos -= 1) { // goes from 0 degrees to 180 degrees
    // in steps of 1 degree
    myservo.write(pos);              // tell servo to go to position in variable 'pos'
    delay(15);                       // waits 15 ms for the servo to reach the position
      }
   }

      cpos =pos;
      irrecv.resume();
  }
}
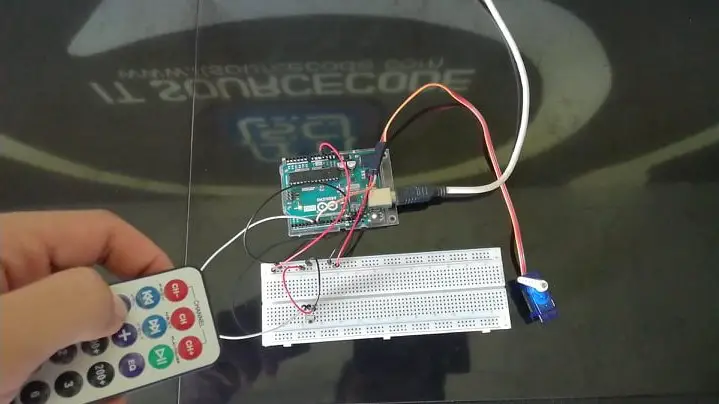
Output
Now try out controlling the servo motor using the IR remote.
Summary
So there you have it – Controlling Servo Motor using IR Remote in Arduino. This device is simple to create and can be used in other projects as well. You can always add more sensors to the device, upgrading it to a much-sophisticated device.
Download
Click the button below to download the source code.
Related Articles
Inquiries
Feel free to write your questions about the project at the comments below.