In this article, I will show you how to control a servo with joystick in Arduino. Controlling a servo with a joystick is simple and straightforward. For this project, the servo will move according to the movement of the joystick. Since the servo only moves horizontally, you only need to code the x-axis.
Now, lets get started.
Controlling a Servo with Joystick in Arduino: Steps in Creating the Device
Here are the steps in creating Arduino Temperature Alarm.
- Gathering the Components
The first thing to do is to collect the hardware components for the Arduino device.
Arduino Uno
2-axis Joystick Module
Servo - Connecting the Components
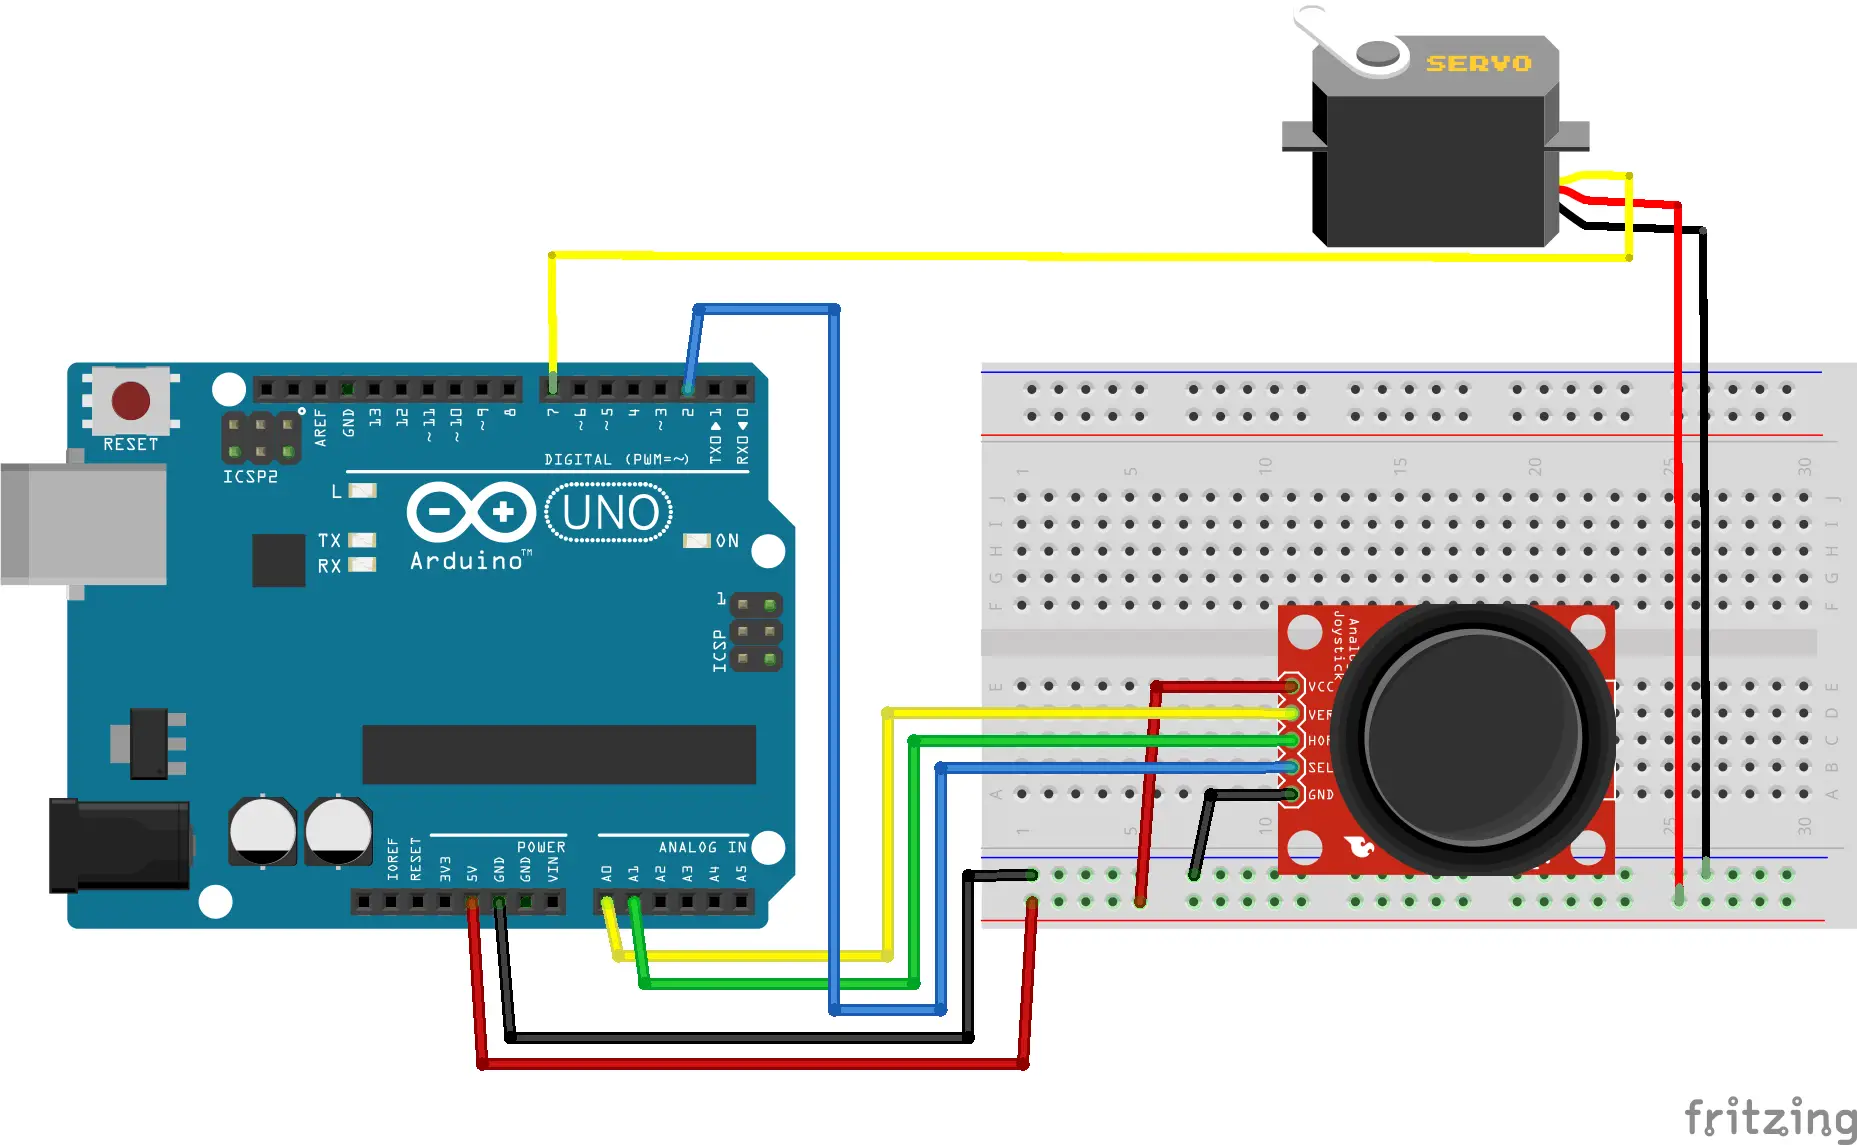
Connect the components to the Arduino Uno. Please refer to the wiring diagram below.
- Coding the Arduino
Third step is about coding the Arduino device to work with the components.
- Upload the Sketch
Lastly, upload the sketch to the Arduino.
Controlling a Servo with Joystick in Arduino
Step 1: Gathering the Components
To start off, this project will have two parts: the Arduino Device and the Program. First thing to do is to collect the hardware components and make the device. To do that, you will be needing the following:
| Quantity | Components |
| 1 | Arduino Uno |
| 1 | 2-axis Joystick Module |
Arduino UNO
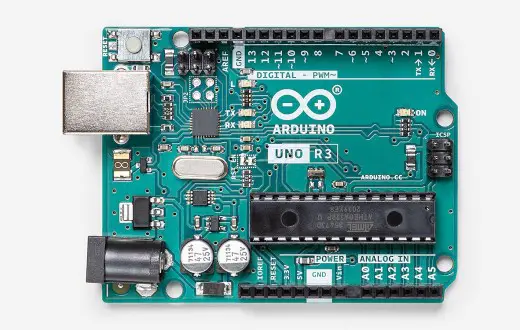
You will be using Arduino Uno for this project. It is an easy to use microprocessor board. Arduino Uno is suitable for any projects and is the cheapest and widely used microprocessor board in the Arduino family. This is great for all kinds of IoT projects.
Joystick Module
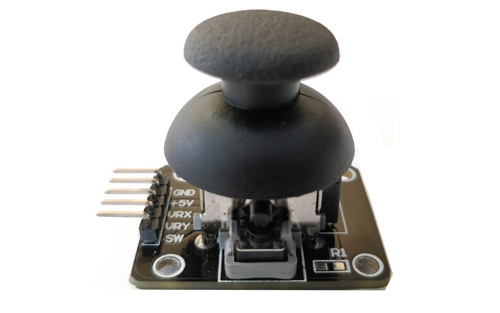
This is a joystick module you will be using. It has 5 pins – GND, 5V, VRX or HORZ, VRY or VERT, and SW. VRX and VRY is connected to the analog pins. SW is the push button function. When you push the analog stick, it triggers a switch at the side.
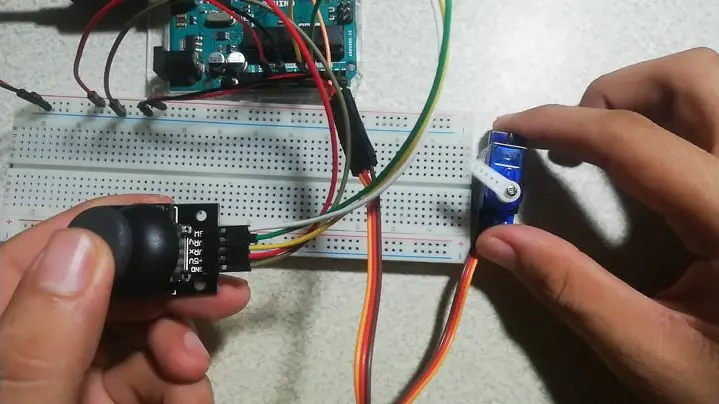
Step 2: Connecting the Arduino Components
Now you are ready to connect the components to the Arduino Uno. Connect the power and the ground pins to 5V and GND. Next is to connect the VRX and VRY to A0 and A1. Lastly, connect SW pin to a digital pin.
Step 3: The Arduino Code
Copy the code below to a new sketch in the Arduino IDE. Here, constant variables are declared for the pins of the 2-axis joystick. For the servo, the “.attach()” function is used to tell the Arduino it is attached on digital pin 7. In the loop function, the “map()” function is used to proportion the values of the joystick and the servo.
Once done, you can upload it to the Arduino Uno.
#include <Servo.h>

Servo myservo;
// Arduino pin numbers
const int SW_pin = 2; // digital pin connected to switch output
const int X_pin = 0; // analog pin connected to X output
const int Y_pin = 1; // analog pin connected to Y output

int xOutput;
int yOutput;

void setup() {
  myservo.attach(7);
  myservo.write(90);

  pinMode(SW_pin, INPUT);
  digitalWrite(SW_pin, HIGH);
  Serial.begin(9600);
}

void loop() {

  xOutput = map(analogRead(X_pin), 0, 1023, 0,
180);
  myservo.write(xOutput);
  delay(15);
}
Now upload the sketch to the Arduino.
Step 4: Upload and Try
After you successfully upload the sketch, try to move the joystick horizontally. The servo will move accordingly.
Conclusion
So there you have it! Controlling a Servo with Joystick in Arduino This project is intimidating at first but you will see that it is fairly easy to do. You can combine this to other Arduino projects and build an awesome system!
Download
Click the button below to download the source code.
Related Articles
Inquiries
Feel free to write your questions about this at the comments below.