
In this article, I will show you how to interface a 5 volt Stepper Motor in Arduino.
Stepper motors are a kind of DC motor that moves in small steps. With very precise motion, stepper motors are the best choice for projects that require precise and accurate movement.
Today, I will show you the ropes in using a stepper motor to integrate in your next project.
5V Stepper Motor Arduino Interfacing: Steps in Creating the Device
To start off, this project will have two parts: the Arduino Device and the Program. First thing to do is to collect the hardware components and make the device. To do that, you will be needing the following:
| Quantity | Components |
| 1 | Arduino Uno |
| 1 | Unipolar Stepper Motor |
| 1 | ULN2003 Motor Driver |
Arduino UNO
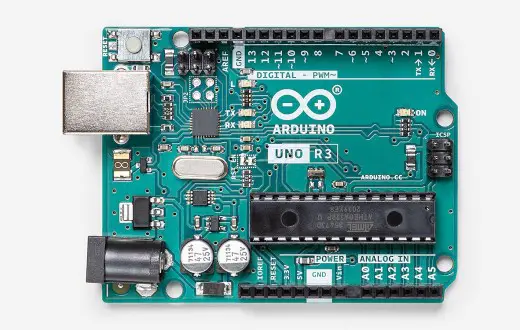
You will be using Arduino Uno for this project. It is an easy to use microprocessor board. Arduino Uno is suitable for any projects and is the cheapest and widely used microprocessor board in the Arduino family. This is great for all kinds of IoT projects.
Stepper Motor
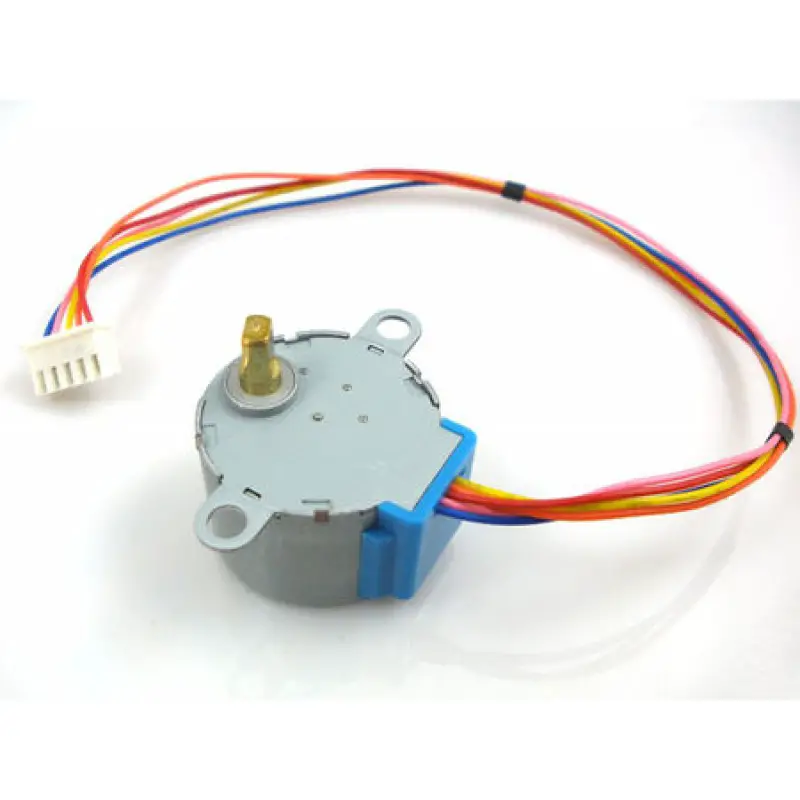
The stepper motor used in this project is a unipolar stepper motor and has 5 wires. This type is cheap and can be bought at online stores.
ULN2003 Motor Driver
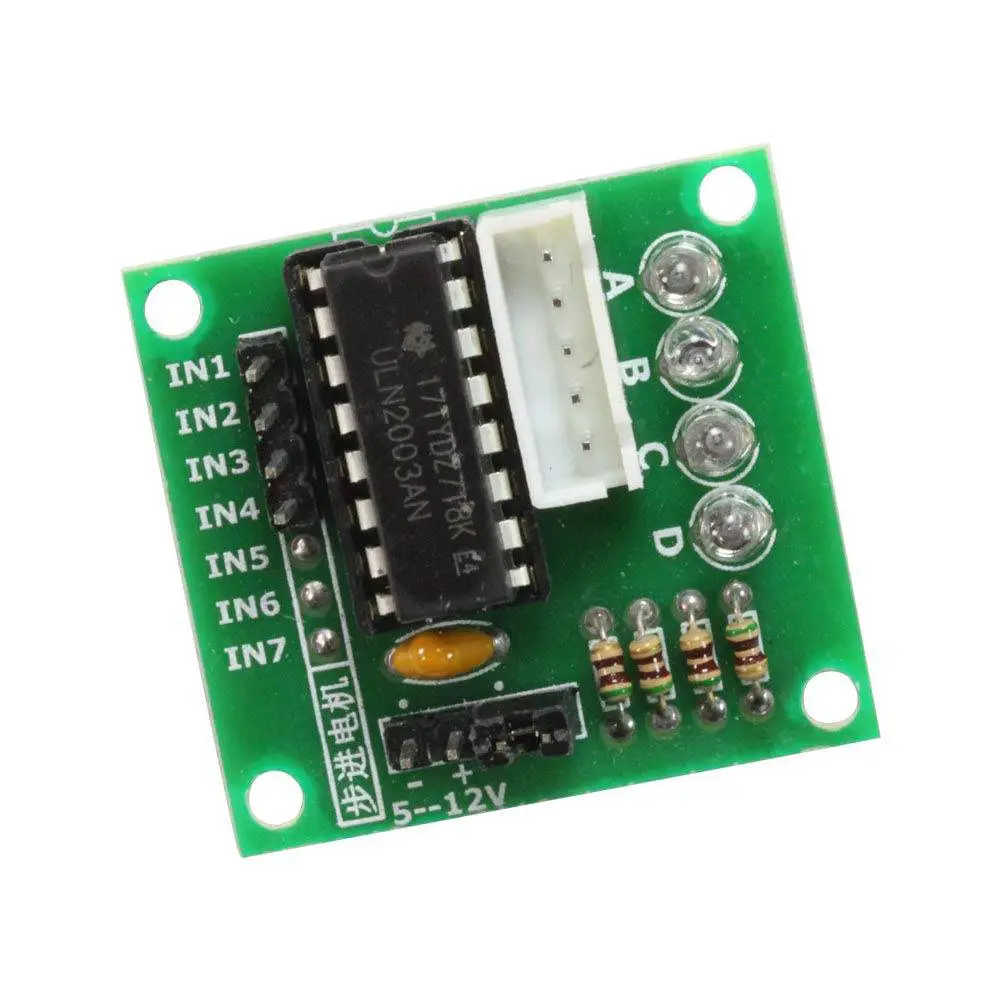
The ULN2003 Motor driver has 6 pins – 4 of it will be connected to the Arduino digital pins. Power and ground SHOULD NOT be connected to the Arduino. This is because the motor driver can demand power that the Arduino cannot handle. It can damage your board.
It is safer to use a different power source for the motor driver like a battery.
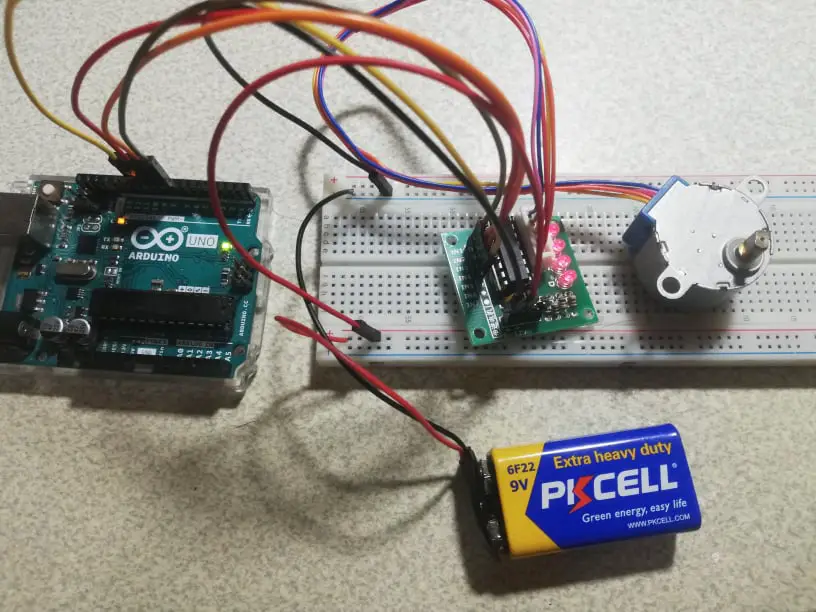
Step 2: Connecting the Arduino Components
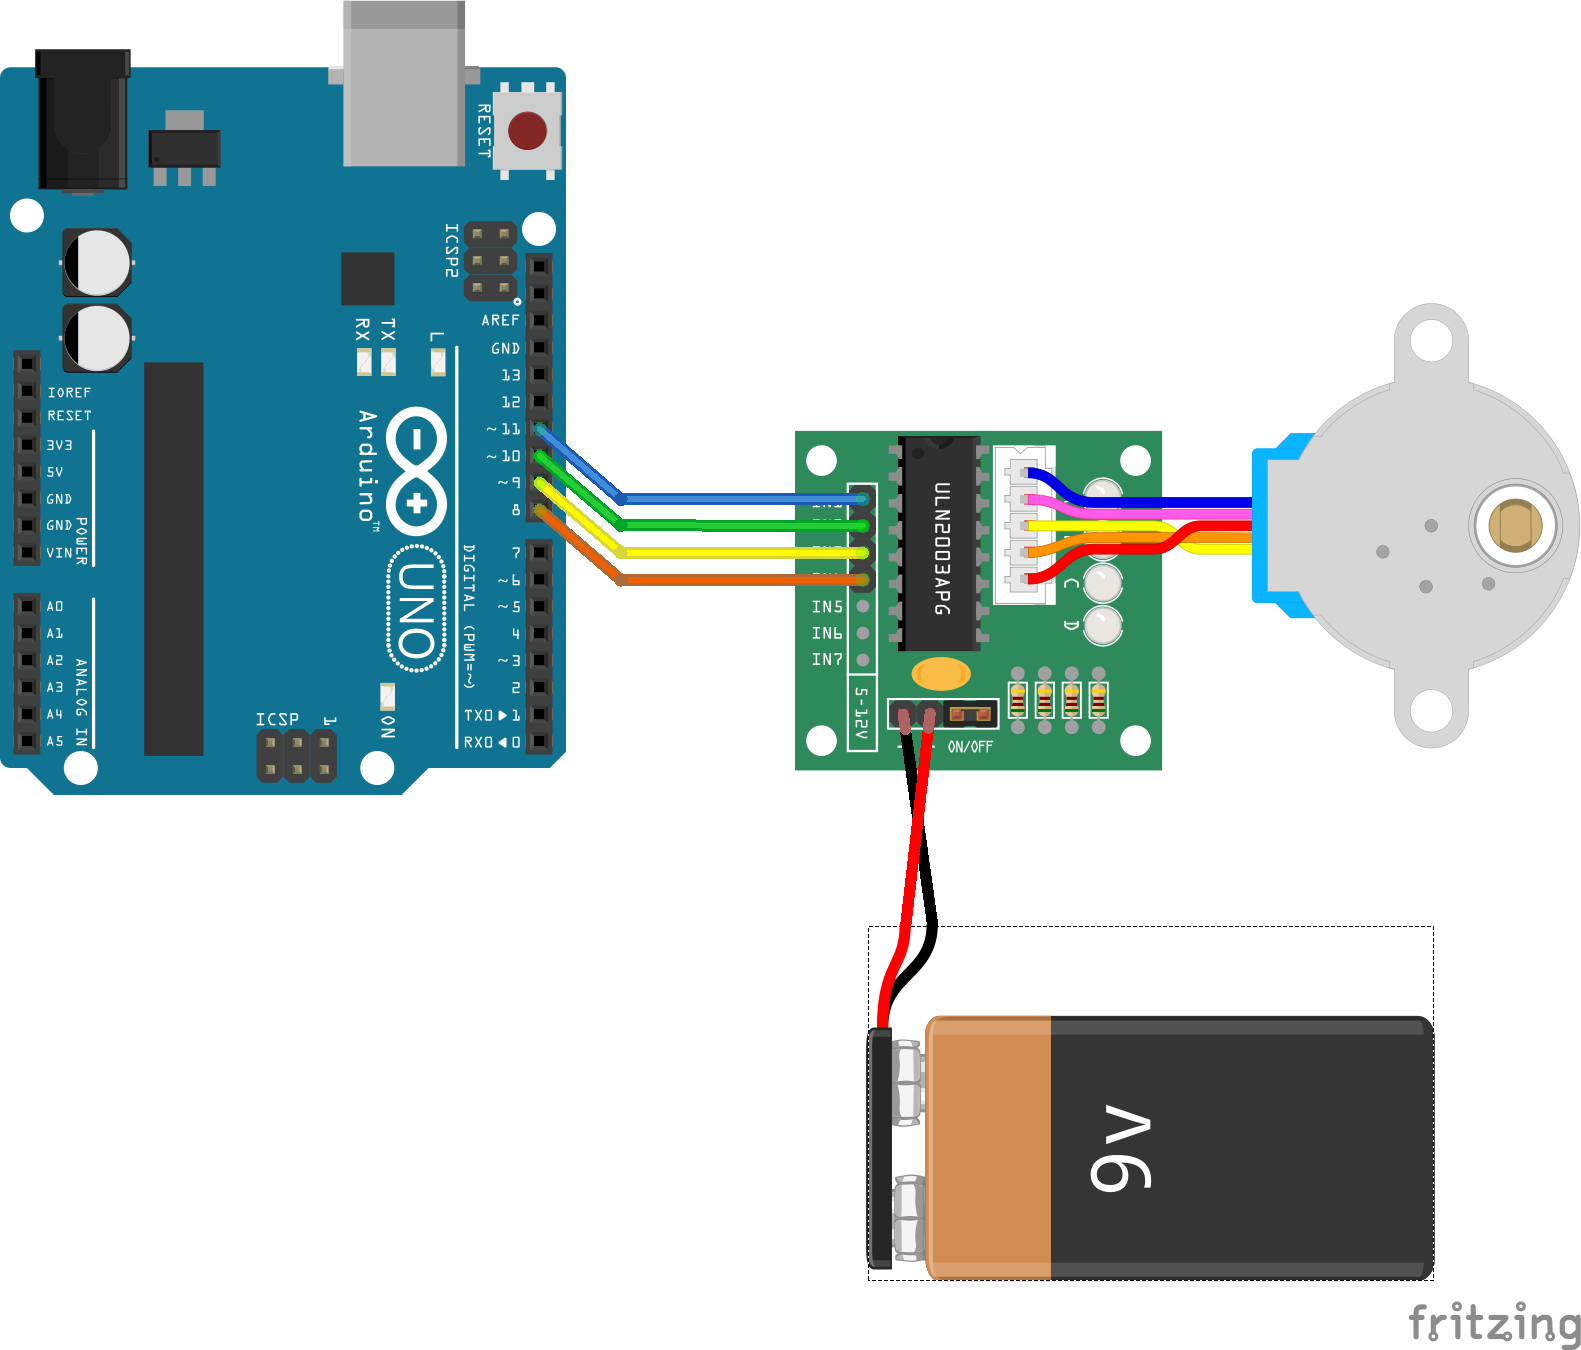
Now you are ready to connect the components to the Arduino Uno. Attach the stepper motor to the motor driver. Next is connect the four pins of the motor driver to the Arduino’s digital pins. Take note of the order of the pins.
Step 3: The Arduino Code
There is already a library for the stepper motor preinstalled in the Arduino IDE called “Stepper”. All you need to do is copy the code and upload it to the Arduino.
// Include the Arduino Stepper.h library:
#include <Stepper.h>

// Define number of steps per rotation:
const int stepsPerRevolution = 2048;

// Wiring:
// Pin 8 to IN1 on the ULN2003 driver
// Pin 9 to IN2 on the ULN2003 driver
// Pin 10 to IN3 on the ULN2003 driver
// Pin 11 to IN4 on the ULN2003 driver

// Create stepper object called 'myStepper', note the pin order:
Stepper myStepper = Stepper(stepsPerRevolution, 8, 10, 9, 11);

void setup() {
  // Set the speed to 5 rpm:
  myStepper.setSpeed(5);

  // Begin Serial communication at a baud rate of 9600:
  Serial.begin(9600);
}

void loop() {
  // Step one revolution in one direction:
  Serial.println("clockwise");
  myStepper.step(stepsPerRevolution);
  delay(500);

  // Step one revolution in the other direction:
  Serial.println("counterclockwise");
  myStepper.step(-stepsPerRevolution);
  delay(500);
}
Now upload the sketch to the Arduino.
Step 4: Test Run
After you successfully upload the sketch, the stepper motor will rotate clockwise and counterclockwise according to the indicated RPM.
Conclusion
So there you have it! 5V Stepper Motor Arduino Interfacing. This project is intimidating at first but you will see that it is fairly easy to do. You can combine this to other Arduino projects and build an awesome system!
Related Articles
Inquiries
Feel free to write your questions about this at the comments below.